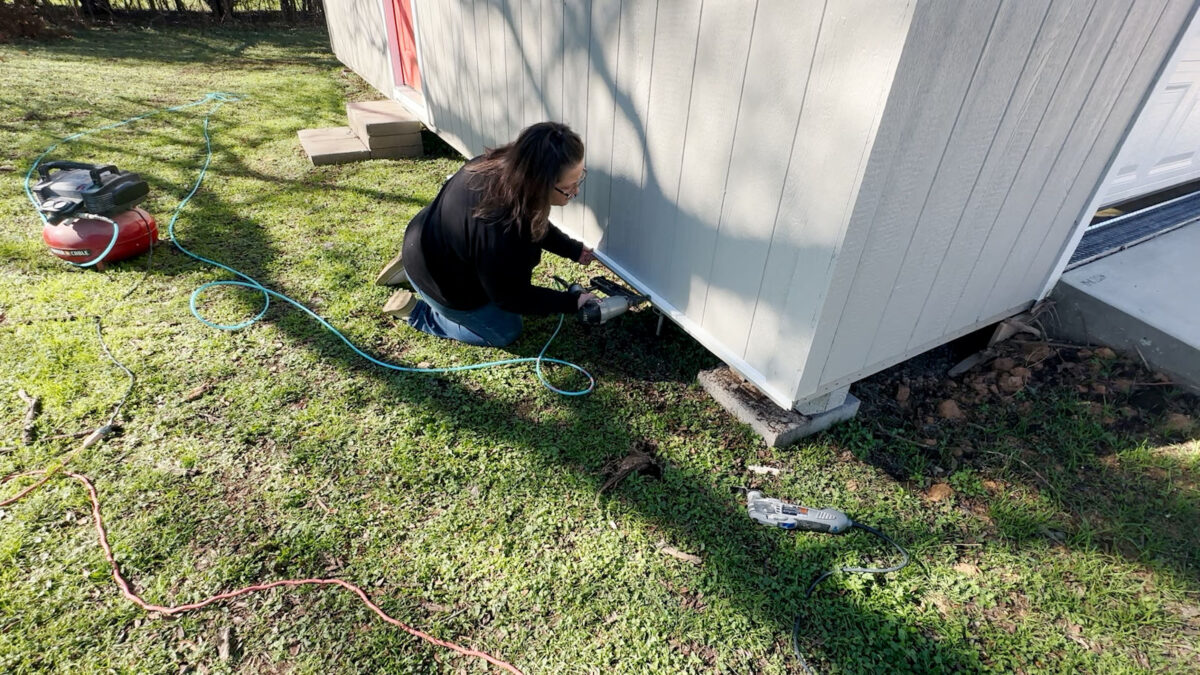
For some cause, I had this concept that including skirting to my again yard workshop can be a reasonably straightforward, one-day mission. My goodness, was I ever mistaken! The mission isn’t troublesome in any respect, nevertheless it’s undoubtedly not a quick, one-day mission, not less than not for an 18′ x 27′ constructing, and particularly after I’m working alone.
I contemplated many several types of supplies to make use of as skirting for my workshop. The issue I saved working into was that only a few supplies are rated for floor contact. My preliminary thought (and the plan which might have been the most cost effective) was to make use of the identical siding materials that’s on the constructing, and simply carry that down because the skirting. However then I learn that that siding materials isn’t purported to be any nearer than six inches from the bottom.
After perusing the aisles of House Depot and Lowe’s in search of each different chance and googling numerous supplies for floor contact info, I lastly realized that my best choice was going to be PVC boards. We all know that PVC is completely high quality touching the bottom as a result of we put it in the bottom with water always working via it. Plumbing lately is usually PVC and PEX, and so if PVC might be beneath the bottom with water working via it, it may well definitely be touching the bottom.
In order that’s what I used. And buying sufficient PVC boards to finish skirt an 18′ x 27′ constructing wasn’t low cost, both. However hopefully, as a result of it’s PVC, this can be a one-and-done type of mission. I received’t ever should cope with something rotting and having to get replaced. So I’m hoping the upfront value will probably be price it.
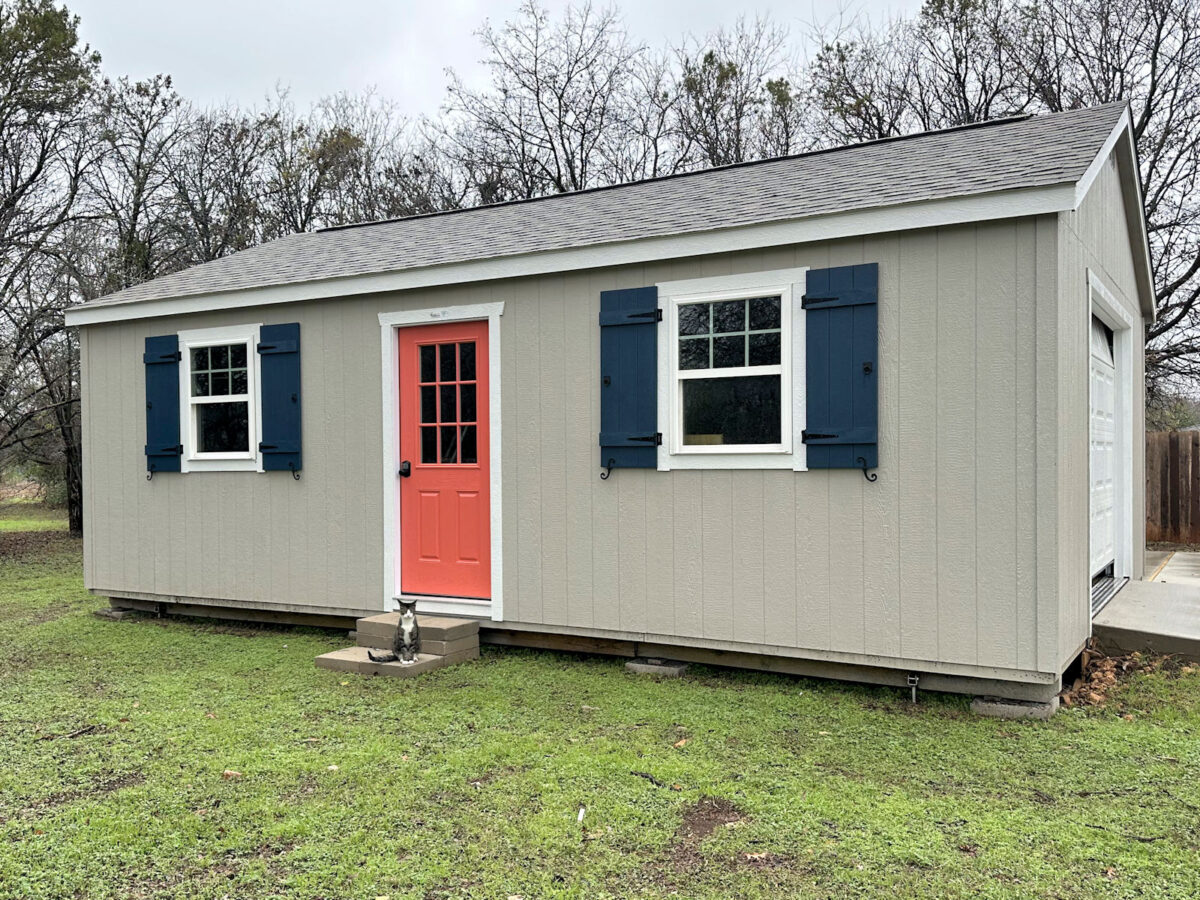
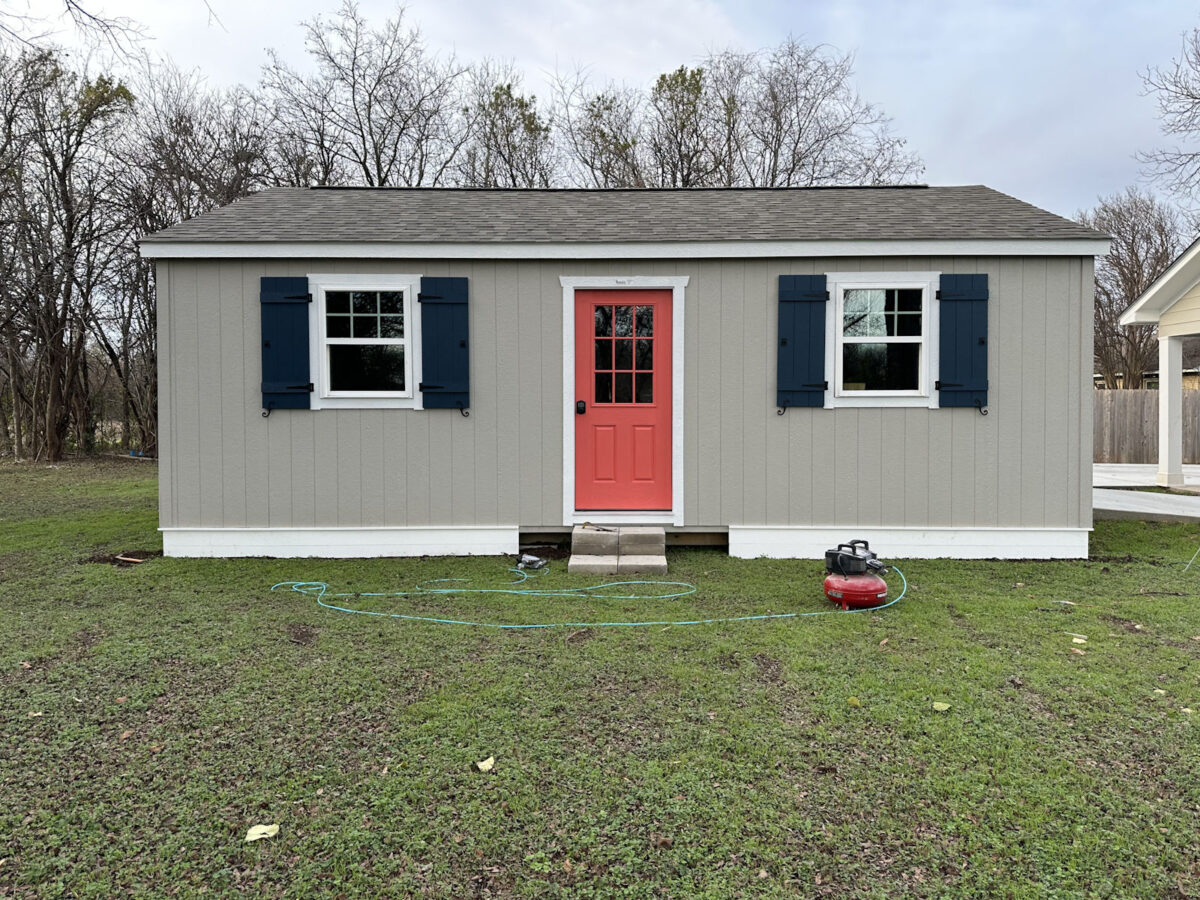
Earlier than I present you the method and progress, let me first remind you what the workshop seems to be like after the primary two tasks — constructing the shutters and portray the entrance door.
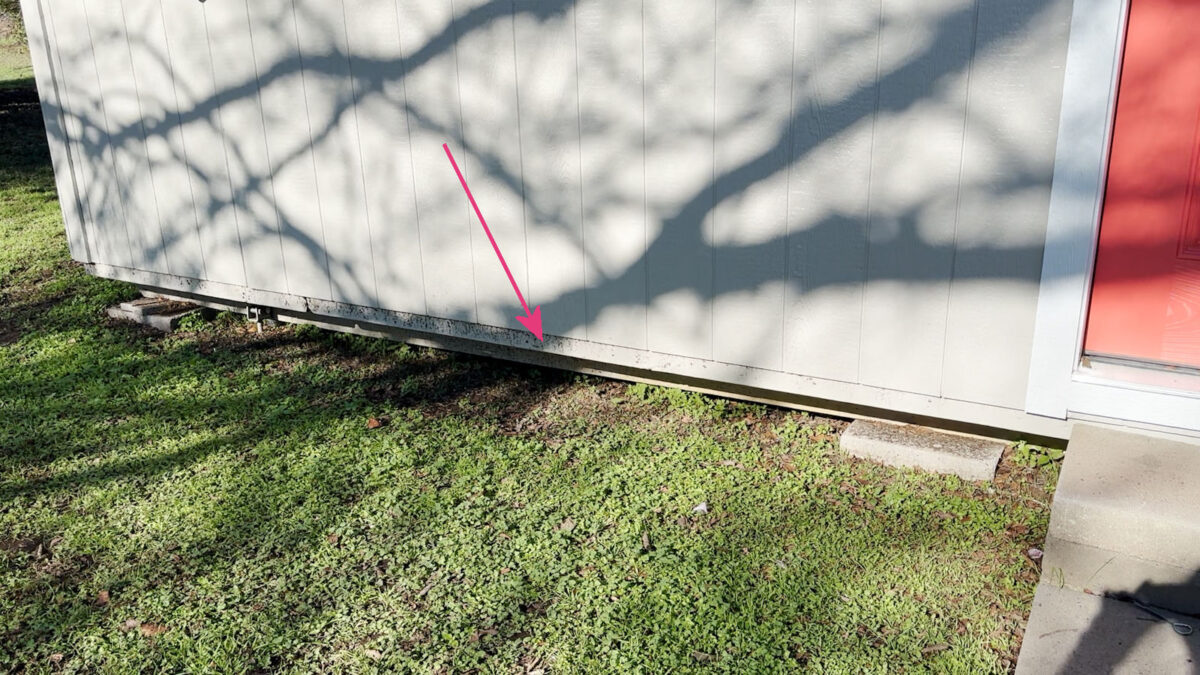
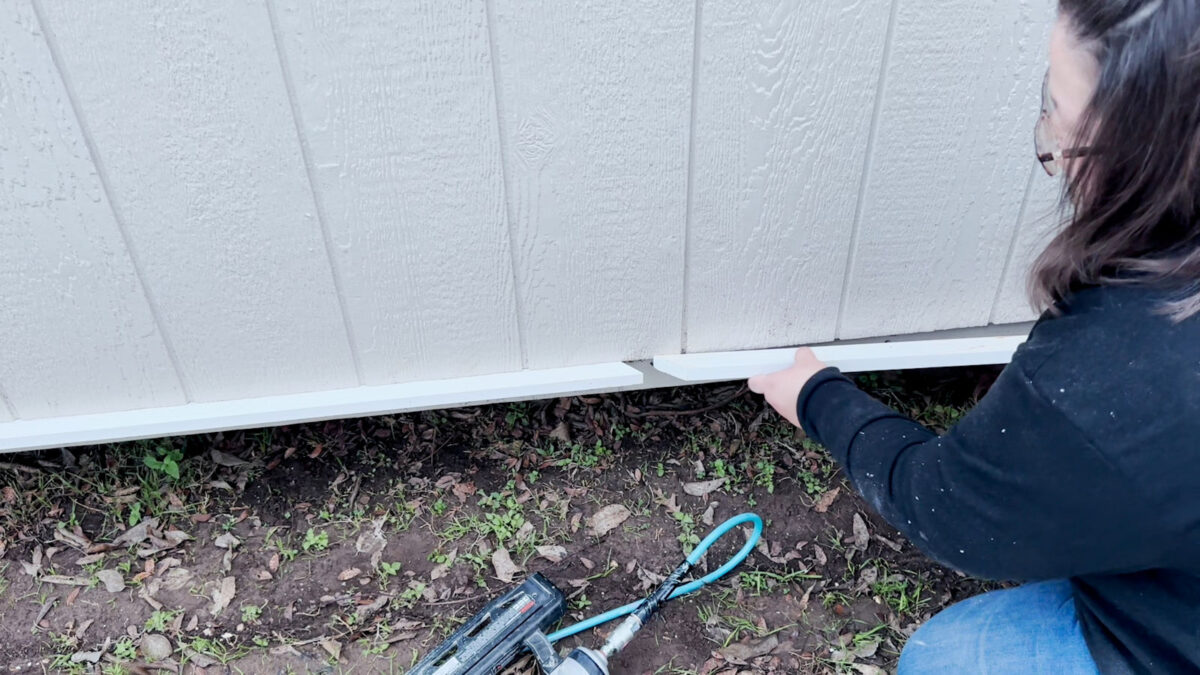
My constructing is constructed on 4 thick wooden skid, and on high of these skids, the ground of the constructing is framed with 2″ x 6″ lumber, which is what the siding is nailed to alongside its backside edge. So the plan was simply to nail the skirting proper to that outer 2″ x 6″ flooring body slightly below the siding.
However I didn’t need the skirting to go behind the steps to the entrance door, which will probably be my subsequent mission. So earlier than measuring and attaching any skirting, I wished to mark off the width of the steps. I made a decision to make my steps prolong 16 inches from the trim on the door on either side.
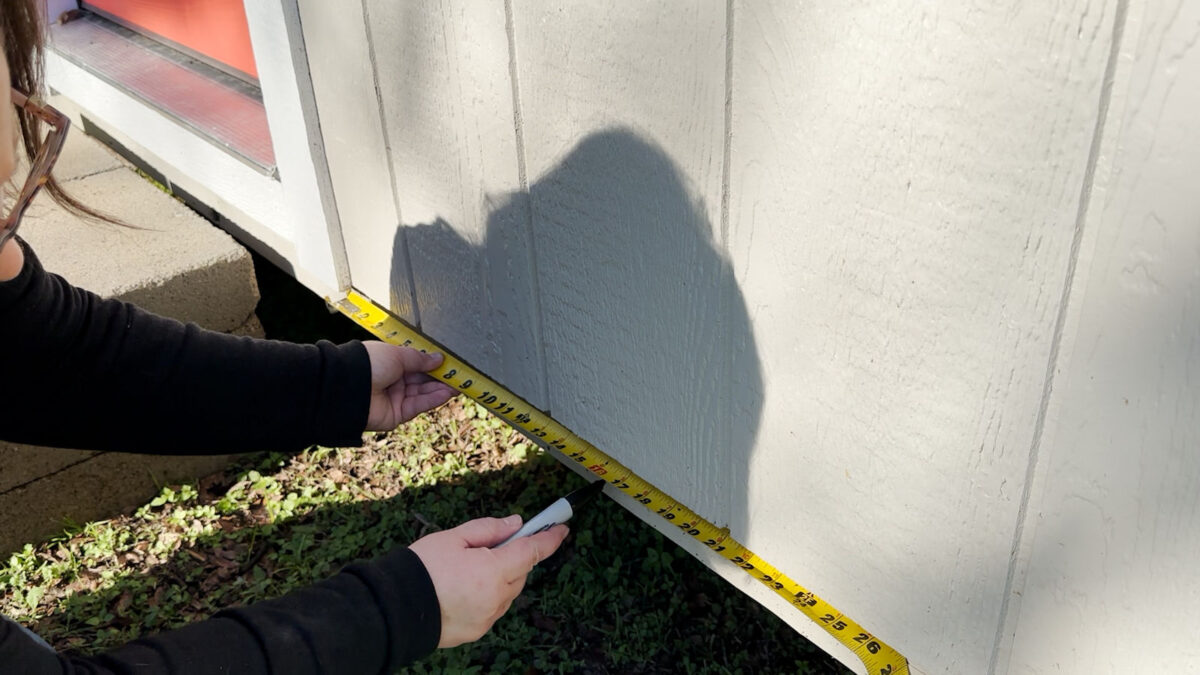
After which I measured from the nook of the skid to the mark I simply make. That width on my constructing was 122 inches.
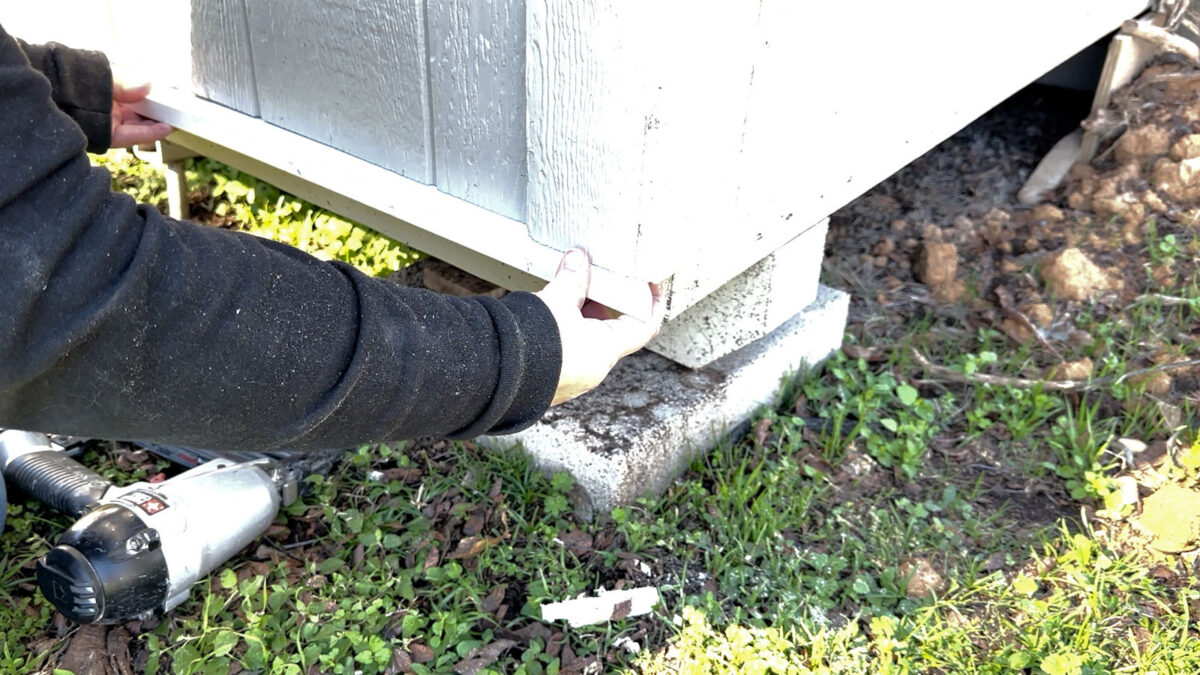
I didn’t wish to put the skirting boards proper up towards the siding. I believed I wanted some type of transition board first. So I lower lengths of 1″ x 2″ PVC boards, mitered them for the corners of the constructing, and hooked up them flat (i.e., face up) simply beneath the siding.
*Word: I will probably be caulking between this ledger board and the siding utilizing silicone caulk to stop water from seeping between the 2 and ruining the siding. Since I’m in central Texas, we virtually by no means have multiple or two days of rain at a time earlier than the Texas solar comes out once more and dries up the rain. So I’m assured that silicone caulk will probably be sufficient safety from water. If I lived in an space of the nation like Oregon, the place there’s fixed rain for months of the yr, I might have used my desk noticed to chop an angle into the highest of that ledger board to verify rain water can’t collect there for months on finish. If I discover this flat ledger board to be an issue sooner or later, I can at all times pull it off, lower an angle in it, and nail it again on. However I don’t suppose it’ll be an issue right here in Texas.
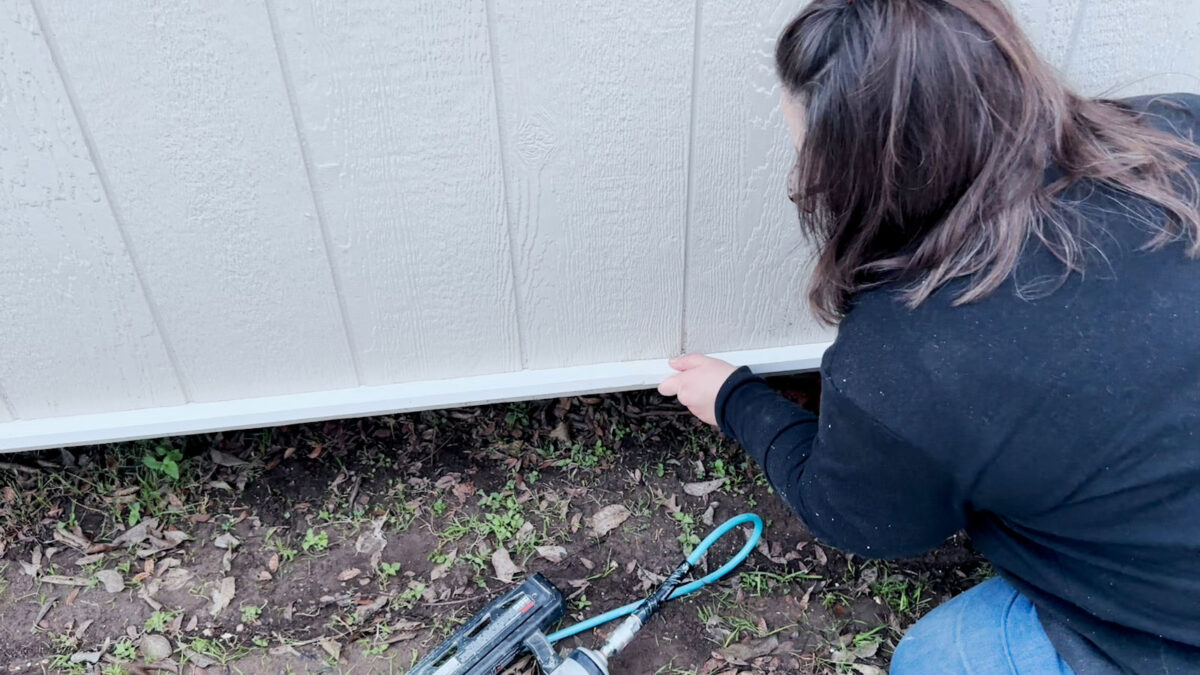
Earlier than I hooked up that ledger board, I needed to lower away about 1/4-inch from the underside of one of many nook trim items on the constructing as a result of it was too low and in the way in which of the place that ledger board wanted to be hooked up. I used my Dremel Multi-Max for that.
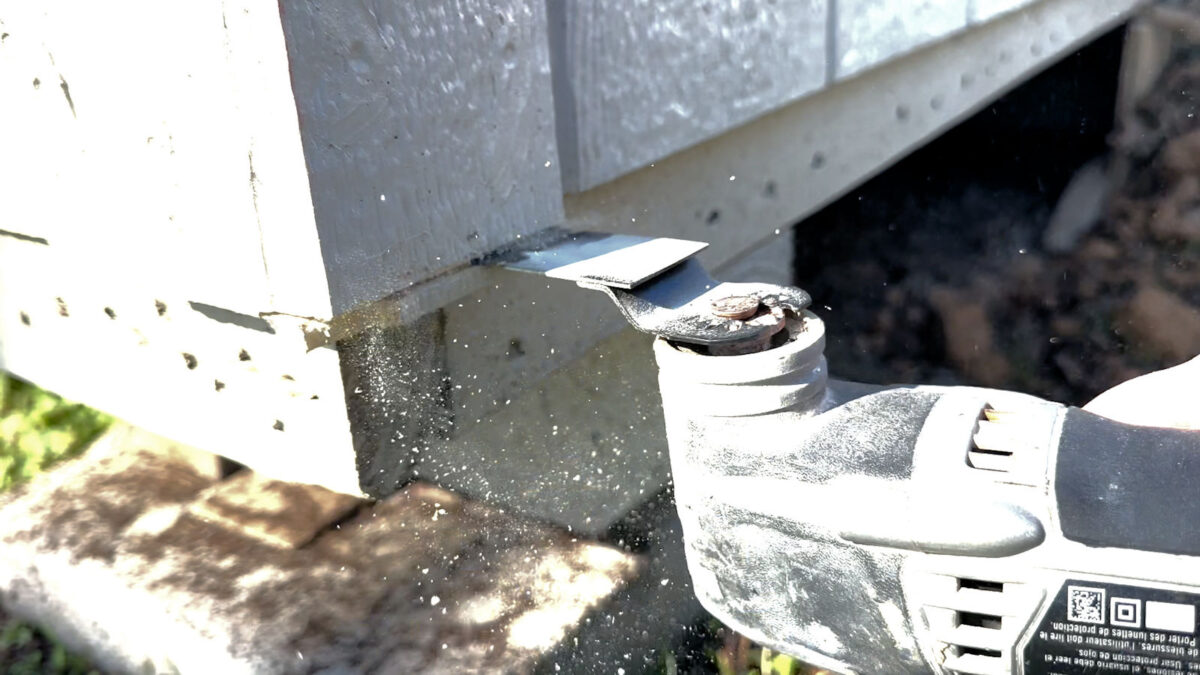
As soon as that extra was lower away, the ledger board match completely beneath the siding all the way in which to the nook.
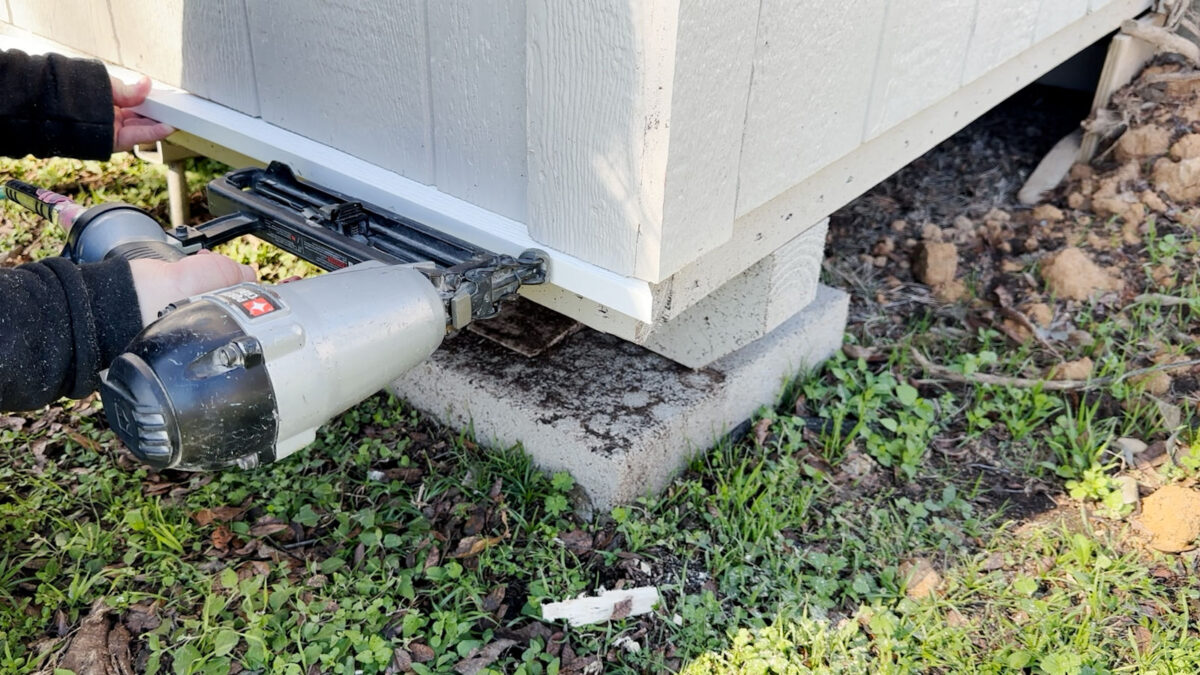
I used 2.5-inch 16-gauge nails for this.
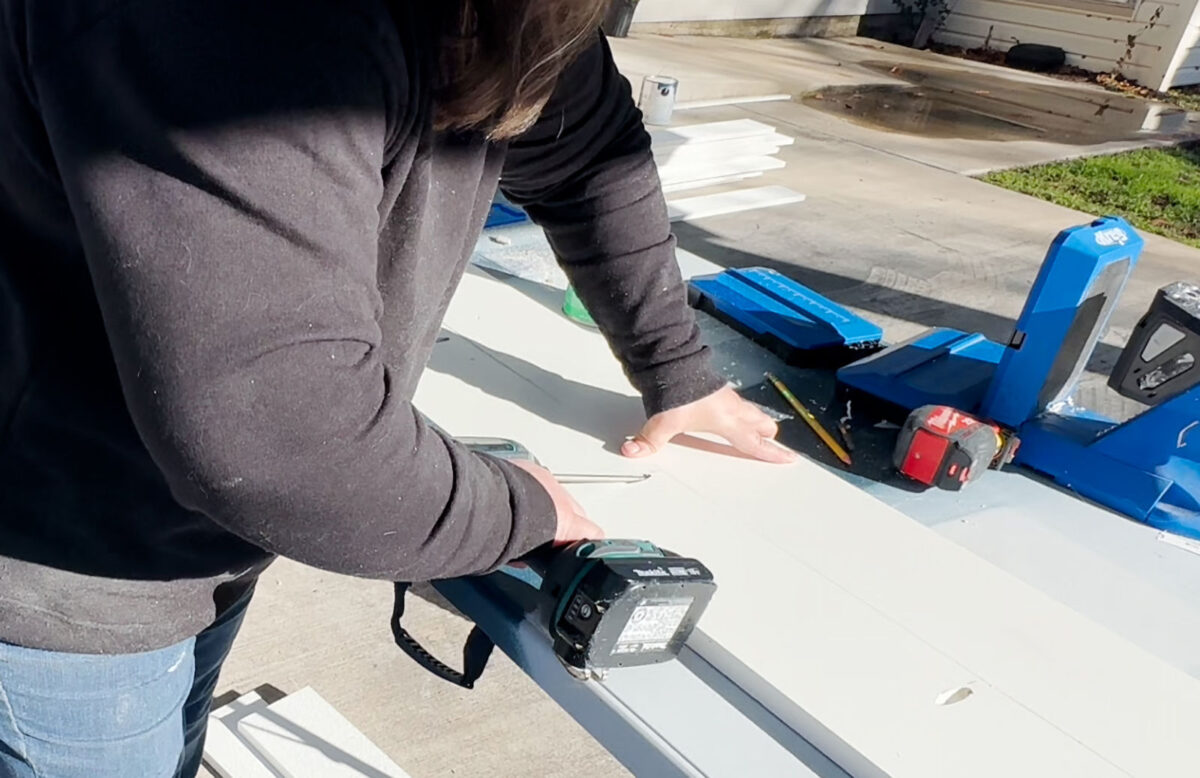
Then I used to be prepared to connect the skirting boards. I wished these boards to run horizontally, and it took two boards to fill in that 12-inch top between the bottom and the siding. So I made a decision to connect the boards collectively utilizing PVC glue and pocket screws after which connect them as one piece to the constructing. So I marked and drilled all the pocket holes, maintaining them to about 12 inches aside.
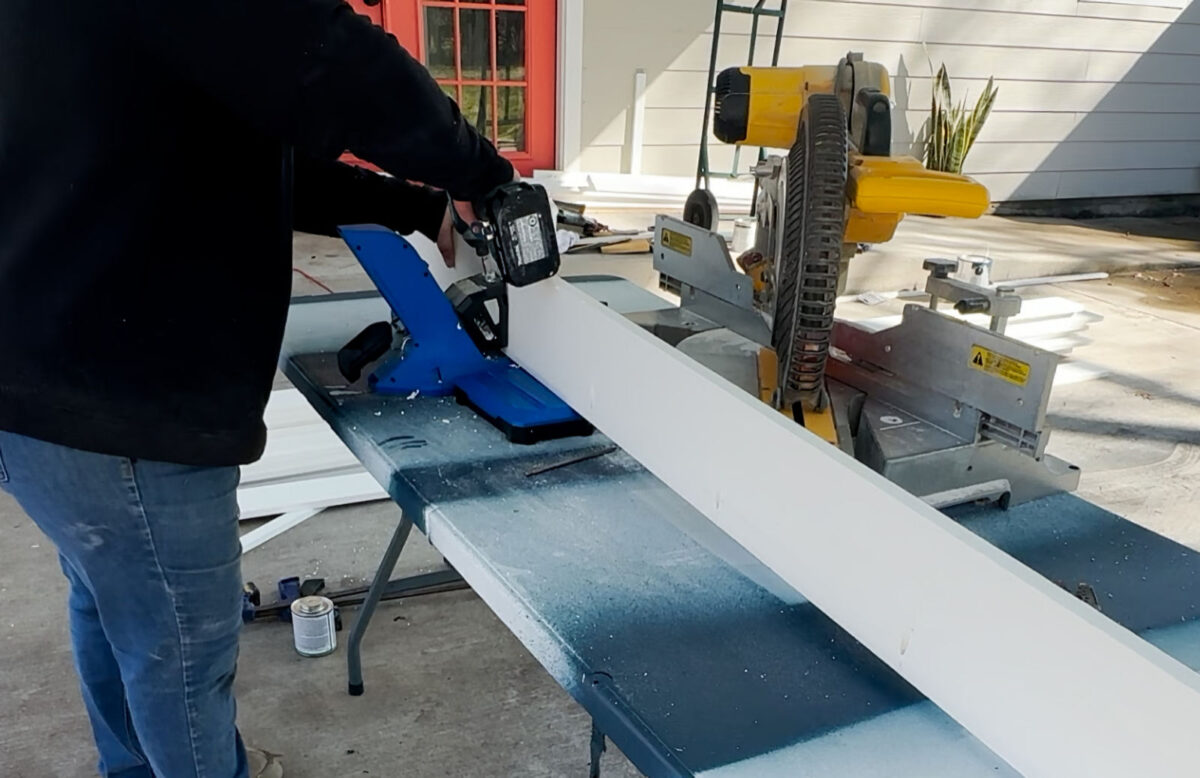
After which I used a liberal quantity of PVC glue on the perimeters of each boards.
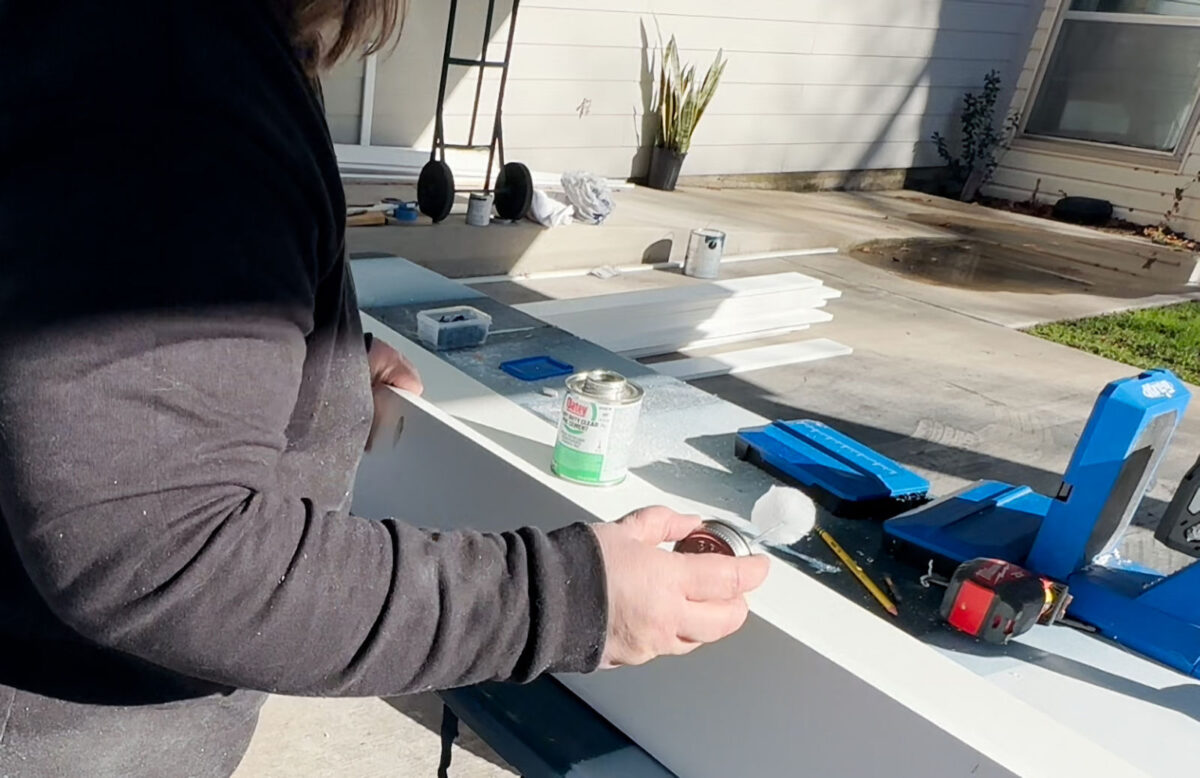
After which screwed them collectively utilizing the pocket holes and Kreg 1.25-inch exterior screws, working as rapidly as attainable in order that I might get them screwed collectively earlier than the PVC glue dried.
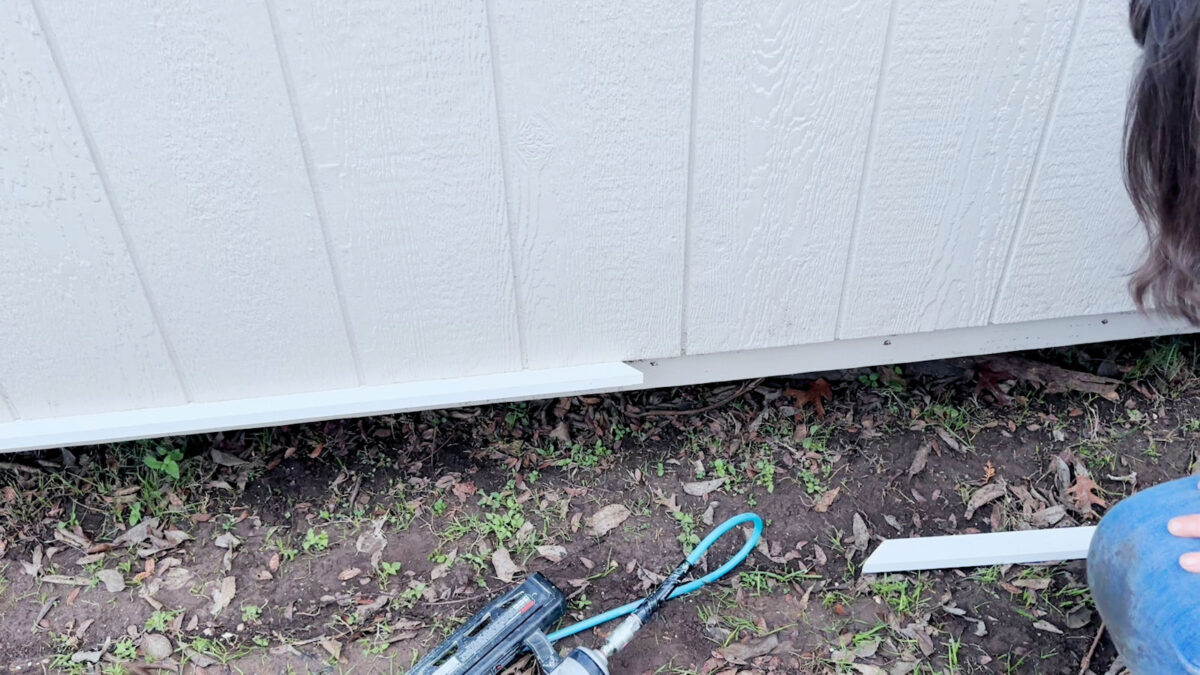
After I acquired the boards over to the constructing, I spotted that there wasn’t fairly sufficient room on the precise finish for the boards to suit into the skirting space. However I didn’t wish to lower the boards.
So as an alternative, I dug out a trench for the boards to suit.
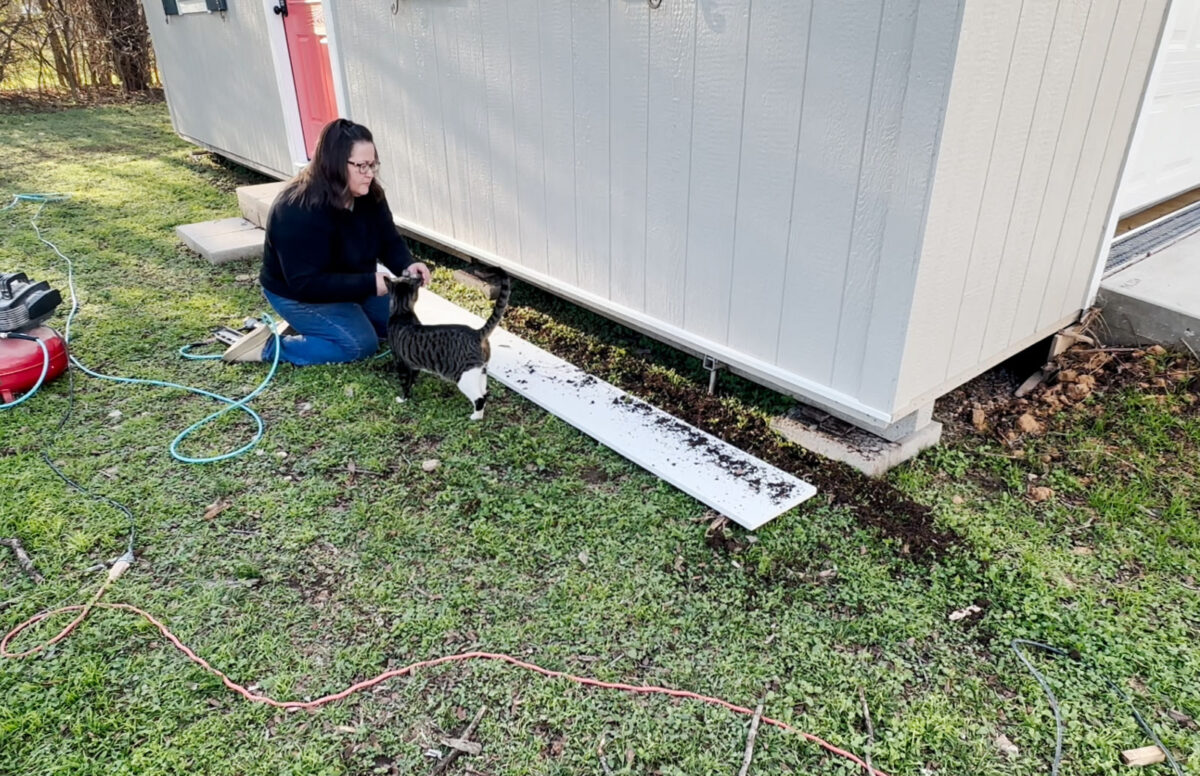
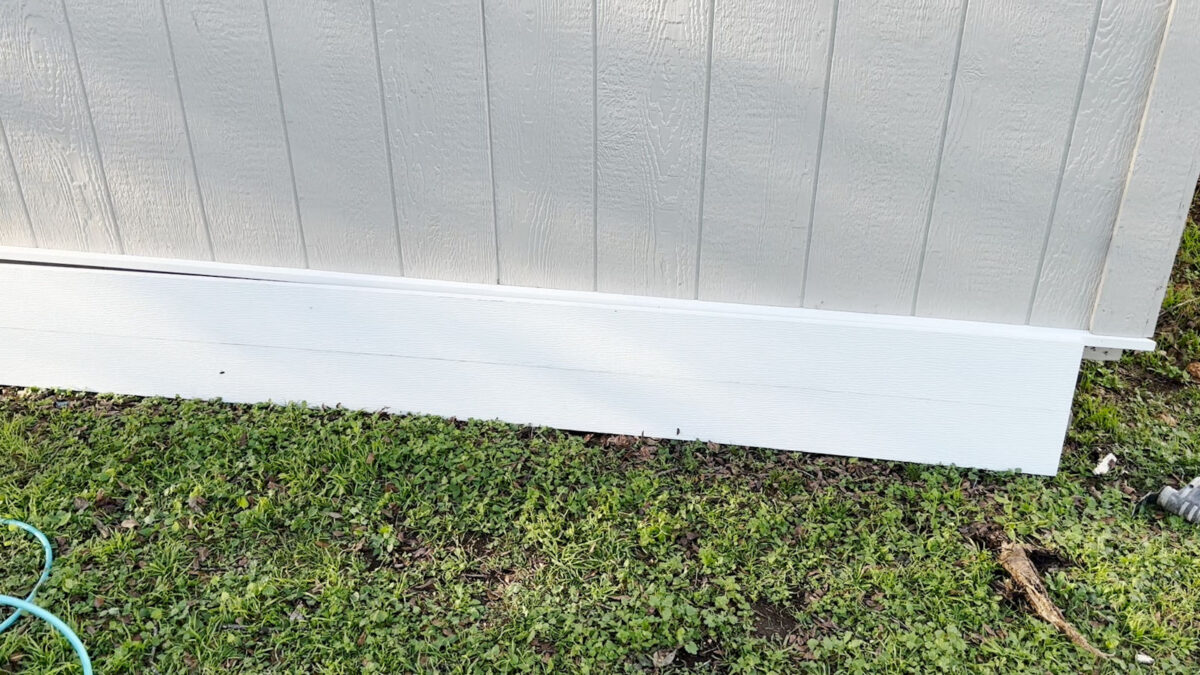
And right here’s what it seemed like when it was hooked up.
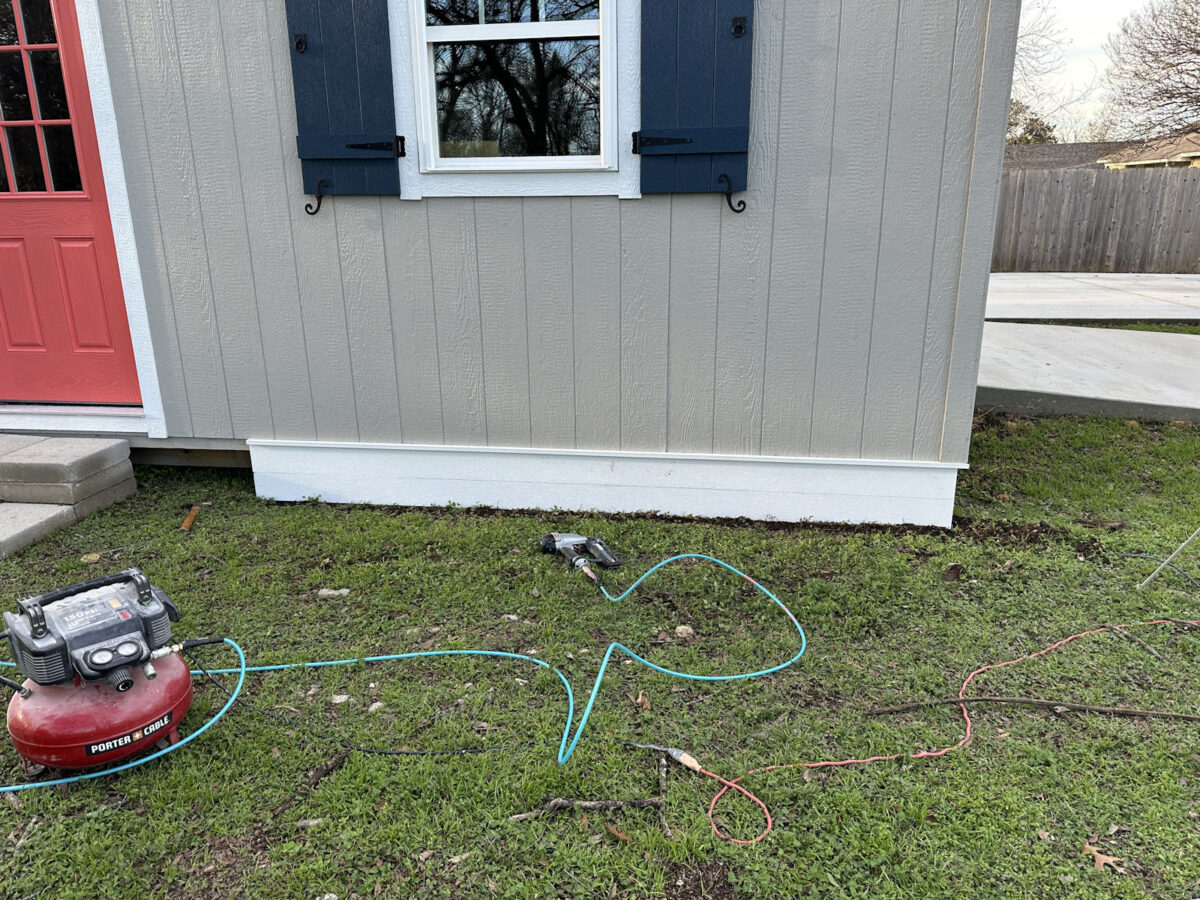
I repeated that complete course of for the opposite aspect of the entrance door, and right here’s what the workshop seemed like with each side of the skirting hooked up on the entrance of the constructing.
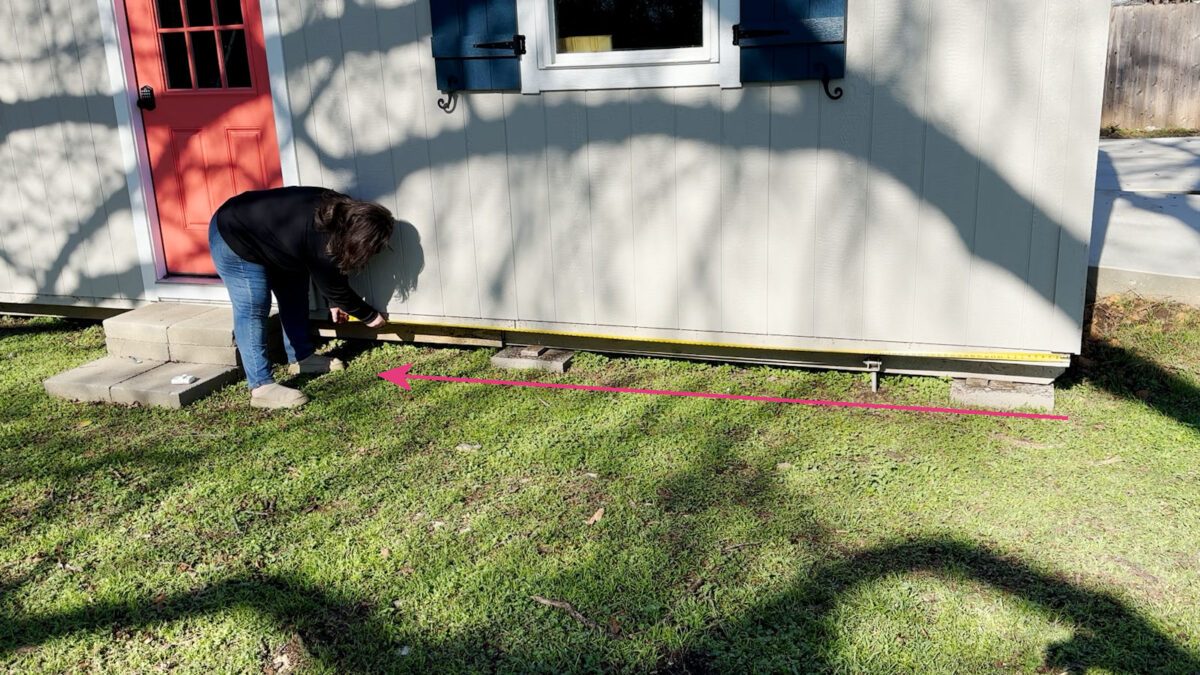
I made a decision to do the again of the constructing subsequent as a result of I knew this one was going to be the largest problem, and I wished to get it over with. This aspect is an uninterrupted 27-foot run of skirting. So I began by attaching the transition ledger board.
The longest PVC 1″ x 2″ boards solely are available in 12-foot lengths, so I needed to have two joints on this aspect. I lower the tip of the primary board at a 45-degree angle…
After which lower the following board at that very same angle…
That helps to disguise the joint far more than if the boards had straight cuts.
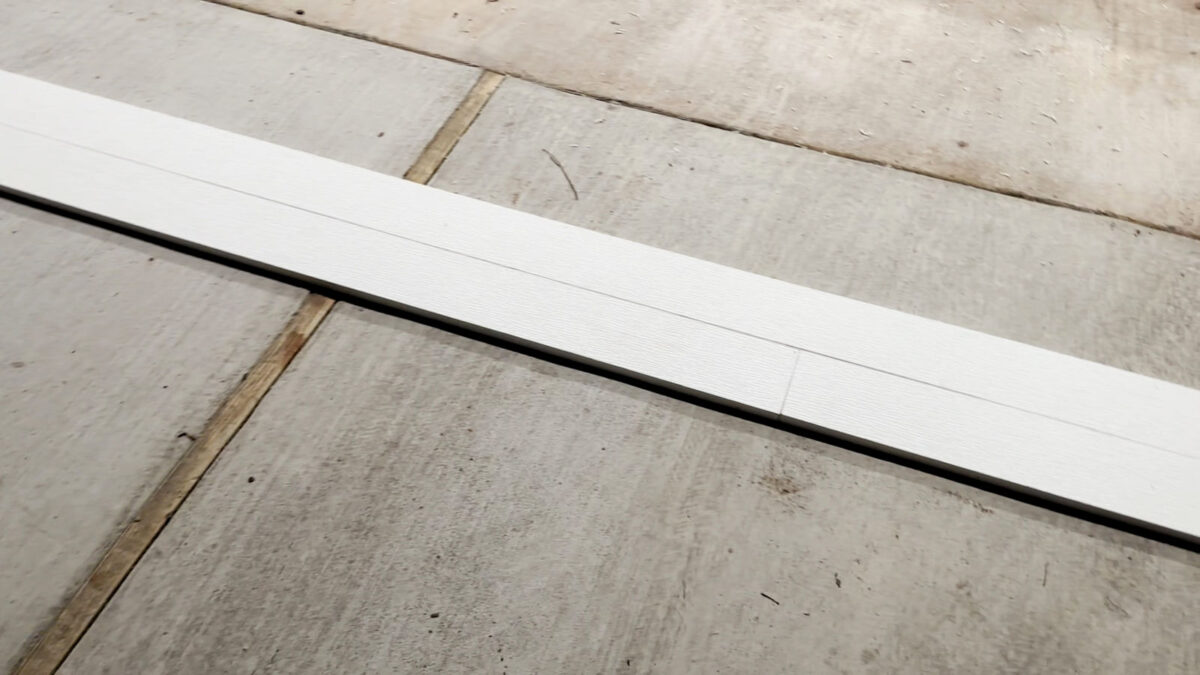
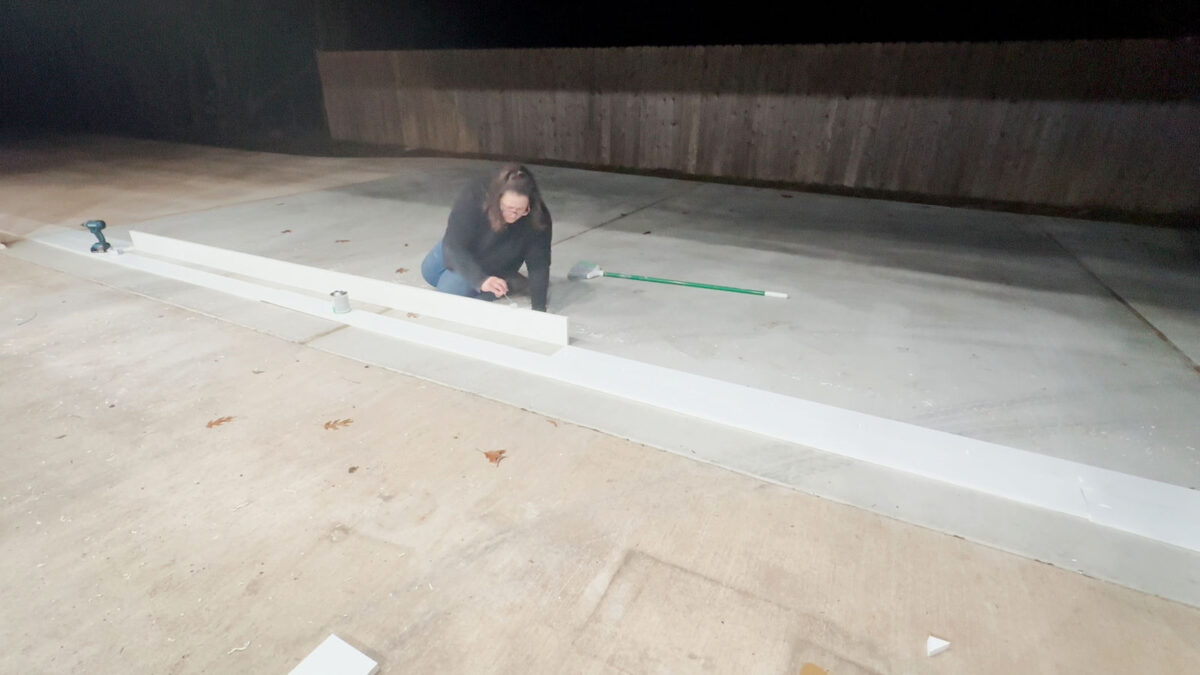
Subsequent up was the skirting. This was probably the most difficult a part of the day as a result of I needed to pre-assemble a 27-foot run of skirting. I made a decision to stagger the boards, just like how you put in hardwood flooring, in order that I didn’t have joints within the high row lining up with joints within the backside row. I couldn’t get an image of the entire 27-foot run of skirting, however you’ll be able to see within the picture under how the joint between two boards within the backside row is towards a strong board on the highest row.
I marked and drilled the pocket holes in all the boards first, after which assembled them on the driveway. Essentially the most difficult half was working rapidly sufficient with the PVC glue to get the boards collectively earlier than the glue began to dry.
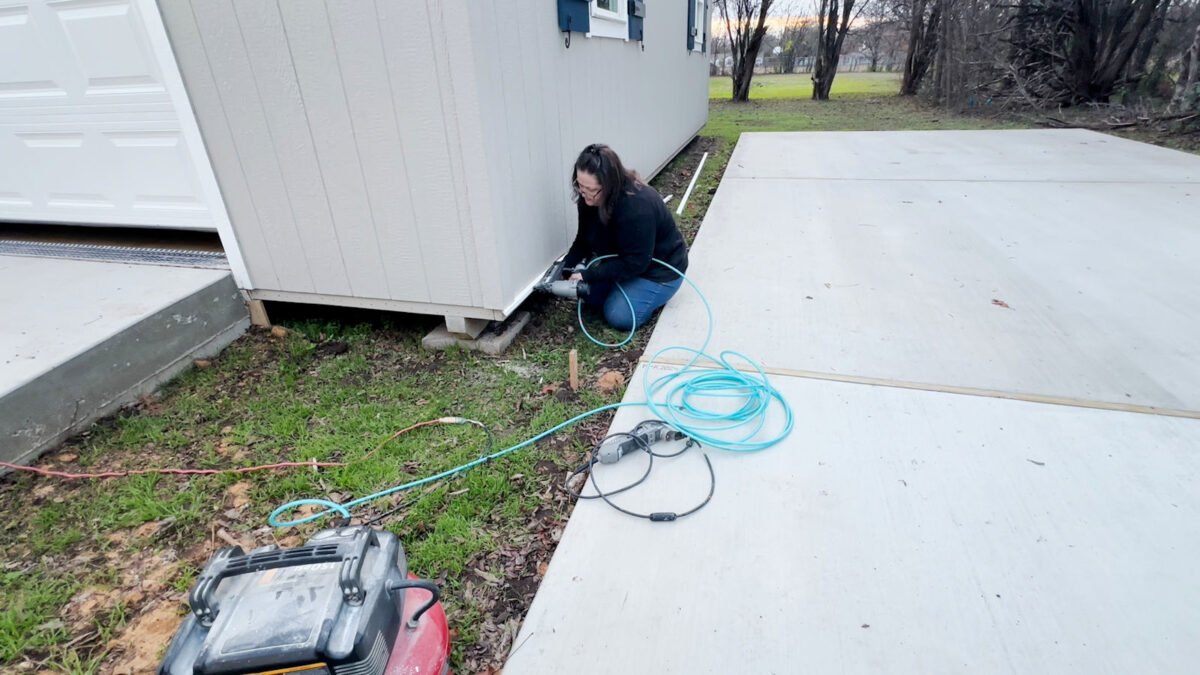
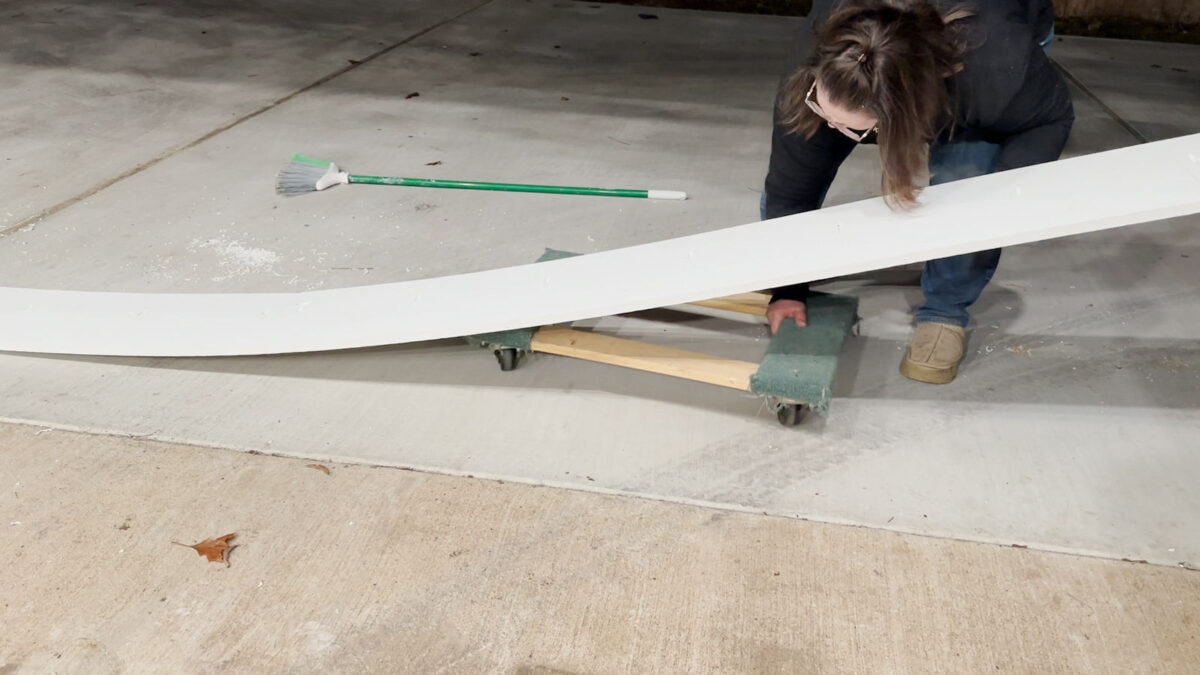
And as soon as it was all collectively, I had to determine methods to drag that 27-foot size of PVC board skirting over to the constructing. PVC boards are very flexible, not like actual wooden. And I didn’t wish to drag it on the concrete face down as a result of it could scratch up the face of the boards. So I lastly realized that I might use the furnishings dolly on one finish after which decide up the opposite finish and pull it over to the constructing.
By the point I acquired it to the constructing and lined up, not solely was I fully out of daylight, however I additionally realized that this whole 27-foot size goes to wish trenching for the skirting to suit.
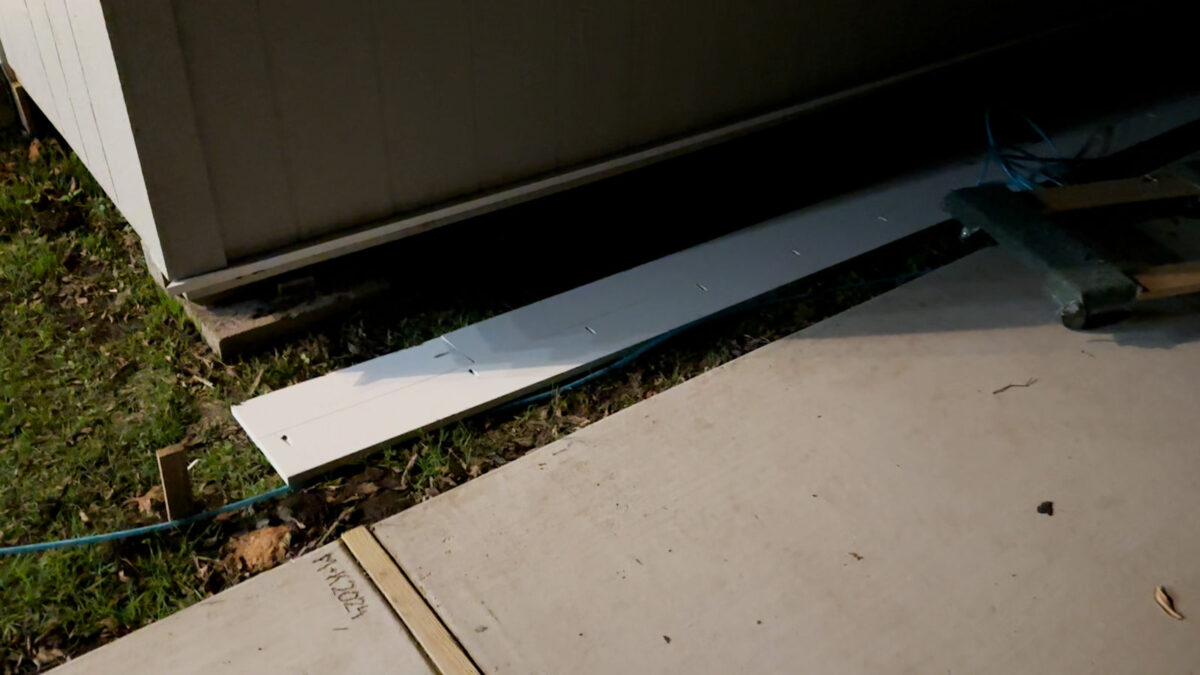
So it undoubtedly wasn’t a one-day mission. I didn’t understand how a lot digging and trenching can be mandatory, after which simply attempting to determine how to try this long term of skirting on the again of the constructing took means longer than I believed it could. However it’s a superb begin, and I feel the white skirting seems to be so good on the constructing! So, hopefully it’ll solely take yet another day, however I’ve a sense it is perhaps two or three. I suppose it is determined by how a lot trenching is required, and the way lengthy that takes.

Addicted 2 Adorning is the place I share my DIY and adorning journey as I rework and adorn the 1948 fixer higher that my husband, Matt, and I purchased in 2013. Matt has M.S. and is unable to do bodily work, so I do the vast majority of the work on the home on my own. You can learn more about me here.
Trending Merchandise