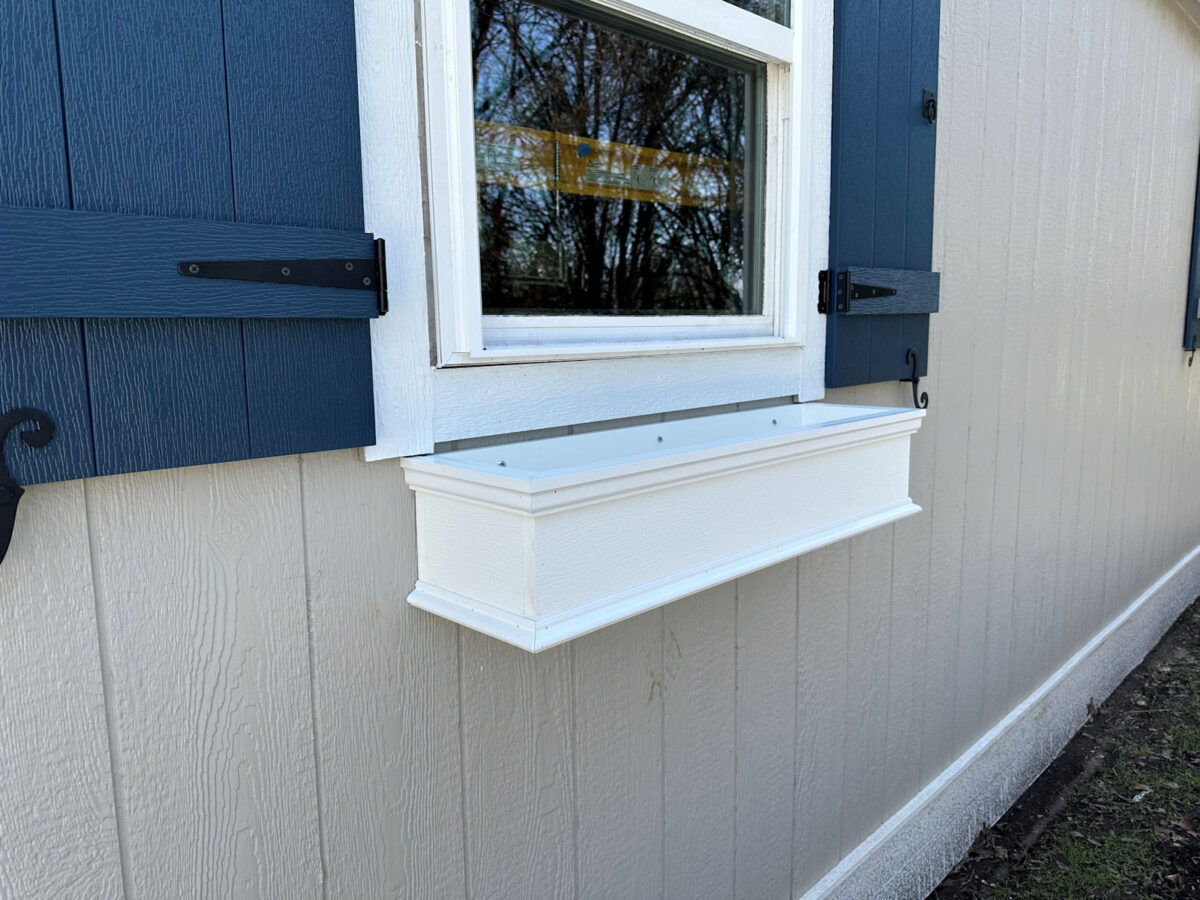
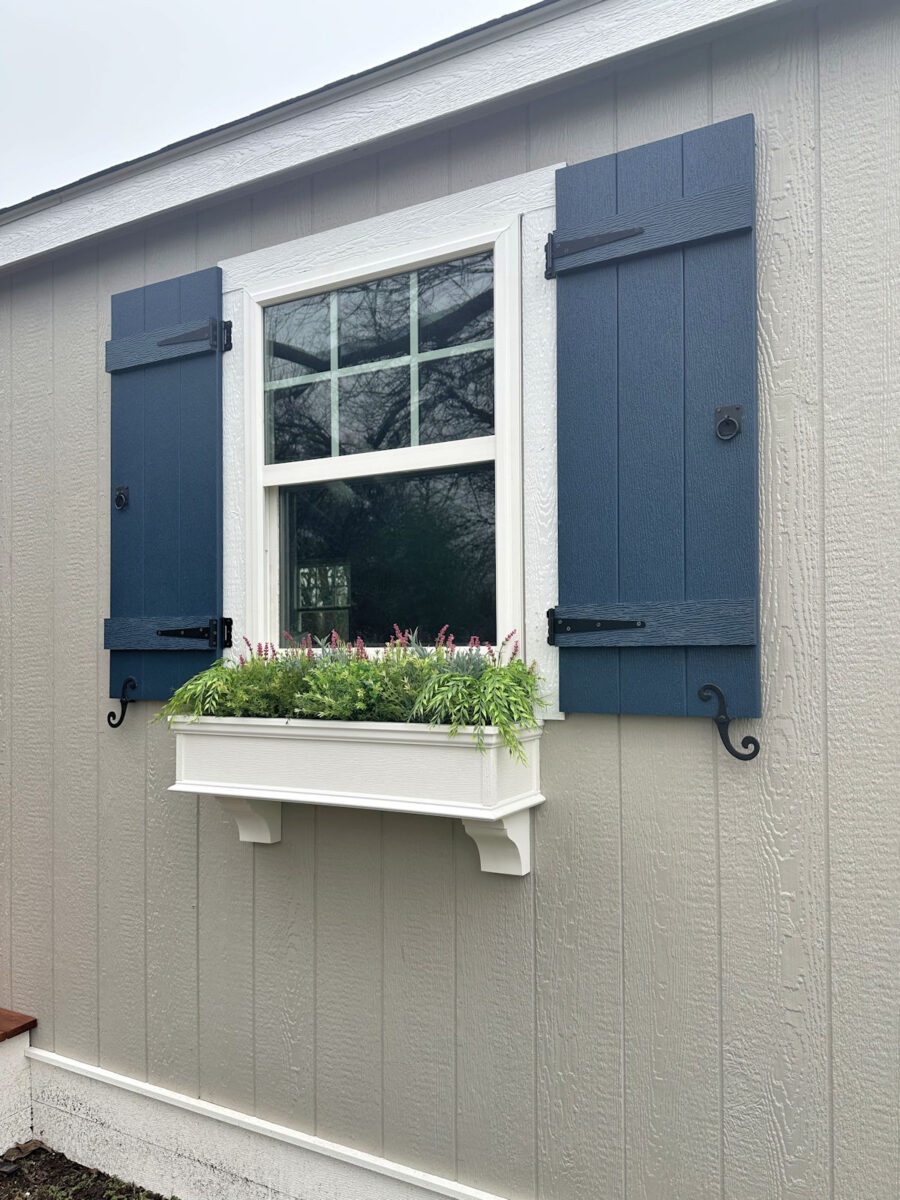
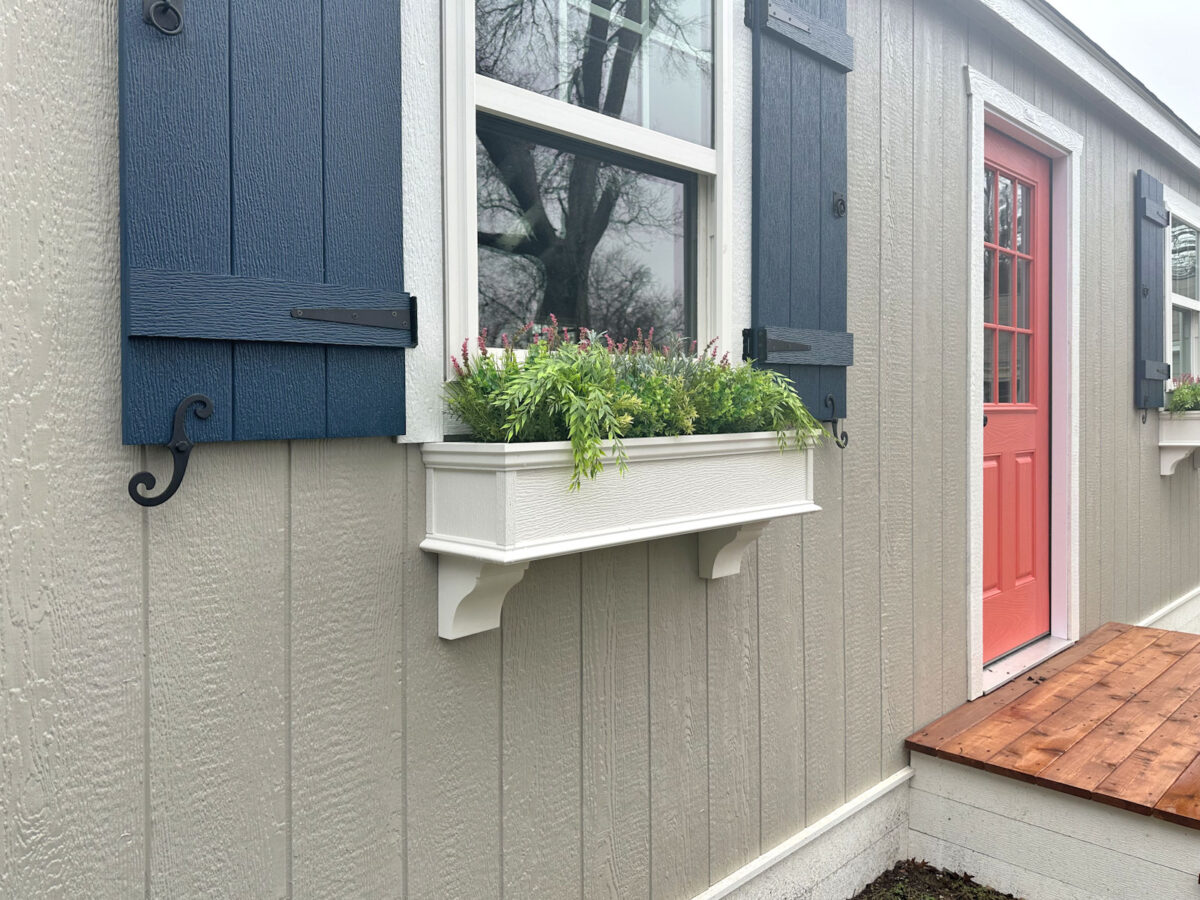
My DIY window packing containers for the workshop are executed! Y’all, this is likely to be my favourite mission but. I imply, I notice that every one of those tasks are working collectively to create the look I needed. Had I simply plopped some window packing containers onto this workshop in its authentic state and referred to as it good, they wouldn’t have executed a lot for the constructing on their very own. However of all of the adjustments I’ve made to this point, that is the one I used to be essentially the most enthusiastic about. Simply look how cute these are.
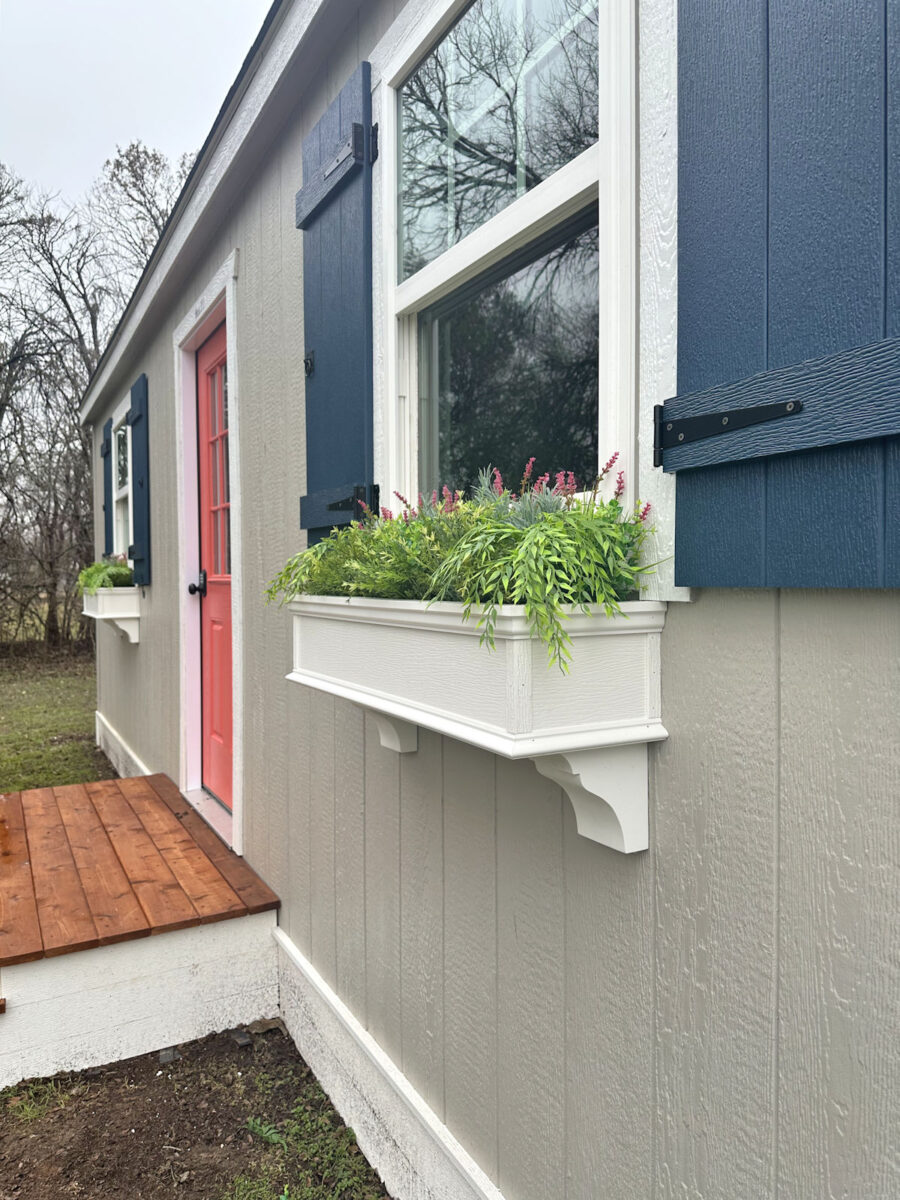
And I’ll admit that I stuffed them with pretend vegetation…for now. I needed to see what they appear to be stuffed, nevertheless it’s winter. And sure, regardless that I’m in central Texas, we do nonetheless form of have a winter. It’s been getting beneath freezing at night time, so I didn’t wish to purchase actual vegetation just for them to freeze to demise. So for now, the pretend vegetation will do. As soon as spring hits, my plan is to show these into self-watering planters and plant some actual vegetation in them.
So let me present you ways I constructed these DIY window flower packing containers. That is such a easy mission that just about anybody can do. You possibly can see your complete course of right here:
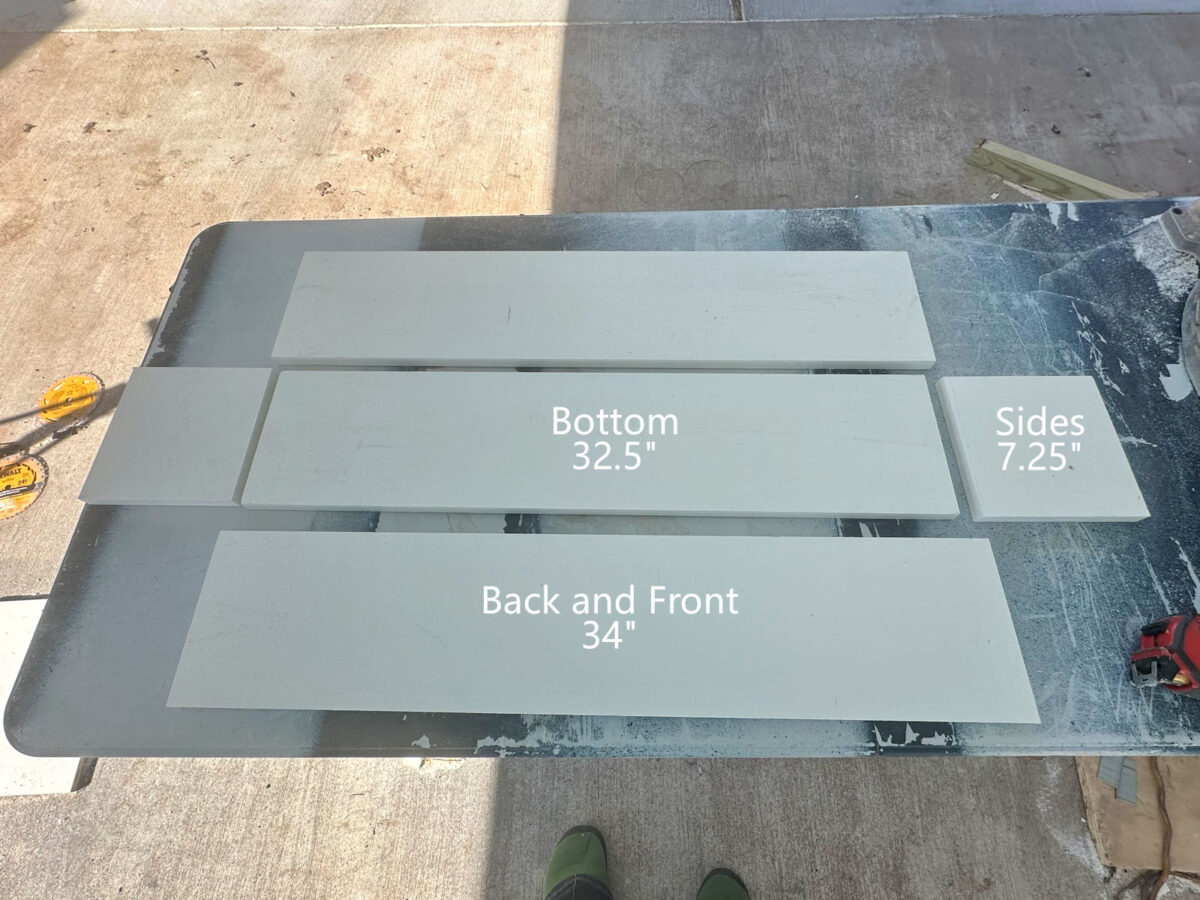
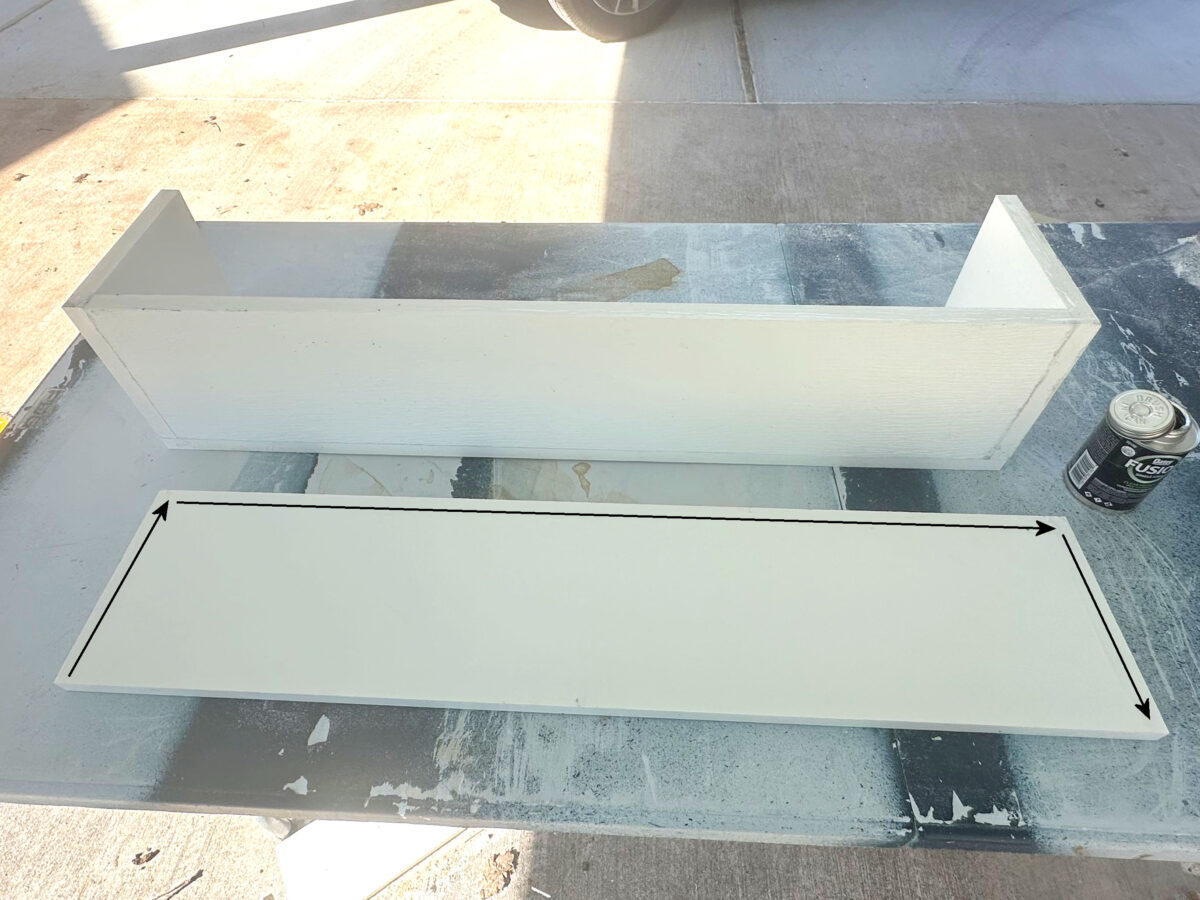
To construct the fundamental field, I used 1″ x 8″ PVC boards. After measuring my window, which was 32 inches large, and measuring the house between shutters, which was virtually 38 inches, I made a decision to construct these packing containers 34 inches large to depart sufficient room for the trim that I’d be including later. So for every field, I minimize one backside piece to 32.5″, two finish items to 7.25″, and two items for the back and front to 34″.
Since these are PVC boards, I used PVC glue to stick the boards to one another and nailed the boards along with 16-gauge 1.5-inch nails. I began by attaching the ends to the underside piece.
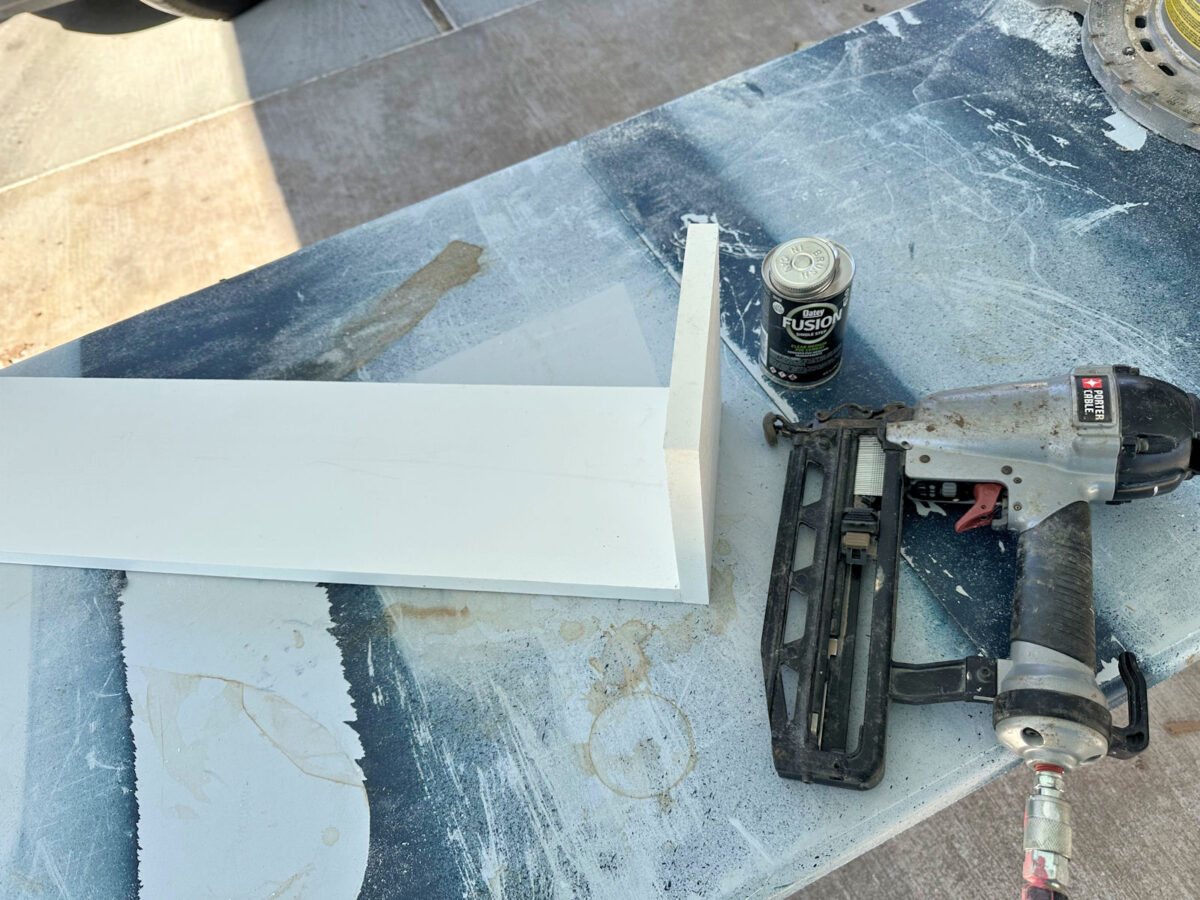
And as soon as each ends have been hooked up, it appeared like this…
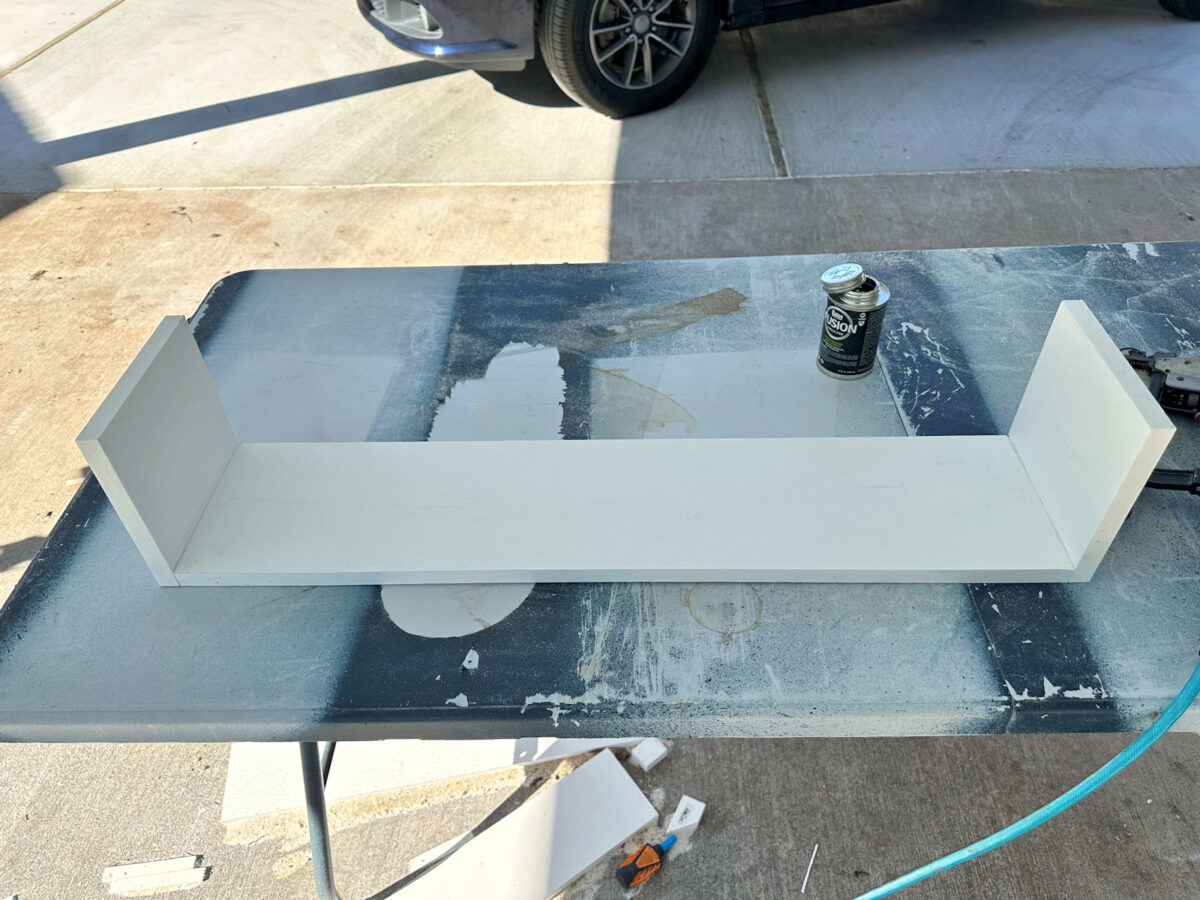
Then I positioned the underside/ends portion on its facet, and put PVC glue on the perimeters of the underside/ends, after which put extra glue across the ends and backside of the entrance piece. When working with PVC glue, you must work shortly since you need the glue to be actually moist if you put the items collectively. And PVC glue dries pretty shortly.
As quickly as I utilized a liberal quantity of PVC glue to these areas, I put the entrance board in place and nailed it on all the way in which across the sides and backside.
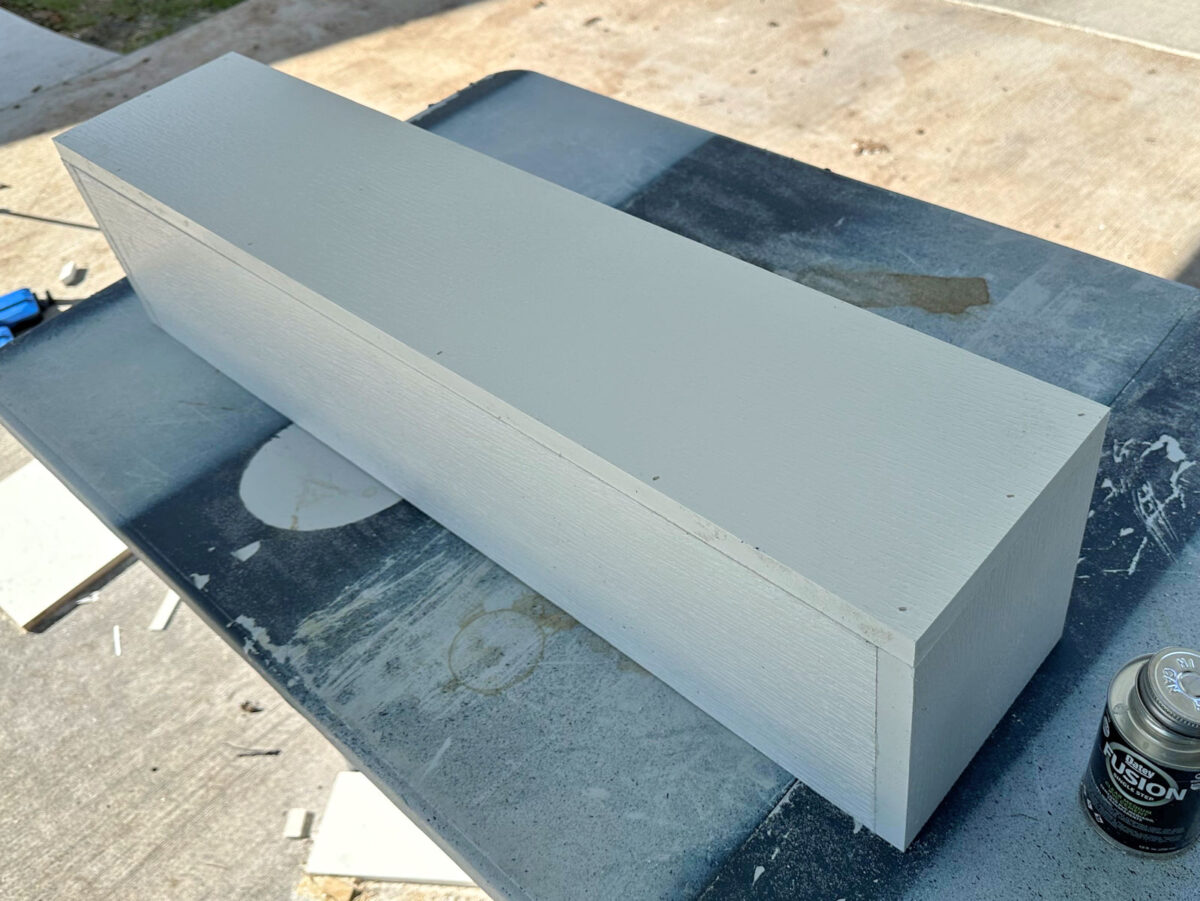
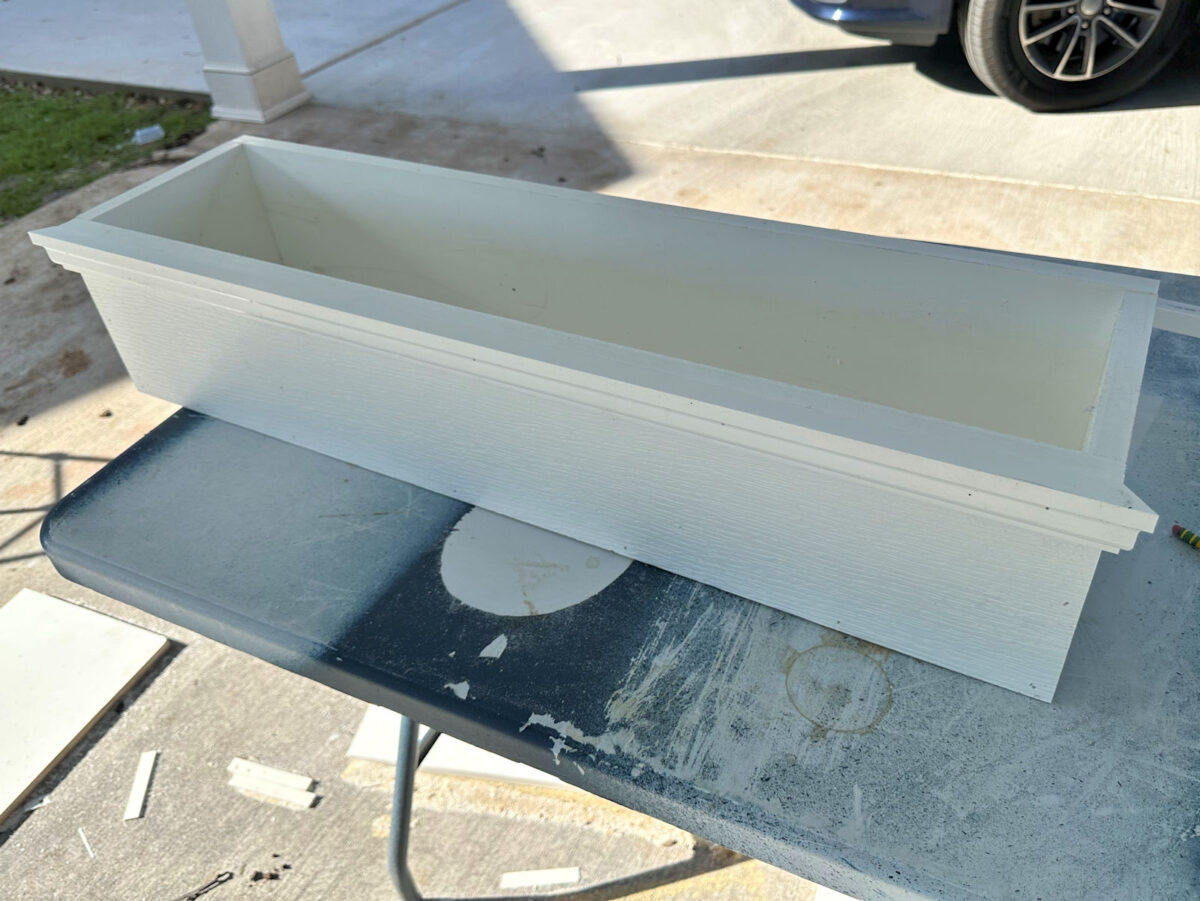
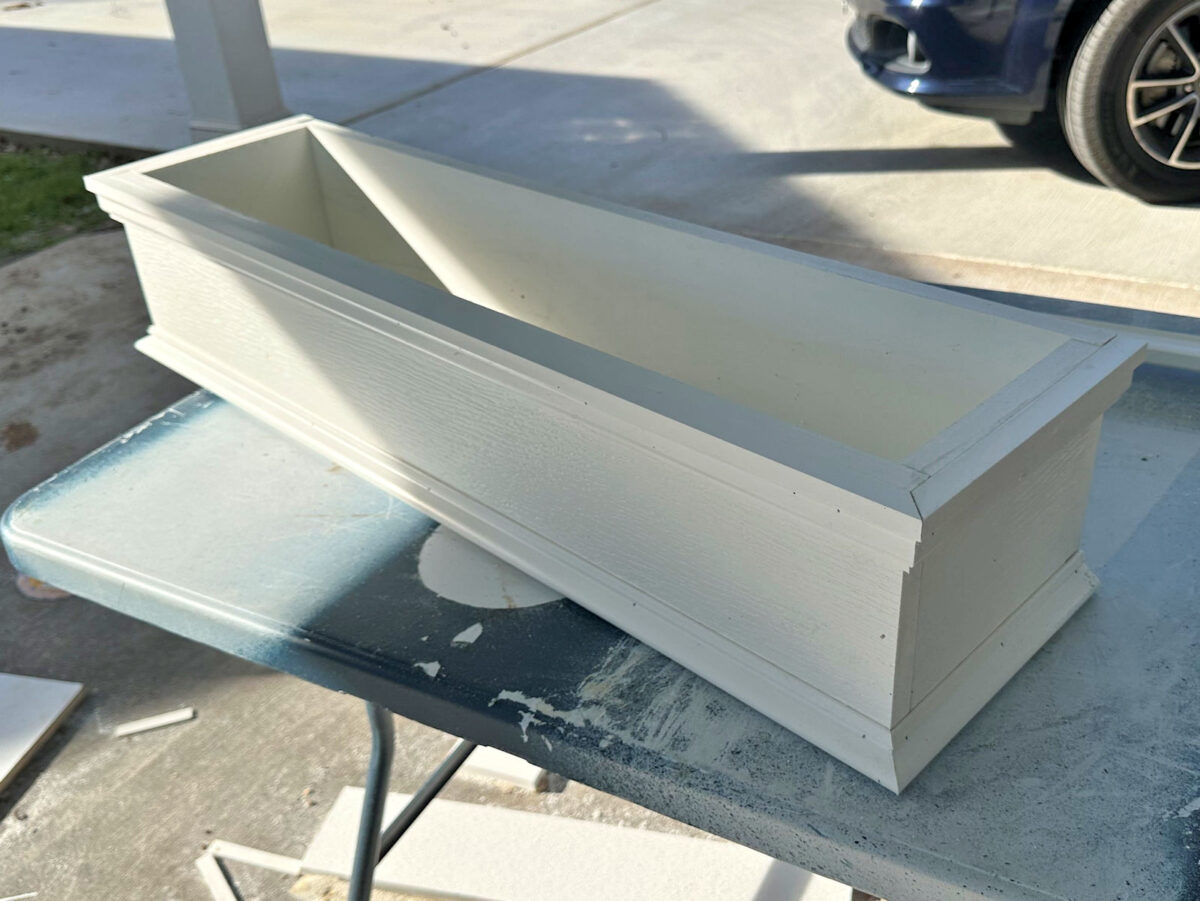
I repeated that course of for the again piece, after which I had a really primary, no frills, plain field.
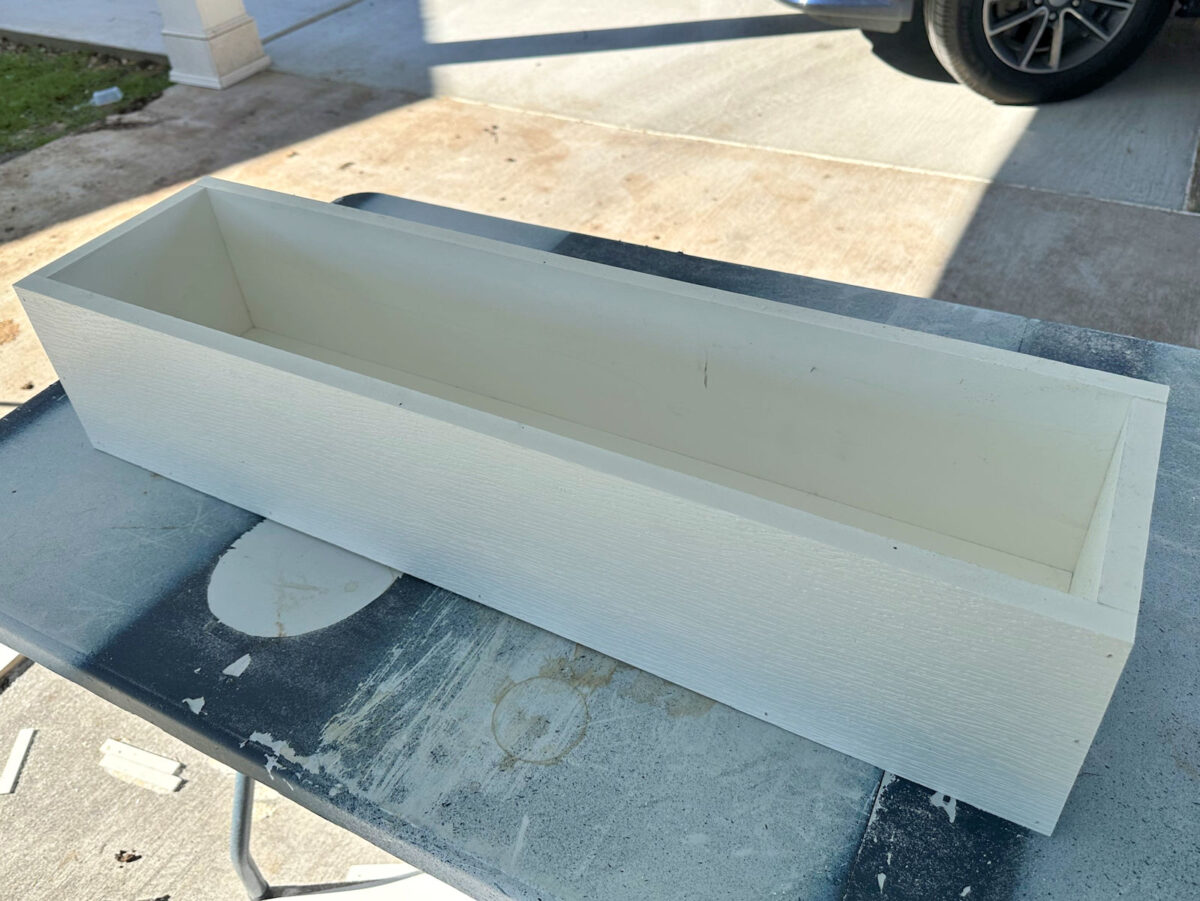
I took these photos whereas engaged on the 2 packing containers for the again of the workshop, and when constructing these packing containers, I went forward and trimmed them out earlier than I hung the packing containers on the workshop. However for those who watch the video of the method, you’ll see that I hung the plain packing containers on the constructing after which trimmed them out. Each methods labored simply effective, however I feel I most popular hanging the plain packing containers first after which trimming them out. After all, that solely works for those who’re hanging your window packing containers on an simply accessible window. In the event you’re making them for a excessive window, you’ll clearly need them to be fully completed earlier than hanging them.
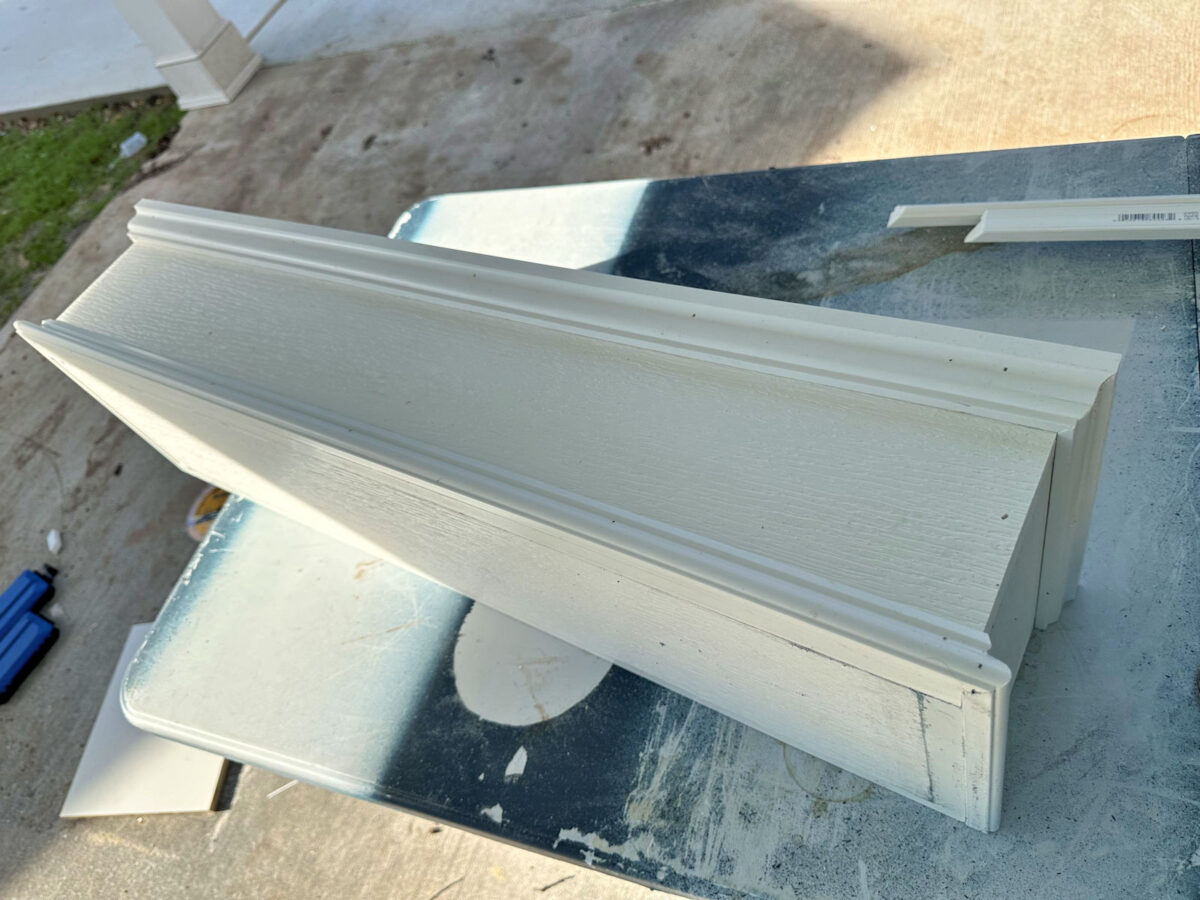
First, I trimmed out the highest fringe of the field utilizing a PVC molding referred to as shingle molding. The meant goal of shingle molding is to be used on the fascia boards of a home just below the shingles. Nevertheless it’s such a fairly molding that I exploit it as a multi-purpose trim.
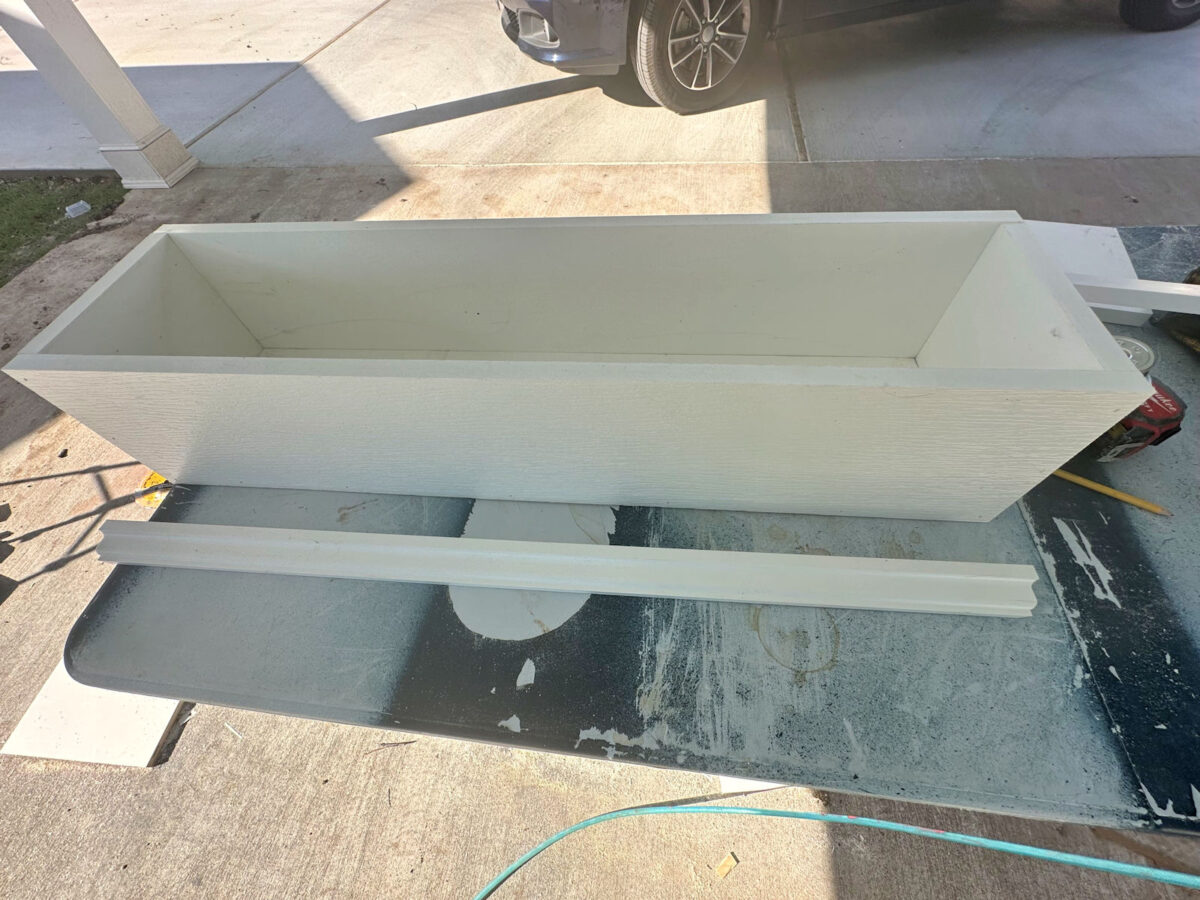
Right here’s a better take a look at the shingle molding…

To connect the entire trim, I used PVC glue and adopted up with 18-gauge 1-inch nails. I solely utilized the trim to 3 of the 4 sides of the field since I wanted the again to be fully flat to suit in opposition to the constructing. So utilizing my miter noticed, I minimize the entrance piece mitered on each ends.
After which I minimize the facet items mitered on the entrance corners, and minimize straight alongside the again edge the place it will meet the constructing. In case your mitered corners aren’t good, don’t fear about that. That’s what caulk and exterior wooden filler are for. 😀
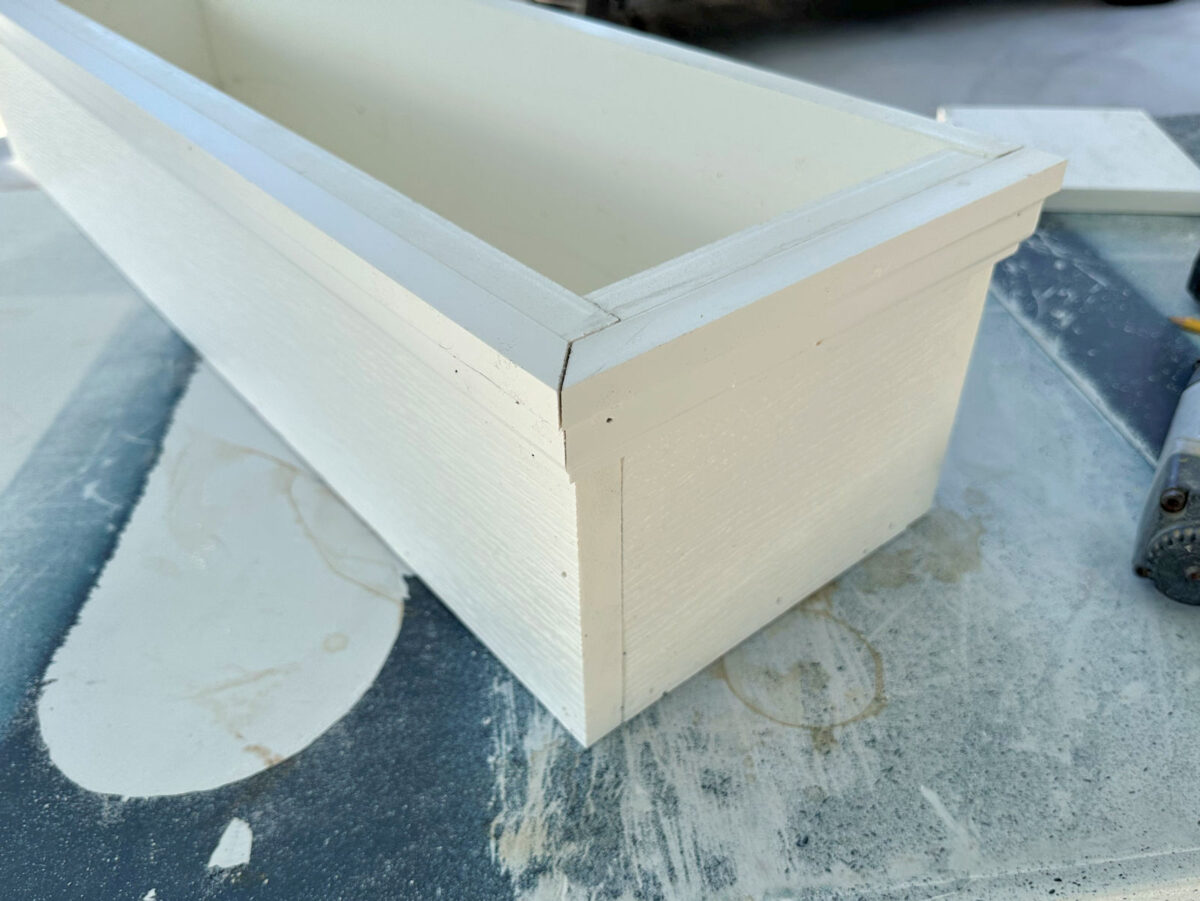
Right here’s a take a look at the field with the highest trim hooked up. You possibly can already see how the trim actually clothes up the plain field.
To trim out the underside fringe of the field, I used PVC base cap molding. The meant goal of base cap molding is to decorate up plain baseboards (i.e., to cap off plain baseboards), however once more, I discover myself utilizing base cap molding for as a normal goal trim as a result of it’s so versatile. Right here’s a better take a look at base cap molding…

Utilizing my miter noticed, I minimize and utilized that molding to the field in the identical method I did the shingle molding across the prime.
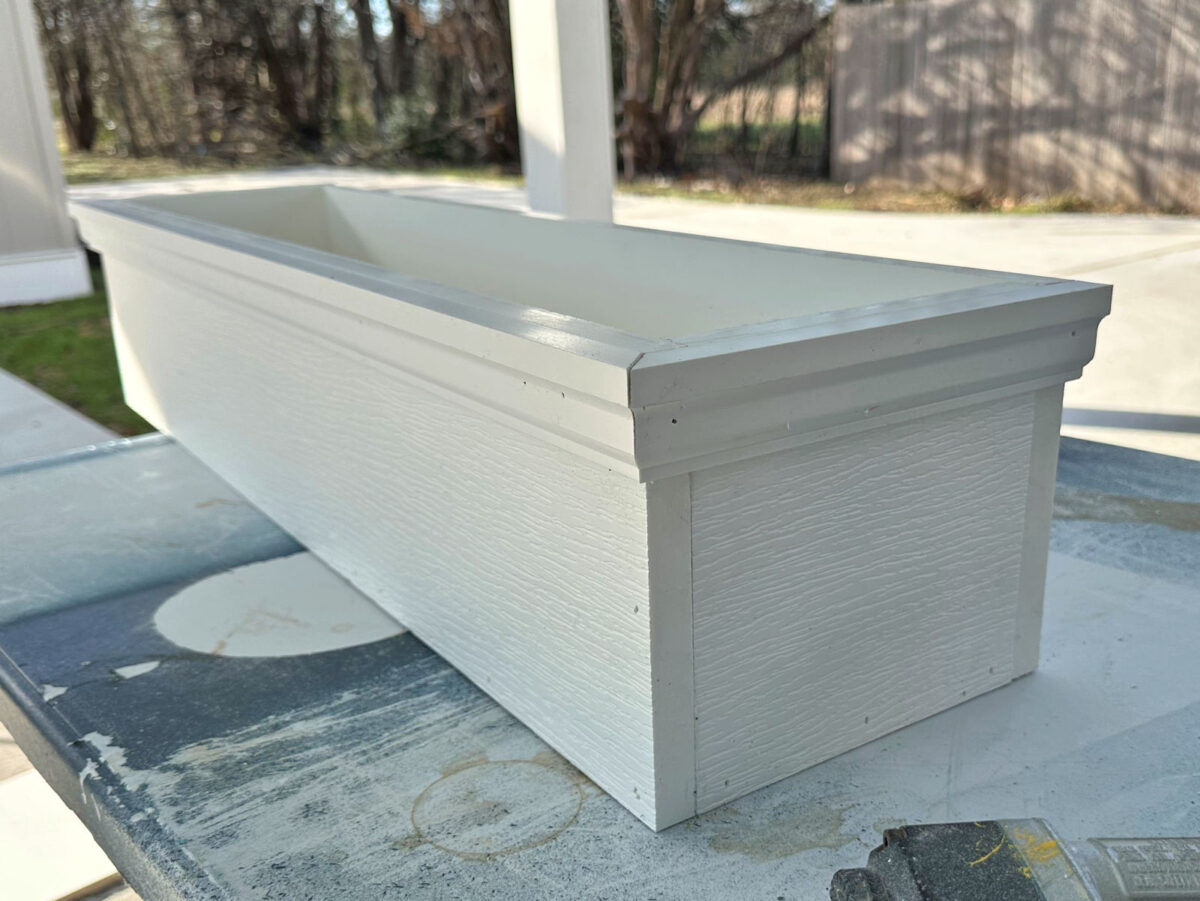
And with the bottom cap molding on, the field was actually beginning to appear to be a fairly planter.
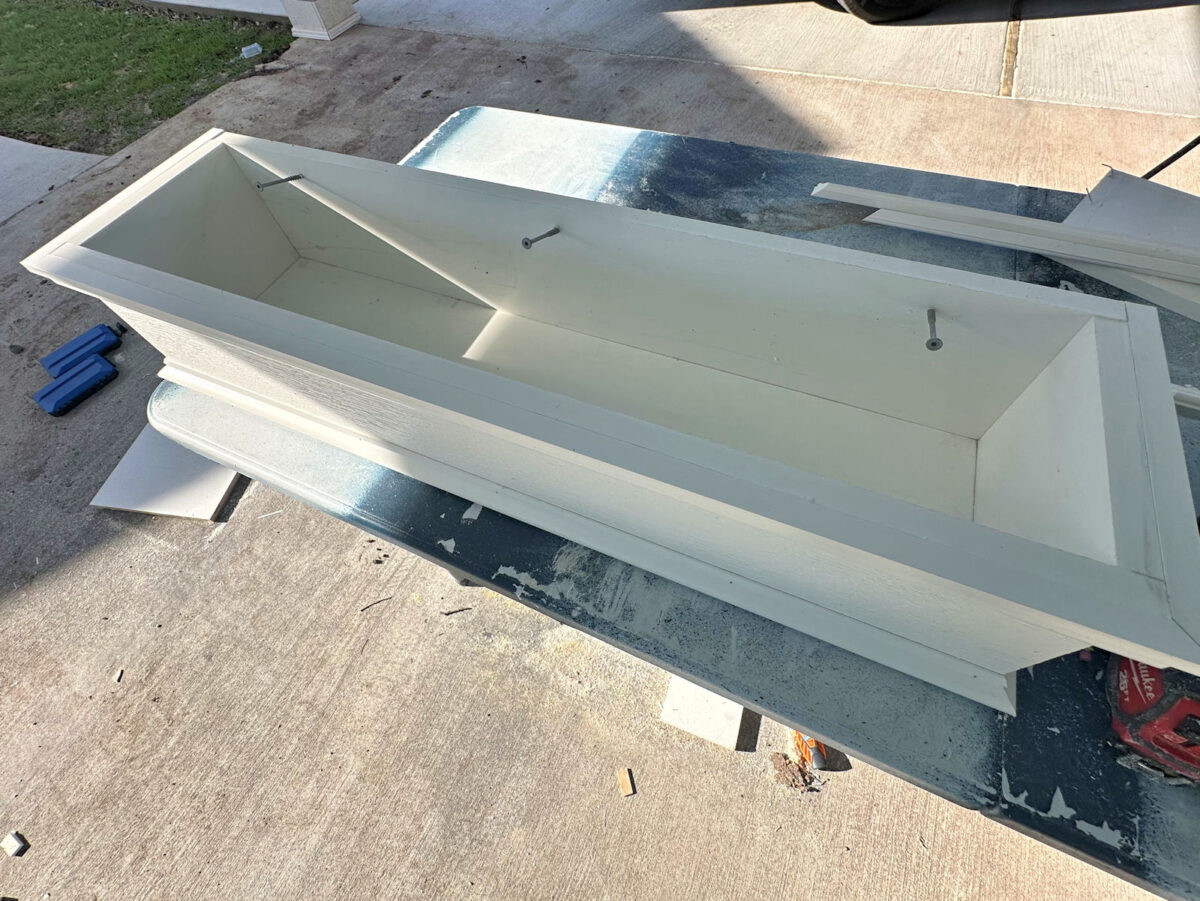
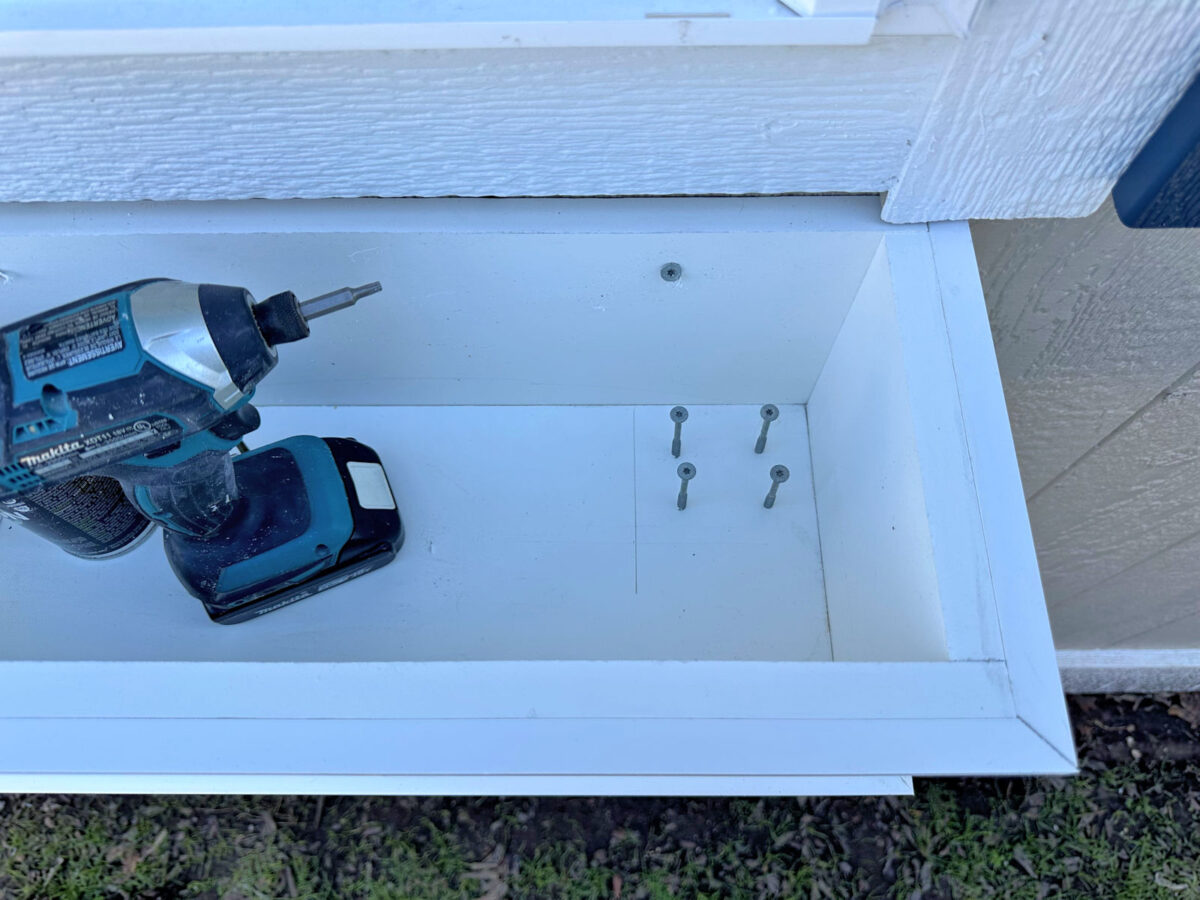
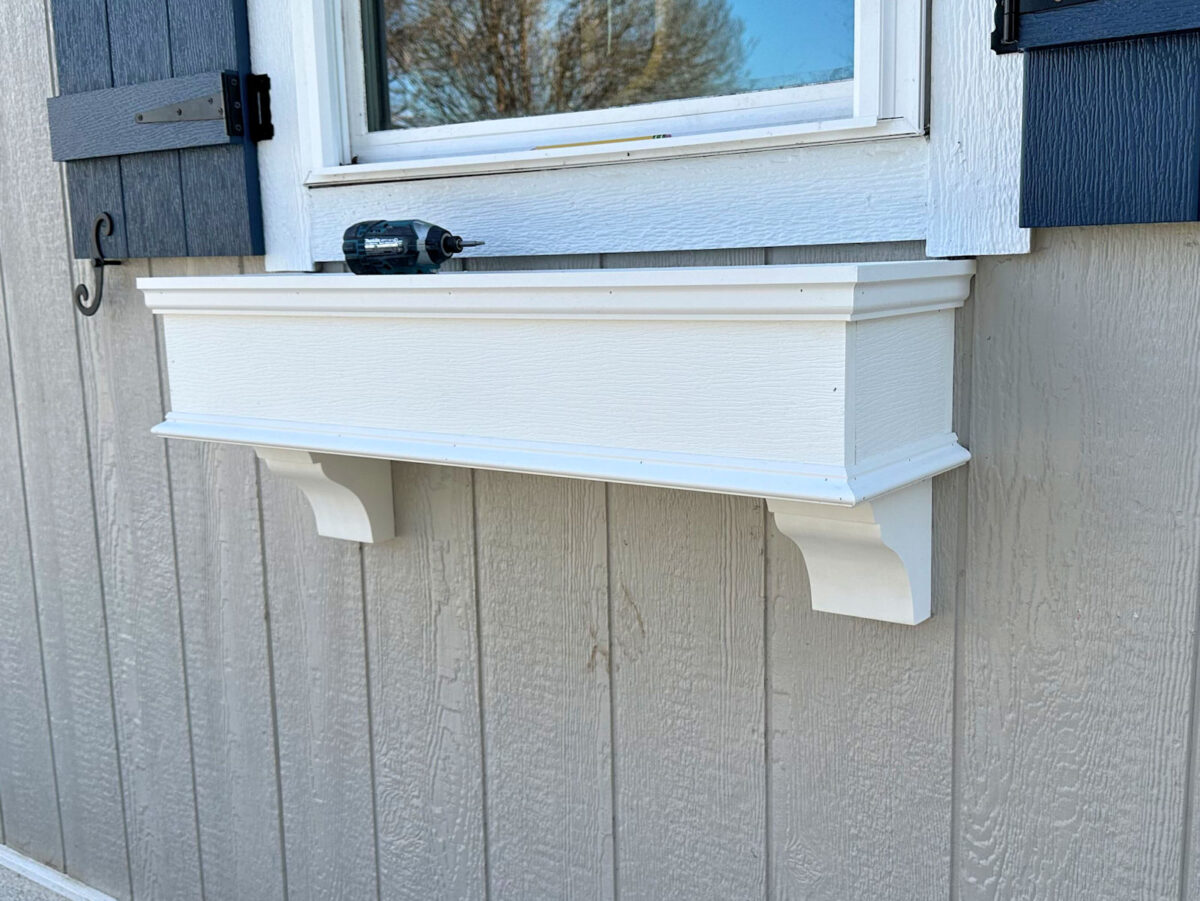
At this level, I made a decision to hold these packing containers on the constructing. And since I work alone, I needed to make this so simple as potential. I went forward and began three screws via the again of the field. I used three 3-inch exterior screws for this.
After which I held the field up in place and screwed into to the siding. This course of was extremely simple with the kind of siding I’ve on this constructing. When you’ve got stone, it’s going to take a bit extra work that may require a masonry drill bit and masonry screws. And in case you have lap siding, the field may must be shimmed to get it to hold straight somewhat than at an angle. You’ll need to assess what you want on your explicit scenario.
I purchased these earlier than I purchased my band noticed, so I had no selection however to purchase ready-made corbels. However in case you have a band noticed, you may design and minimize your personal corbels. When you’ve got a band noticed, you can also make your personal PVC corbels (or wooden corbels) by laminating layers of 1″ boards collectively for the thickness you need (mine are created from 4 layers of 1″ PVC boards). Glue them collectively and clamp them securely till the glue is totally dry. After which minimize your design with the band noticed. However since I didn’t have a band noticed on the time, I purchased ready-made corbels.
First, I positioned the corbel contained in the field and marked the width of the corbel with a pencil to find out the place the screws wanted to be positioned. After which I began 4 screws.
After which I used a liberal quantity of PVC glue on the highest of the corbel and the underside of the field, and held the corbel in place whereas screwing it to the field with these 4 screws I began contained in the field. And right here’s a take a look at the field with each corbels hooked up.
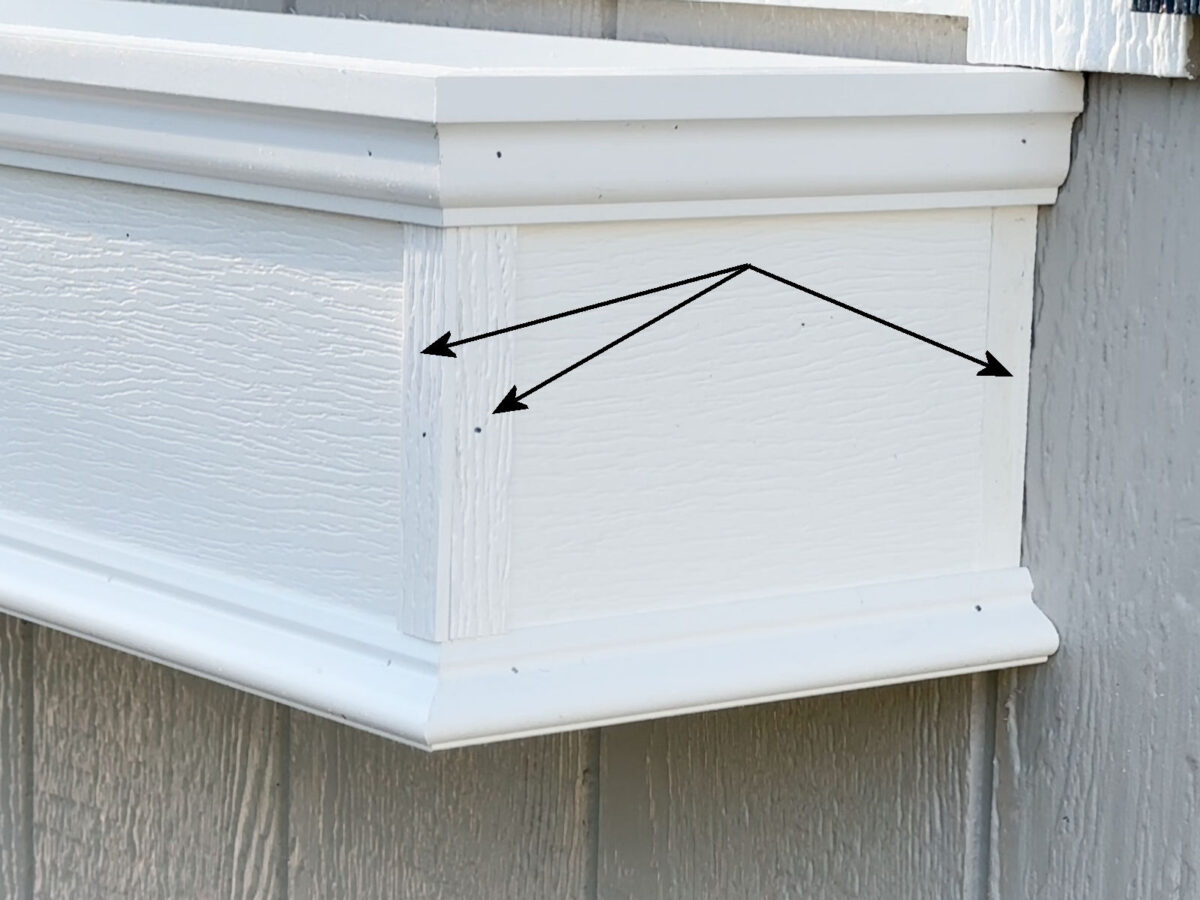
And at last, I needed to trim out the corners of the field in order that the minimize edges of the 1″ x 6″ boards of the field didn’t present. I used some scrap 1″ x 2″ PVC boards that I had available, and I minimize these down utilizing my miter noticed in order that I had skinny strips that have been 3/4″ large and just below 1/4″ thick. In the event you don’t have a desk noticed, you should purchase skinny PVC lattice or display molding for this. And I hooked up these items vertically on the entrance corners and alongside the again the place the field met the constructing.
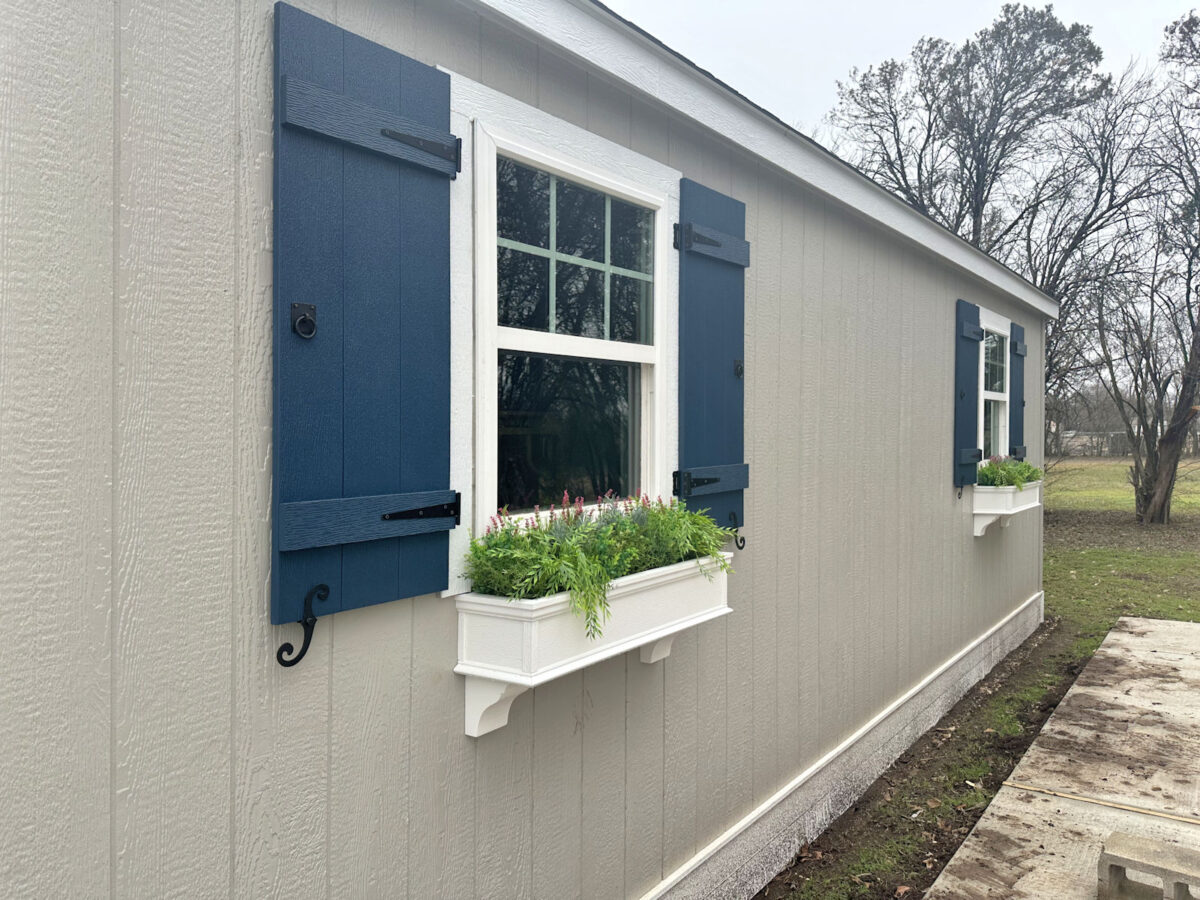
And with that, the field construct was executed. I nonetheless must caulk and paint (identical to the skirting and the entrance steps) however the climate hasn’t been cooperative these days. So I’ll want to attend till now we have a number of sunny and dry days to do all of my caulking and portray. However I’ll be portray all of it white anyway, so it gained’t change the look a lot, if in any respect. However for now, I’m totally having fun with the look of my uncaulked, unpainted flower packing containers.

For now, I went forward and drilled two small drainage holes on the underside of every field. I’ll have the ability to fill these holes fairly simply with caulk as soon as I get able to convert these packing containers to self-watering packing containers within the spring. However for now, with the entire rain in our forecast over the following week (at the very least), I didn’t need these filling up with rainwater.
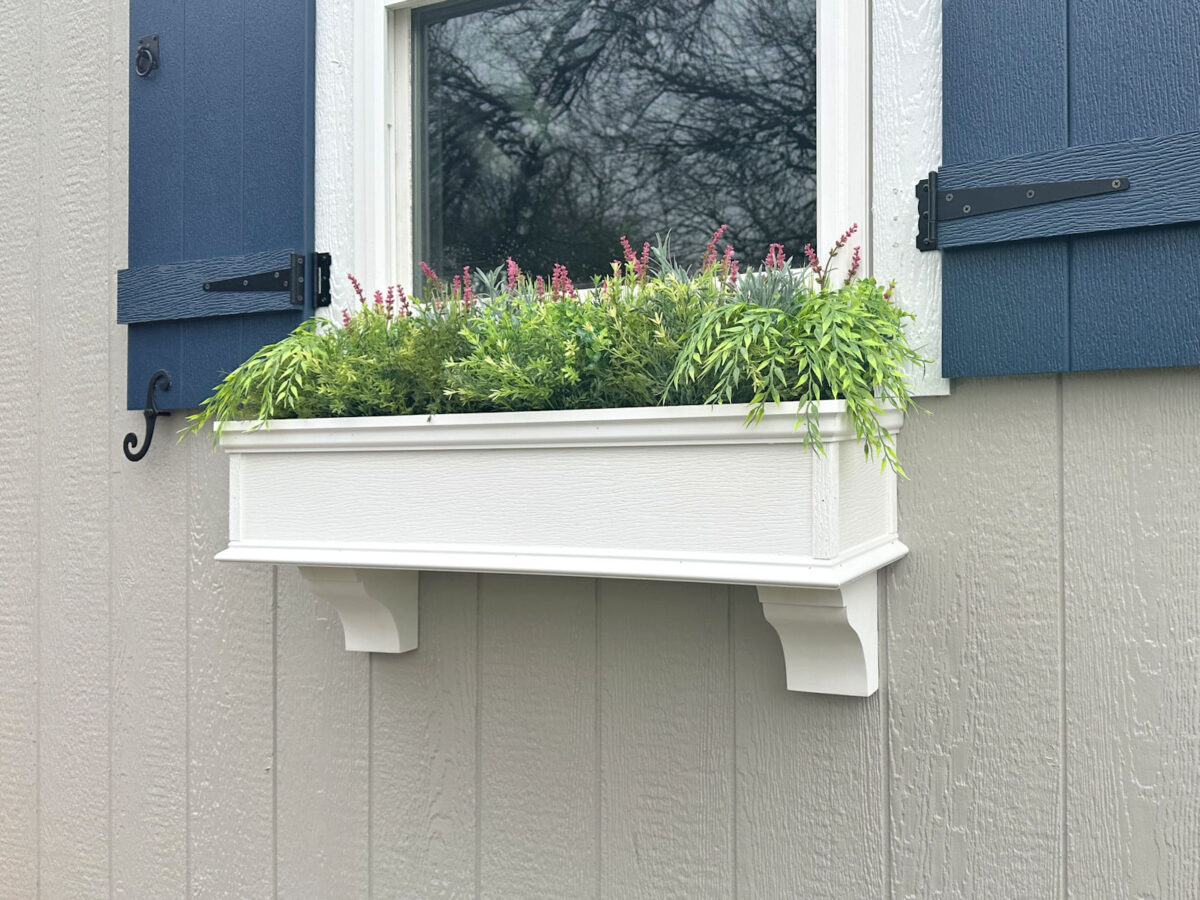
I simply love how these turned out. I feel they’re the right contact for my workshop, they usually add some a lot wanted dimension to the in any other case very flat constructing.
And whereas pretend vegetation aren’t very best, I’m pleased to have them stuffed with one thing that offers some colour and curiosity to the packing containers.
I spent about $200 on pretend vegetation for 4 packing containers. I don’t assume that’s too unhealthy. I plan to maintain them and use them every winter, if obligatory. I don’t need empty window packing containers. 😀

So, that’s it! One other mission marked off of my listing for the 12 months. And I couldn’t be happier with how they turned out.
I did make 4 flower packing containers in order that the again home windows (the home windows which can be seen from the road) might look cute, too. However what a large number this facet seems to be like with that soiled skirting. However a bit a part of the answer for that drawback is within the works, and I’ll share that tomorrow.
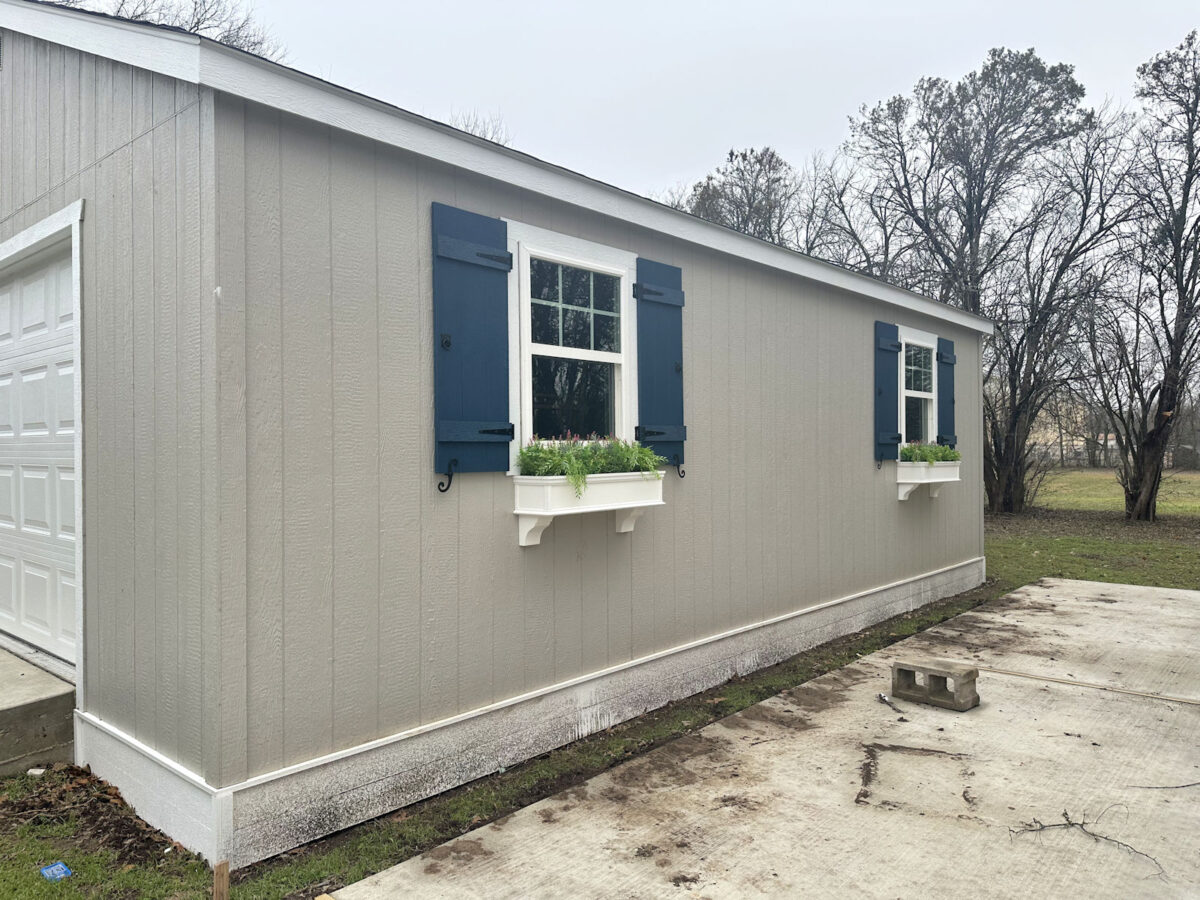
For now, I simply attempt to look previous the filth and admire my cute little window packing containers. 😀
I’m nonetheless engaged on the downloadable PDF for this mission. As soon as I’ve it prepared, I’ll add the hyperlink right here. So verify again later at present if you wish to obtain these directions.
If you wish to sustain with my 2025 listing of residence targets (and my progress with hyperlinks to completed tasks!) you may see that right here: 2025 Master List of Home Goals

Addicted 2 Adorning is the place I share my DIY and adorning journey as I transform and adorn the 1948 fixer higher that my husband, Matt, and I purchased in 2013. Matt has M.S. and is unable to do bodily work, so I do nearly all of the work on the home on my own. You can learn more about me here.
Trending Merchandise