
I can’t imagine it’s lastly achieved. This room was, by far, my largest undertaking but in our home. This was far larger and extra in depth, involving far more DIY initiatives, than even the grasp rest room. And it’s been “in progress” for years. However lastly, and actually as of this morning after I completed portray the door, it’s completed!
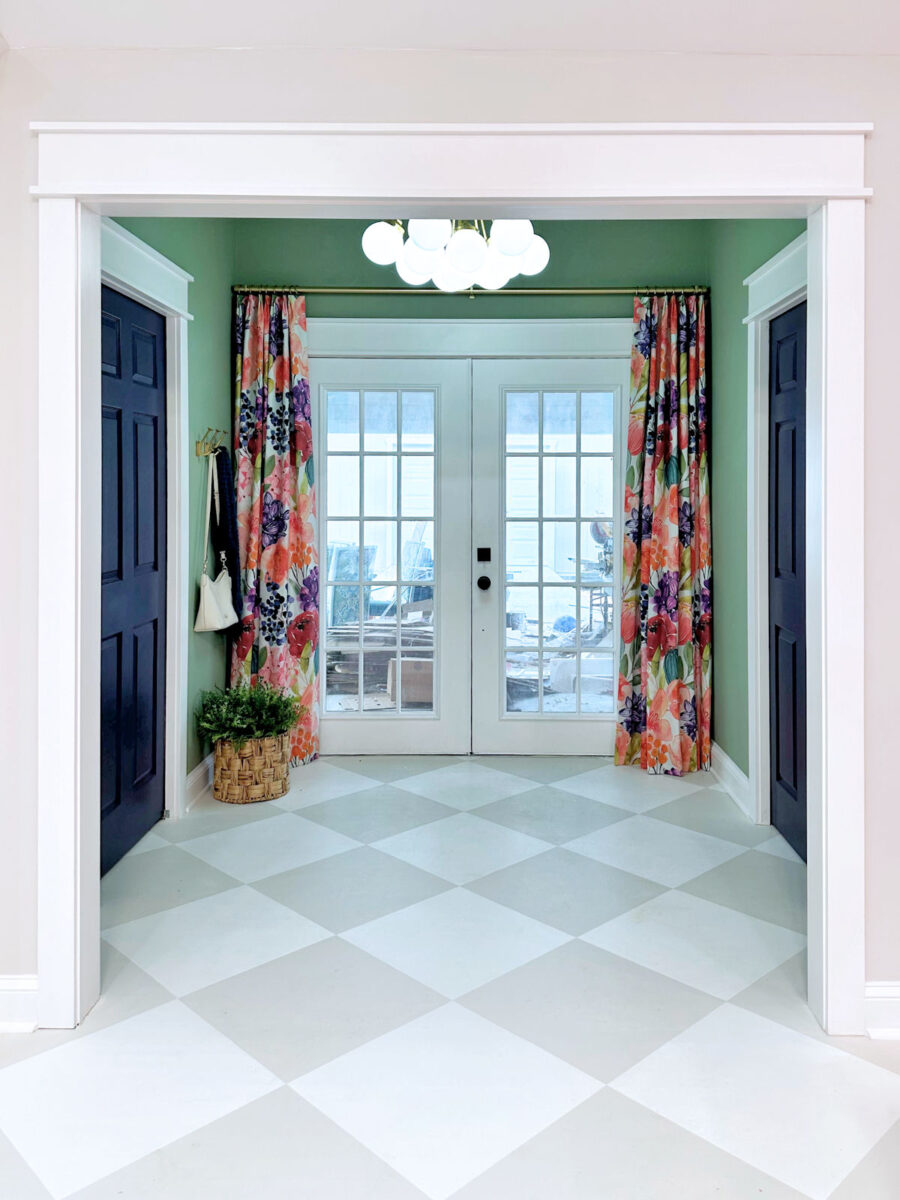
I had actually hoped to get the carport cleaned out earlier than taking these “after” photos as a result of the carport is full of stuff and it exhibits via the again doorways of the studio. However I made a decision that we’ve all waited far too lengthy as it’s to see this room completed, so I wasn’t keen to delay any longer. So please be so variety as to disregard the view via the again doorways. I hope to spend this night and all day tomorrow cleansing that up in order that I can present y’all our completed driveway!! However for now, let’s simply fake that the view out the again studio doorways is beautiful, and we’ll give attention to what’s contained in the room.
I’ve little or no commentary on this room. I did most of that on this last post the place I walked via the timeline of how this room took place. So in the present day, I’ll simply present you a number of earlier than photos, and we’ll bounce proper to the after photos and skip all of the in between.
Simply as a reminder, my studio was initially the storage. So standing on the entrance storage doorways and looking out in the direction of the again yard, this was the view…
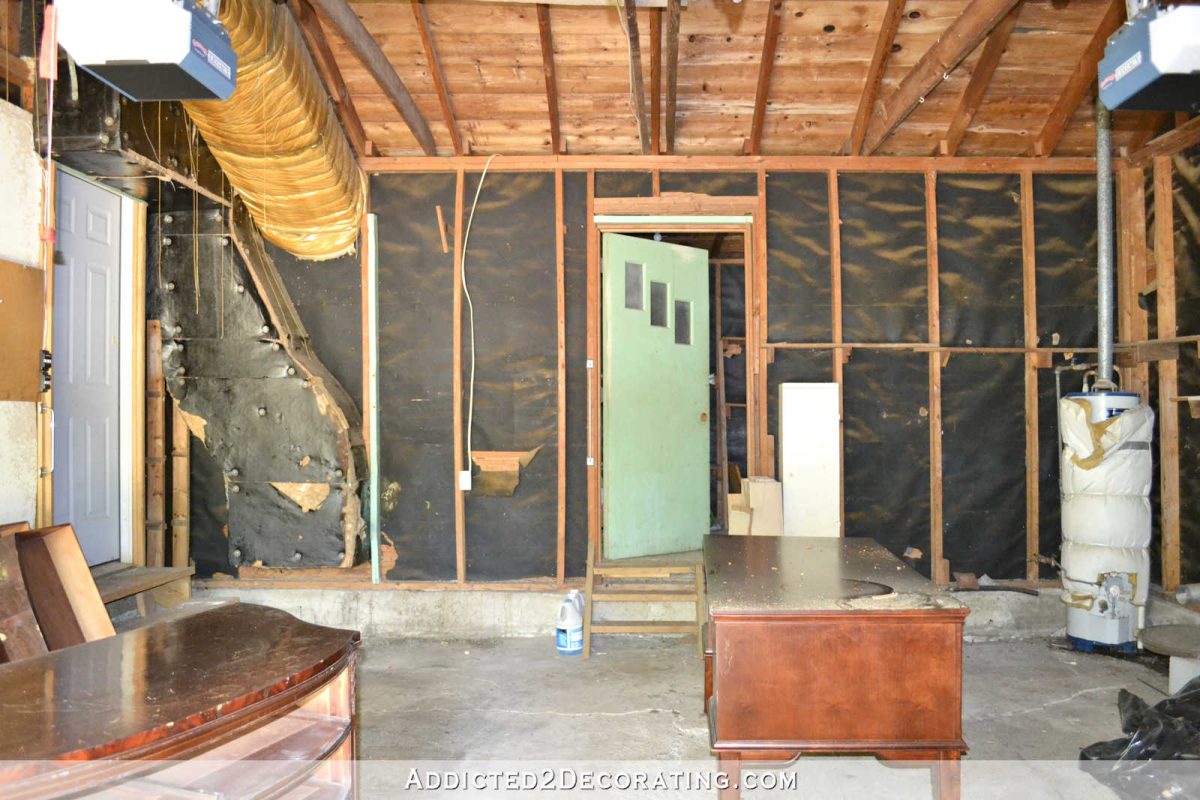
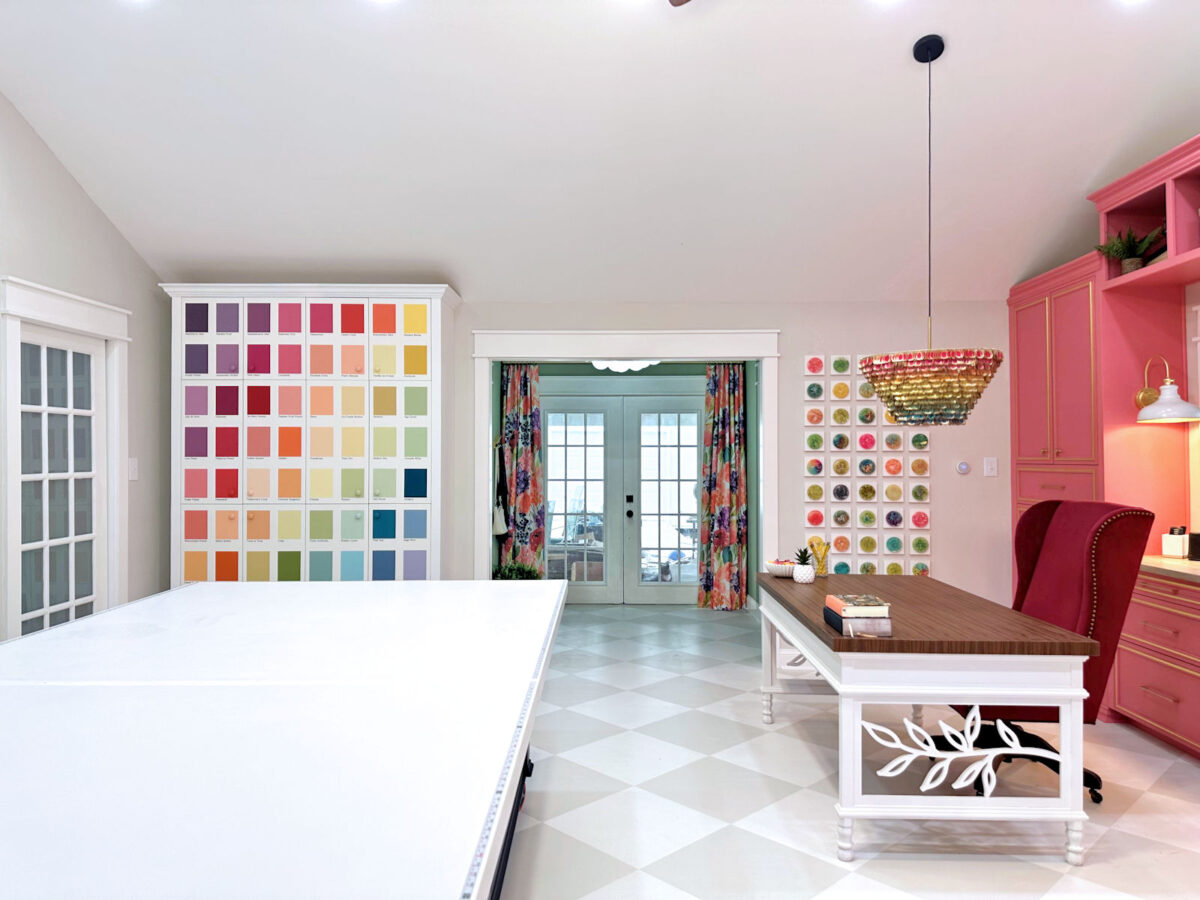
And in the present day, that view seems to be like this…
Sadly, I didn’t take many pictures of the storage once we purchased the home, so the earliest photograph I may discover wanting in the direction of the entrance of the room (i.e., standing on the again and looking out in the direction of the entrance yard) was this one which was taken simply because the transformation was starting, after the storage doorways had been eliminated, and because the concrete perimeter was being stuffed in the place the storage doorways had been.
And in the present day, that view seems to be like this…

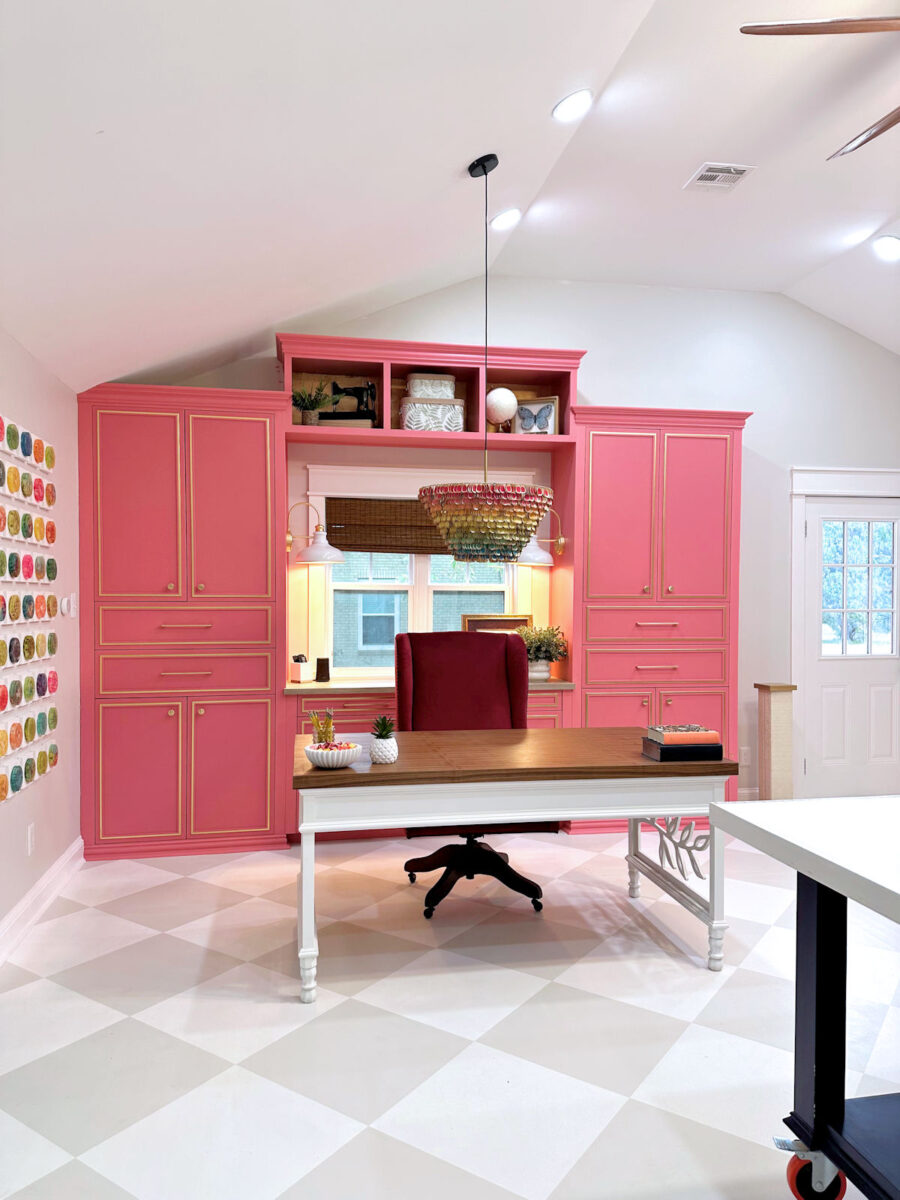
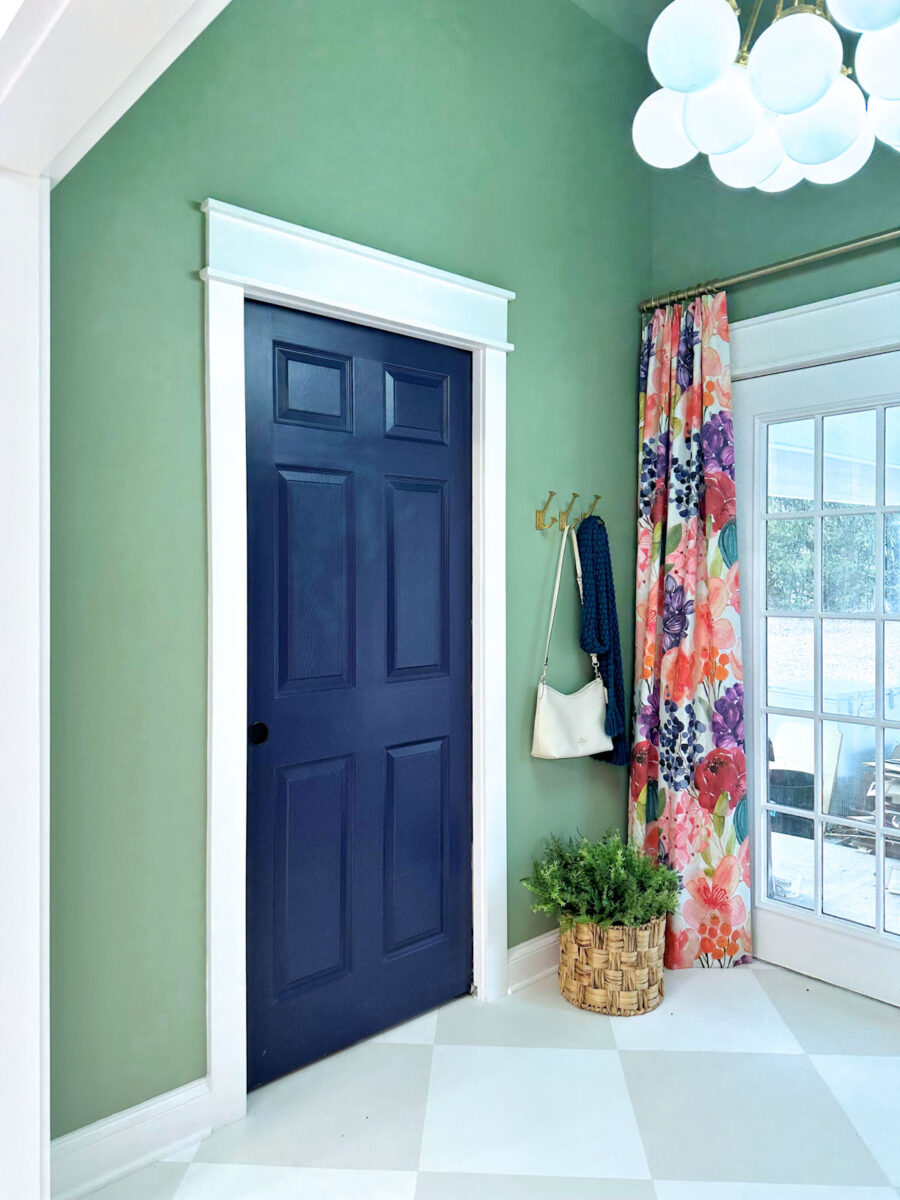
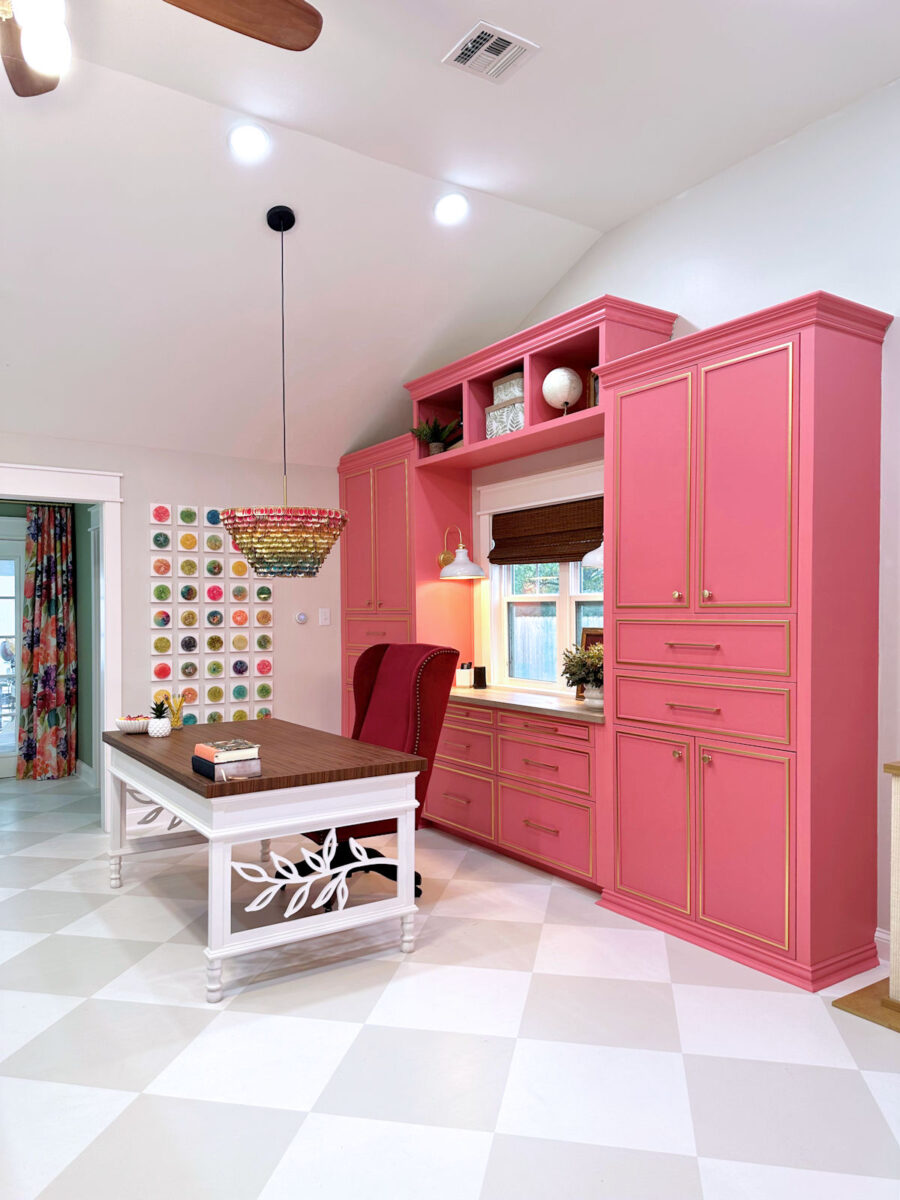
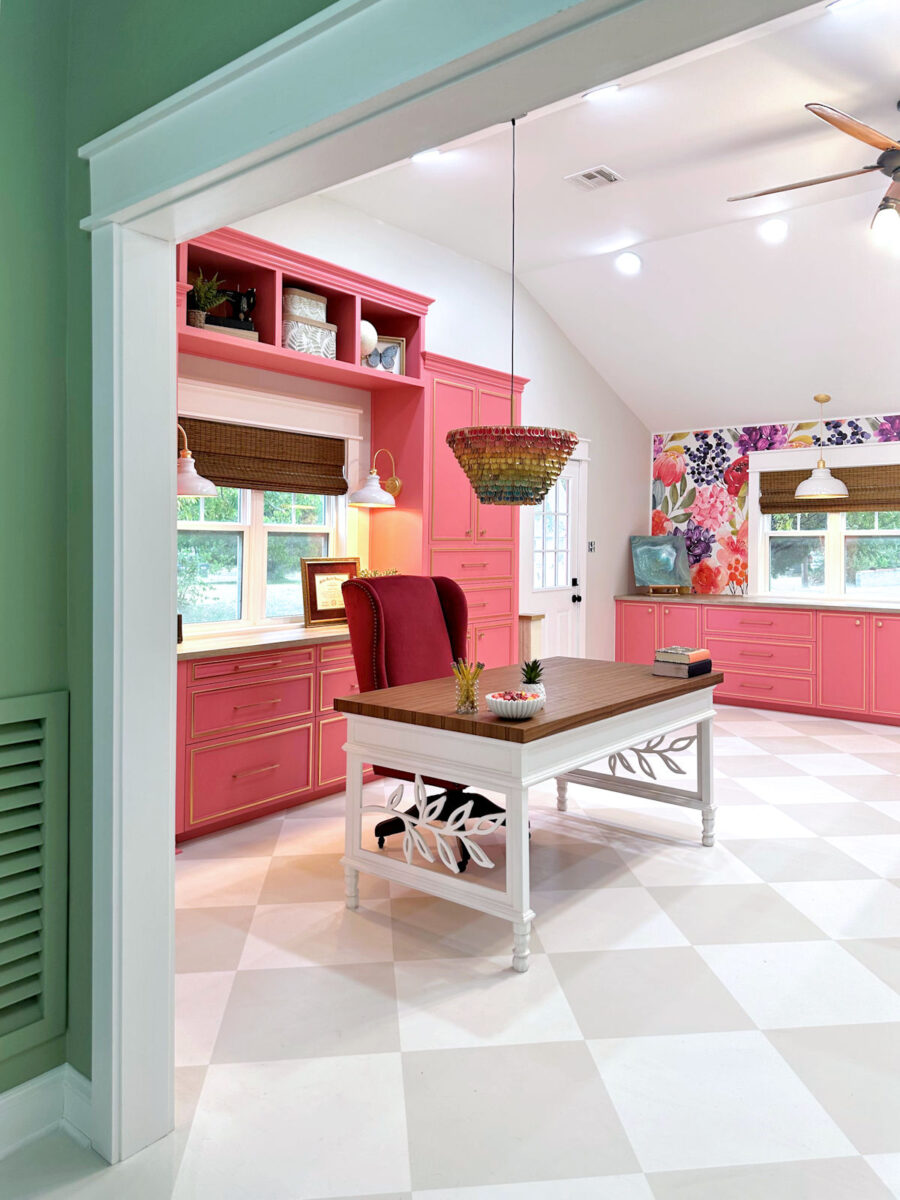
I actually do remorse not taking extra earlier than photos. Once we purchased the home, the storage didn’t even have drywall. All you might see was the black tar paper, and it felt so darkish and dreary. It is a view of the nook which is now my workplace space of the studio.
So in the present day, that space seems to be like this…
And naturally, because it was a storage, the ground was at floor degree and there have been steps up into the home.
And now, the ground has been raised to be degree with the remainder of the home

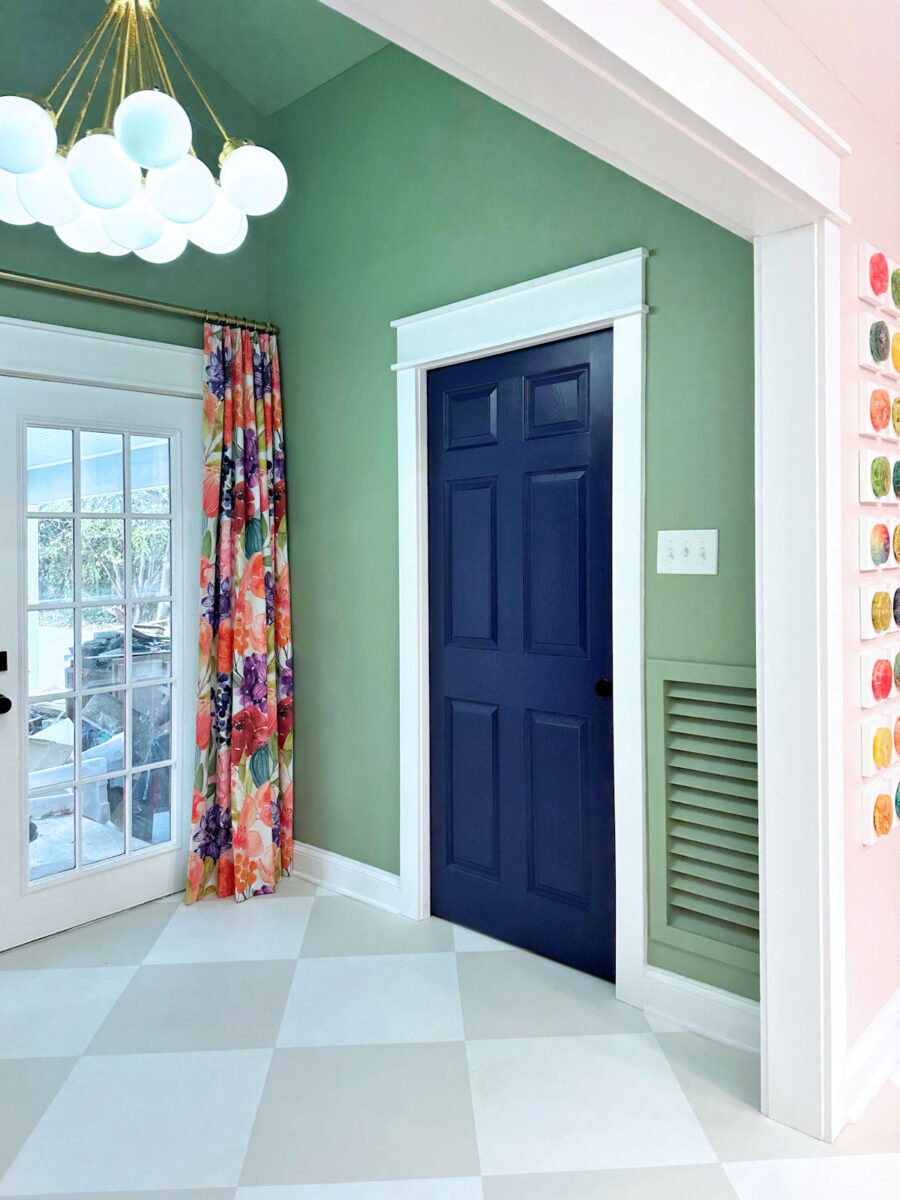
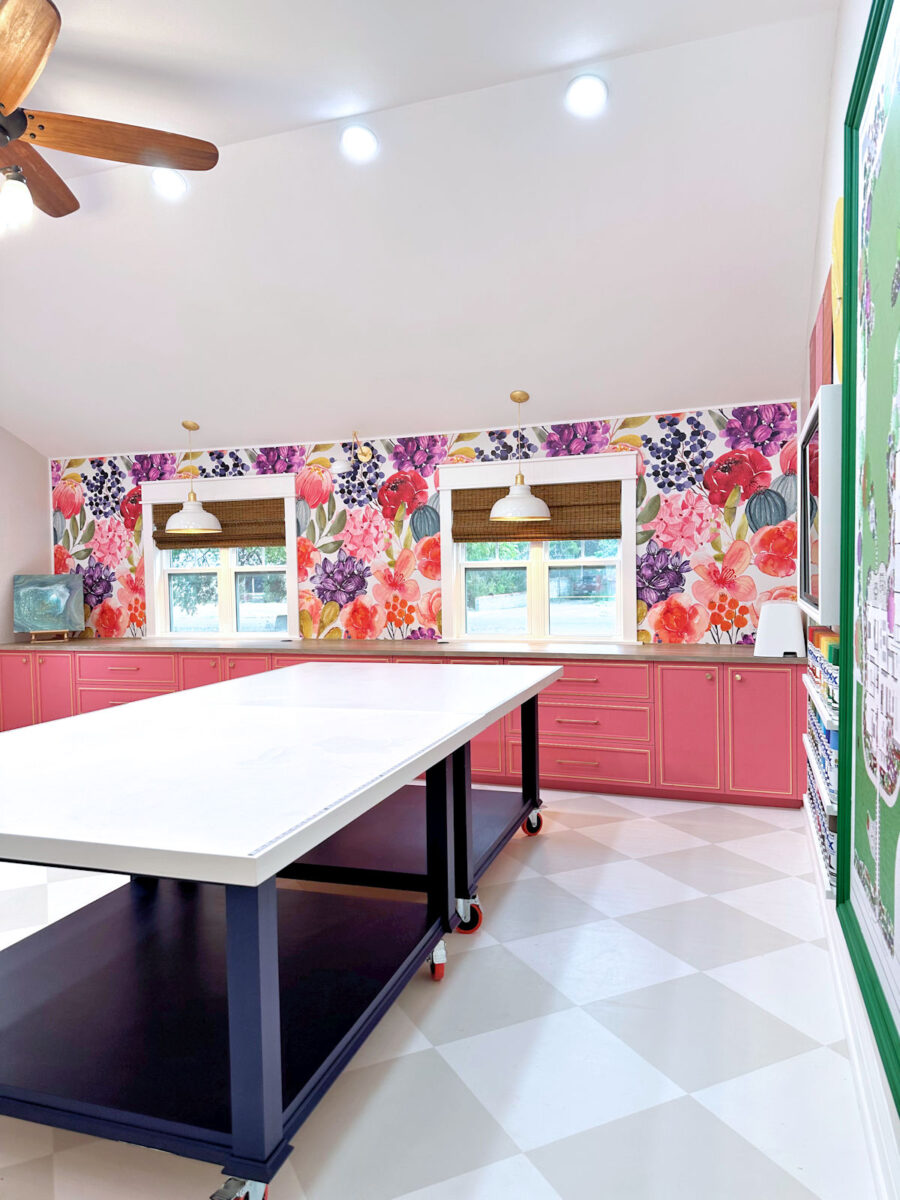
Once more, this drywall wasn’t initially there. We added that later, and we additionally eliminated the furnace which had enormous ducts that stuffed the area over the door main inside the home. However that is nonetheless a reasonably good thought of what we began with.
And in the present day, that wall of the room seems to be like this…
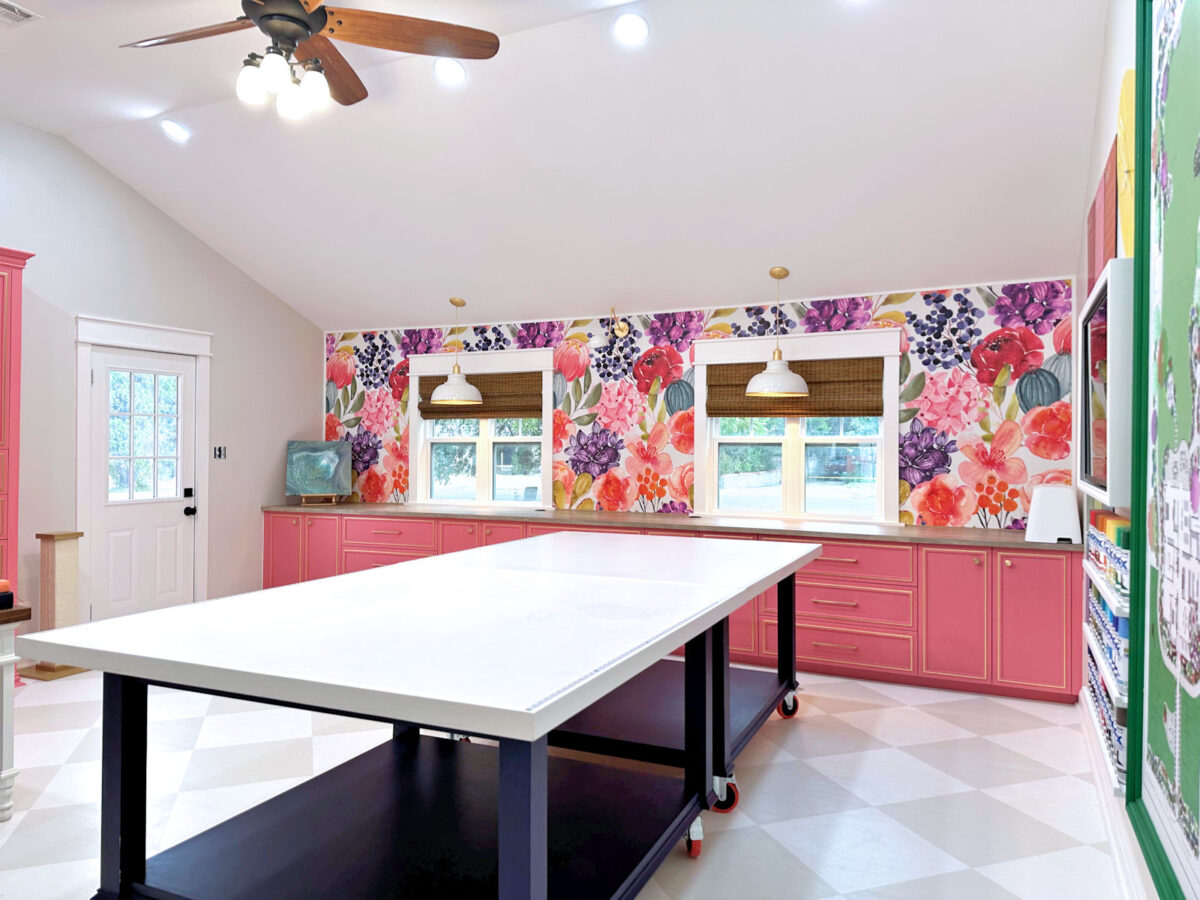
This is likely one of the few true “earlier than” photos I may discover that truly has no drywall and nonetheless has the storage doorways.

And that view seems to be like this in the present day…

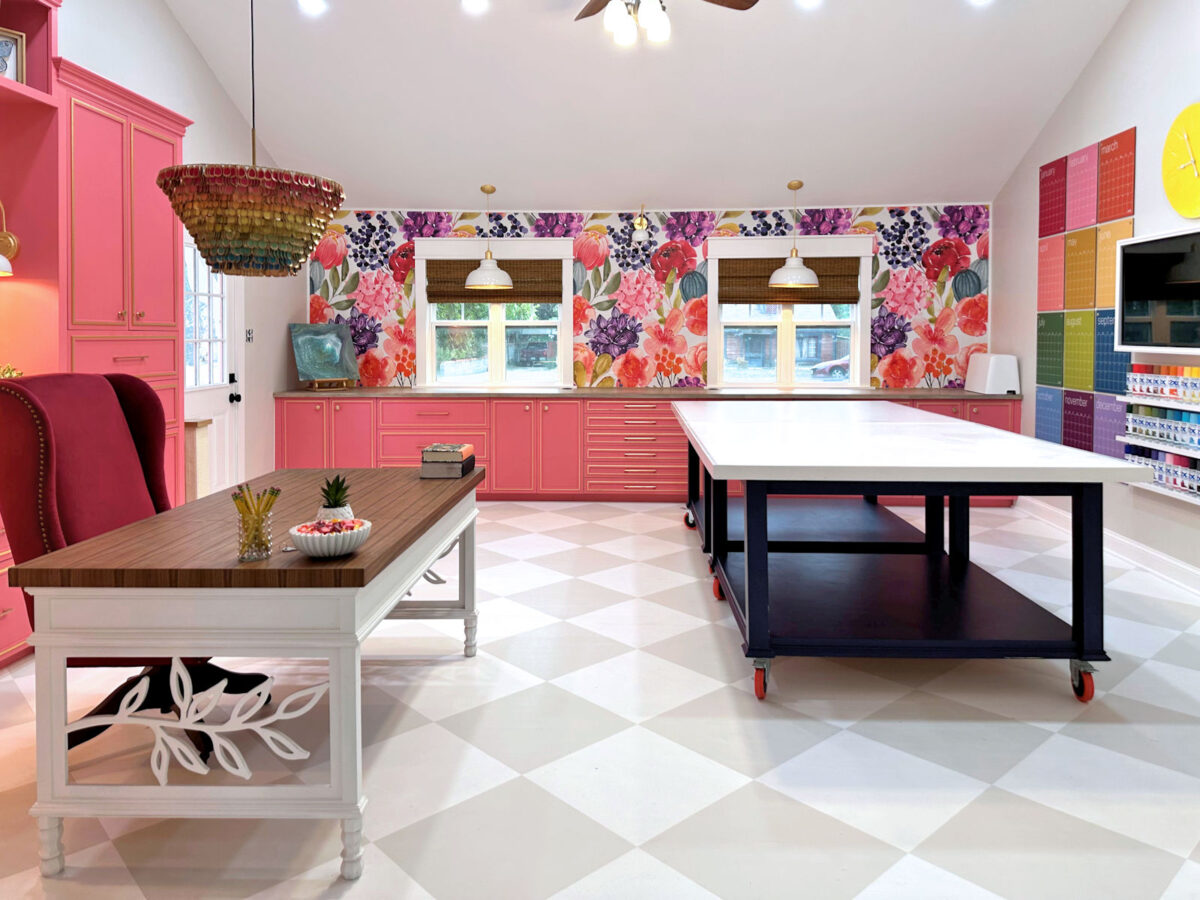
I can’t imagine it’s completed! I nonetheless have some organizing to do contained in the drawers and cupboards, and I’ll give y’all a peek inside all of these after I’m completed. I’ve all the pieces put away proper now, however I’m nonetheless making some tweaks to how I would like issues organized.
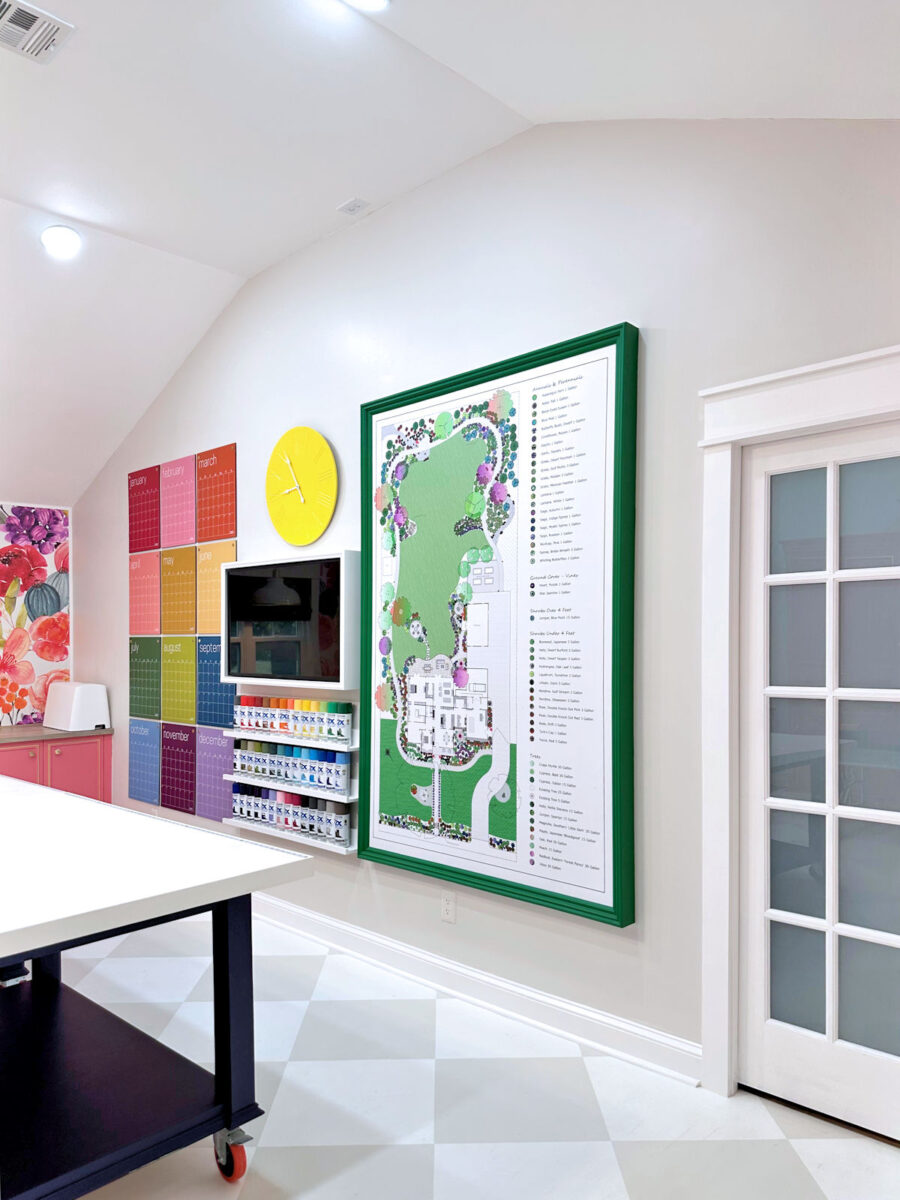
Within the meantime, listed here are a number of extra photos of the completed room, introduced with out commentary. Get pleasure from!
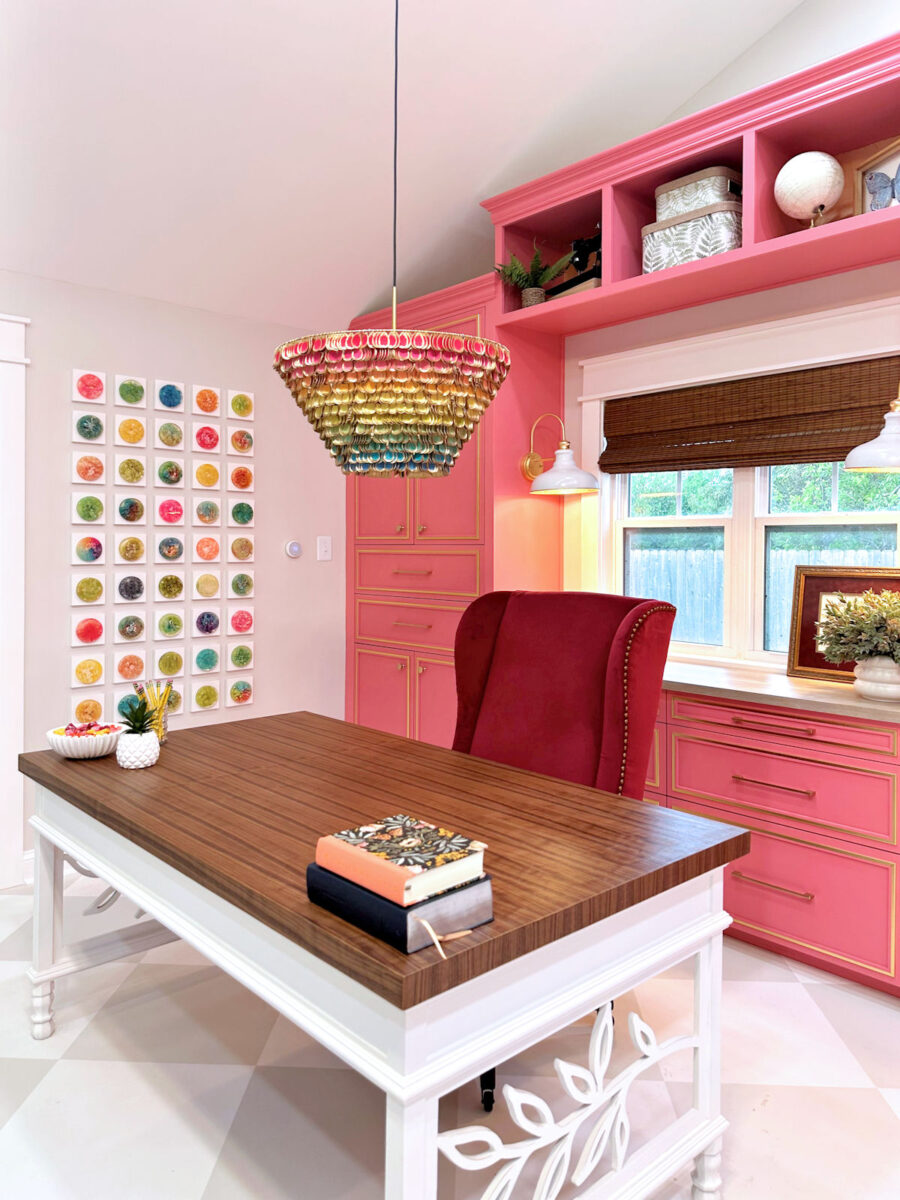
In the event you’re searching for any of the DIY initiatives that went into this room (the cupboards, the painted flooring, the desk, the tasting spoon pendant gentle, the laminate flooring counter tops, and a lot extra) you can find all of those projects here.
I can’t even imagine it’s achieved. This room has occupied most of my time and power for the final 12 months, and I felt like I used to be caught in Groundhog Day. Nevertheless it’s achieved, and I can transfer on. Subsequent up is the carport. Now that now we have a driveway and I’ve a workshop, I must get the carport cleaned out in order that I can really park a automotive in there.
After that, I’ll begin on the bed room. I’ll begin by putting in the hardwood flooring and getting that stained and sealed, and the transfer on to creating a headboard, making draperies, and adorning that room. After which after that, I’ll transfer on to the closet and laundry space. So there are some thrilling issues arising! However fairly actually, I may additionally spend fairly a little bit of time over the following few days simply sitting in my studio and having fun with the completed room. It’s such a colourful, comfortable area, and I can’t wait to spend time in right here being artistic!

Addicted 2 Adorning is the place I share my DIY and adorning journey as I transform and enhance the 1948 fixer higher that my husband, Matt, and I purchased in 2013. Matt has M.S. and is unable to do bodily work, so I do nearly all of the work on the home on my own. You can learn more about me here.
Trending Merchandise


