Yesterday, I shared that I had a little bit of a setback with my walk-in closet island construct once I minimize many of the items for the drawer containers too vast. I had utterly forgotten to subtract the one inch from my measurements to account for the drawer slides. Fortunately, I made a decision to verify the match after constructing the primary field and realized my mistake quite than constructing the entire drawer containers earlier than realizing I had made them the unsuitable measurement. However that ended up being a blessing in disguise as a result of as I used to be taking that drawer field aside, I spotted that I wasn’t utilizing the perfect methodology for meeting. Having that night time of sleep between realizing that mistake and beginning on the challenge once more was good for me. So at the moment, I’m going to point out learn how to construct drawers the best means, and the perfect methodology for doing that, in my humble opinion.
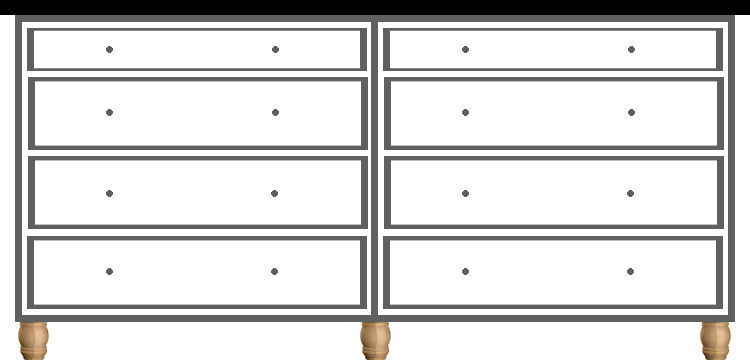
First, I wished to point out you that I made a little bit of a design change. I had initially deliberate on placing 4 drawers in every part. This was the plan for the aspect that faces the hanging garments aspect of the closet…
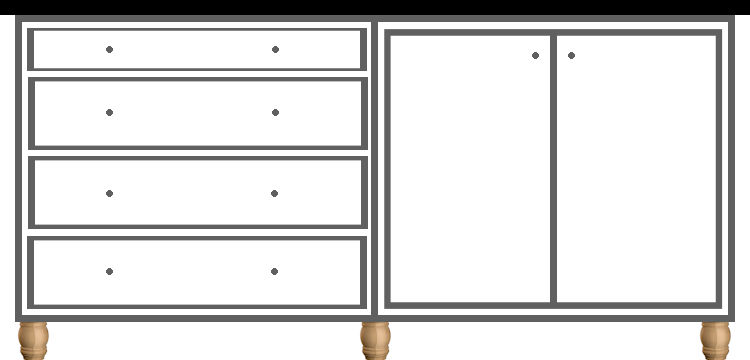
After which on the aspect that faces the jewellery/mirror aspect of the closet, I deliberate for this configuration, with 4 drawers on the left aspect and cupboards on the fitting aspect.
However as I began figuring the measurements for the drawers with every part having 4 drawers in it, I spotted that the depth of these drawers wouldn’t actually be sensible for a closet. It will have been nice for a kitchen or my studio, however in my closet, I wanted deeper drawers. I want a spot the place I can retailer clothes gadgets that I don’t hold, and that features stacks of paint- and caulk-covered denims, hoodies, t-shirts, sweatshirts, and so on. In different phrases, the entire garments I put on every day to work in. I’ve a variety of them, and stacks of denims, hoodies, and sweatshirts gained’t match effectively in shallow drawers.
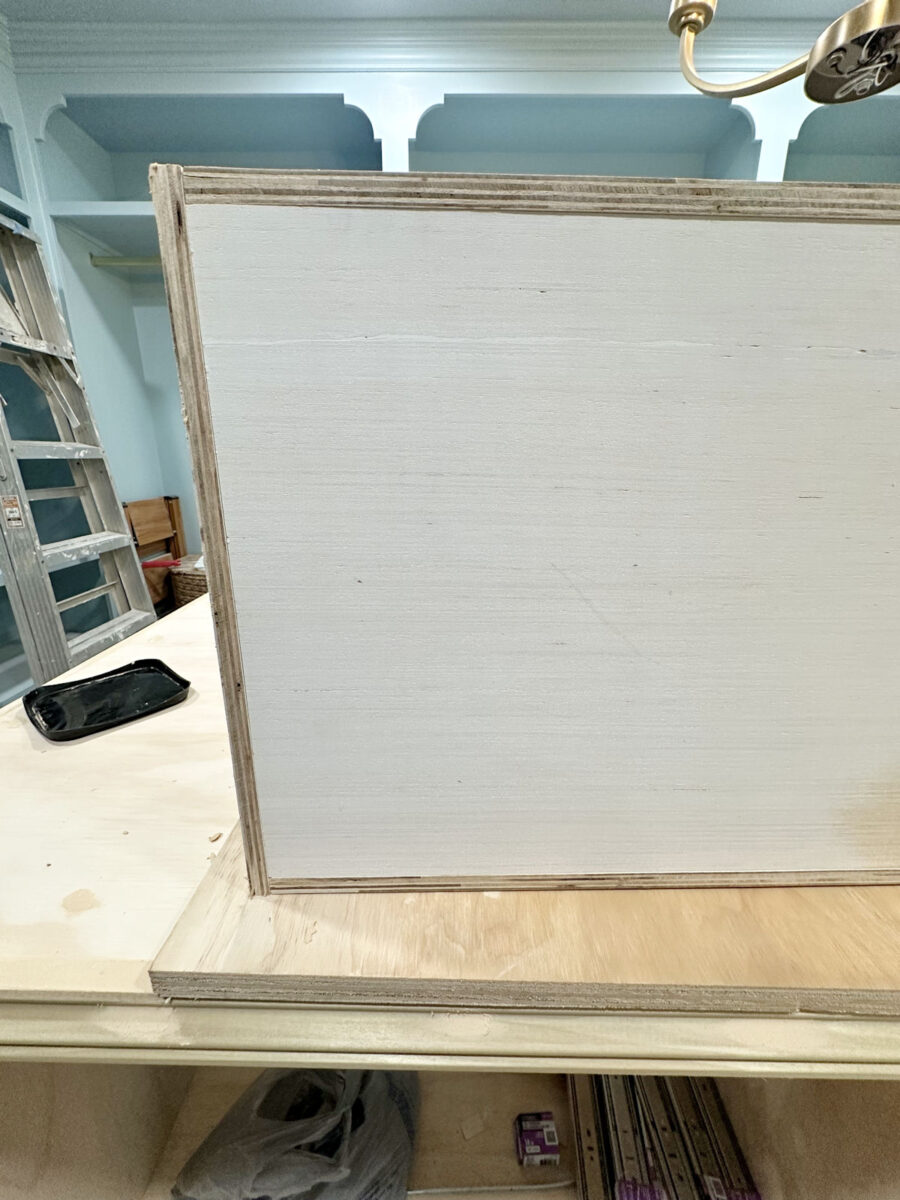
So I made a decision to make the 2 sections on the hanging garments aspect of the closet deeper and solely have three drawers in every part. The containers themselves are 8.5 inches excessive, however there will probably be extra space as soon as the drawer entrance goes on. The drawer fronts on these will probably be about 9.25 inches excessive. Clearly, drawer containers don’t sit proper on prime of one another in a dresser or cupboard. Right here’s what these drawer containers appear to be…
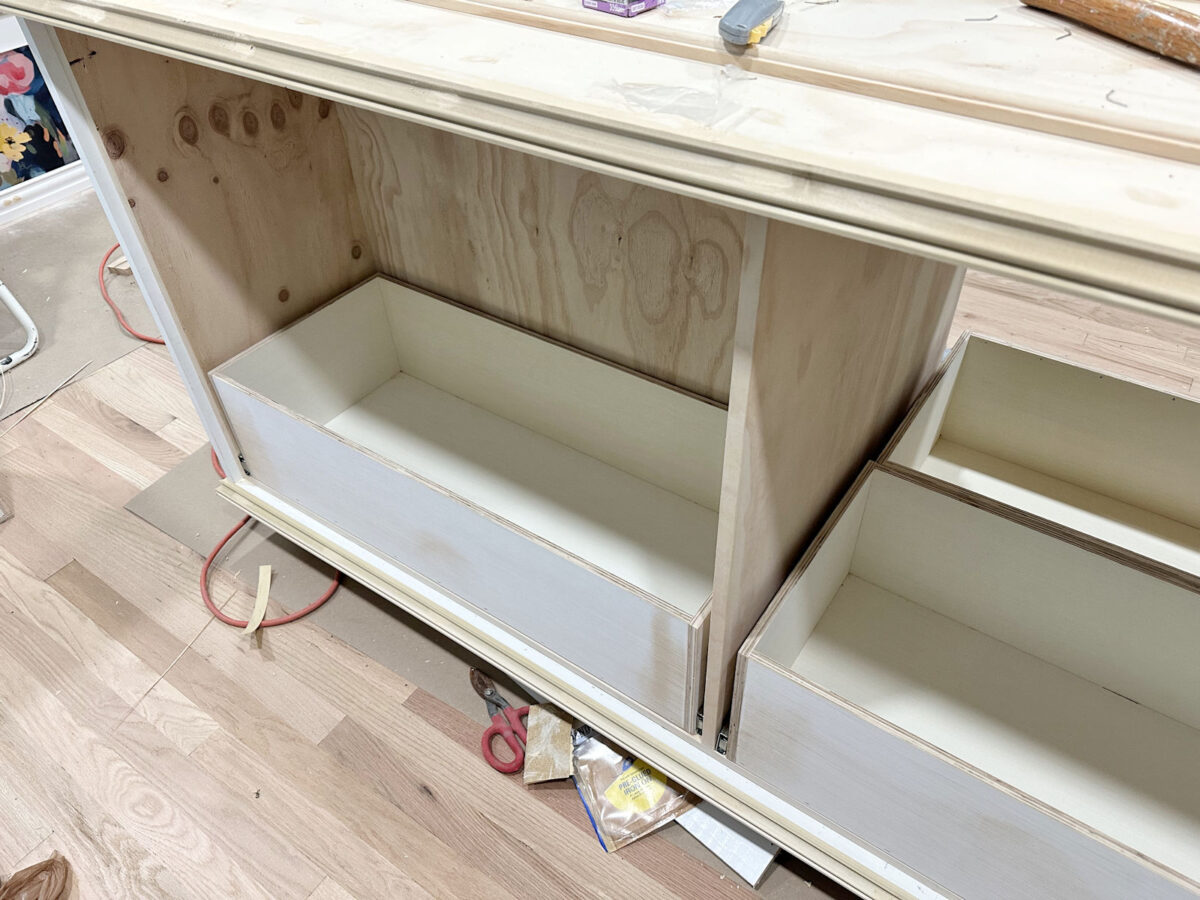
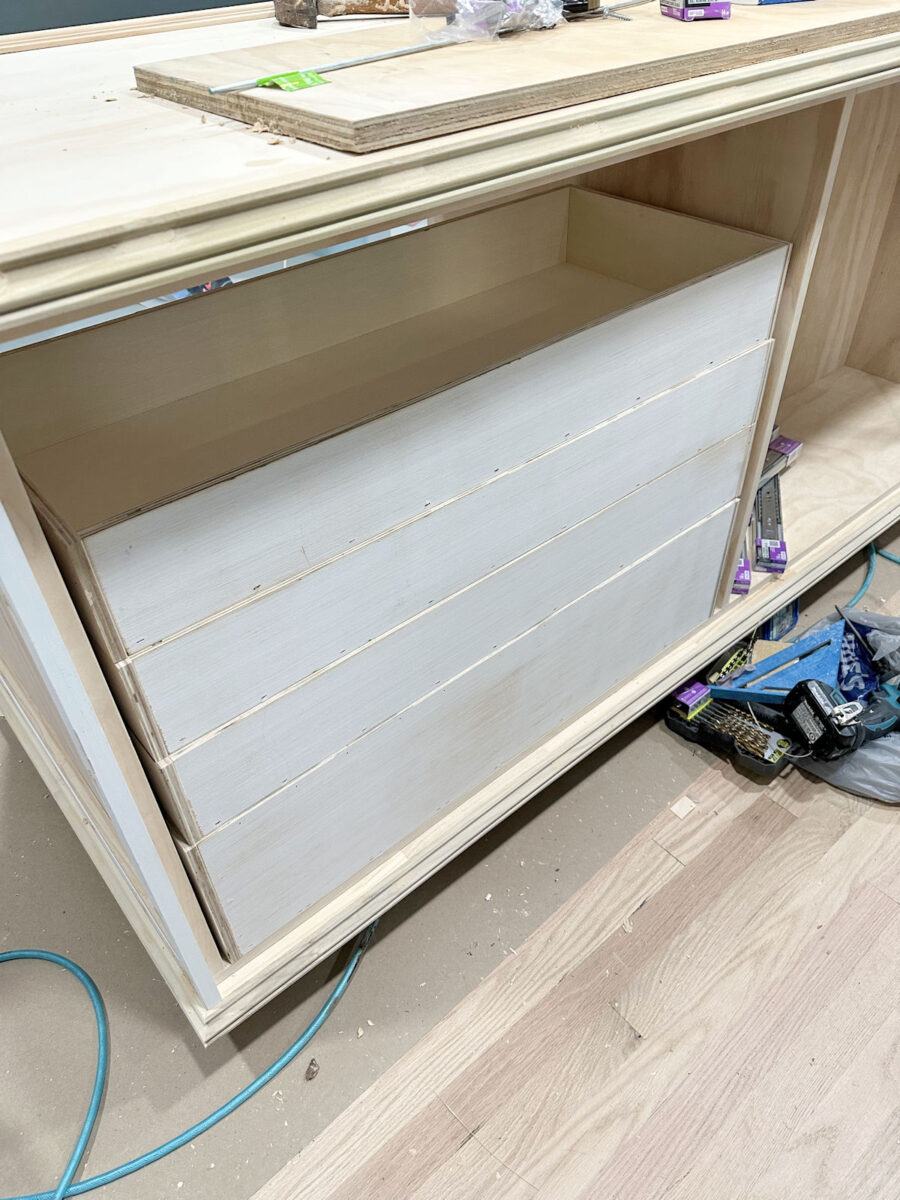
And right here’s what they appear to be within the part that can have drawers on each side. I made them as massive as I might whereas leaving a fraction of an inch between them the place the backs meet.
However on the aspect that faces the jewellery/mirror aspect of the closet, I made a decision to maintain 4 drawers. The underside one is a deep drawer, and the opposite three are shallower. Clearly, they’re not put in but, and once more, drawer containers aren’t stacked on one another like that after they’re put in. There will probably be area between them as soon as they’re put in and the drawer fronts are on.
So let’s get to the method…
Methods to construct drawer containers the best means
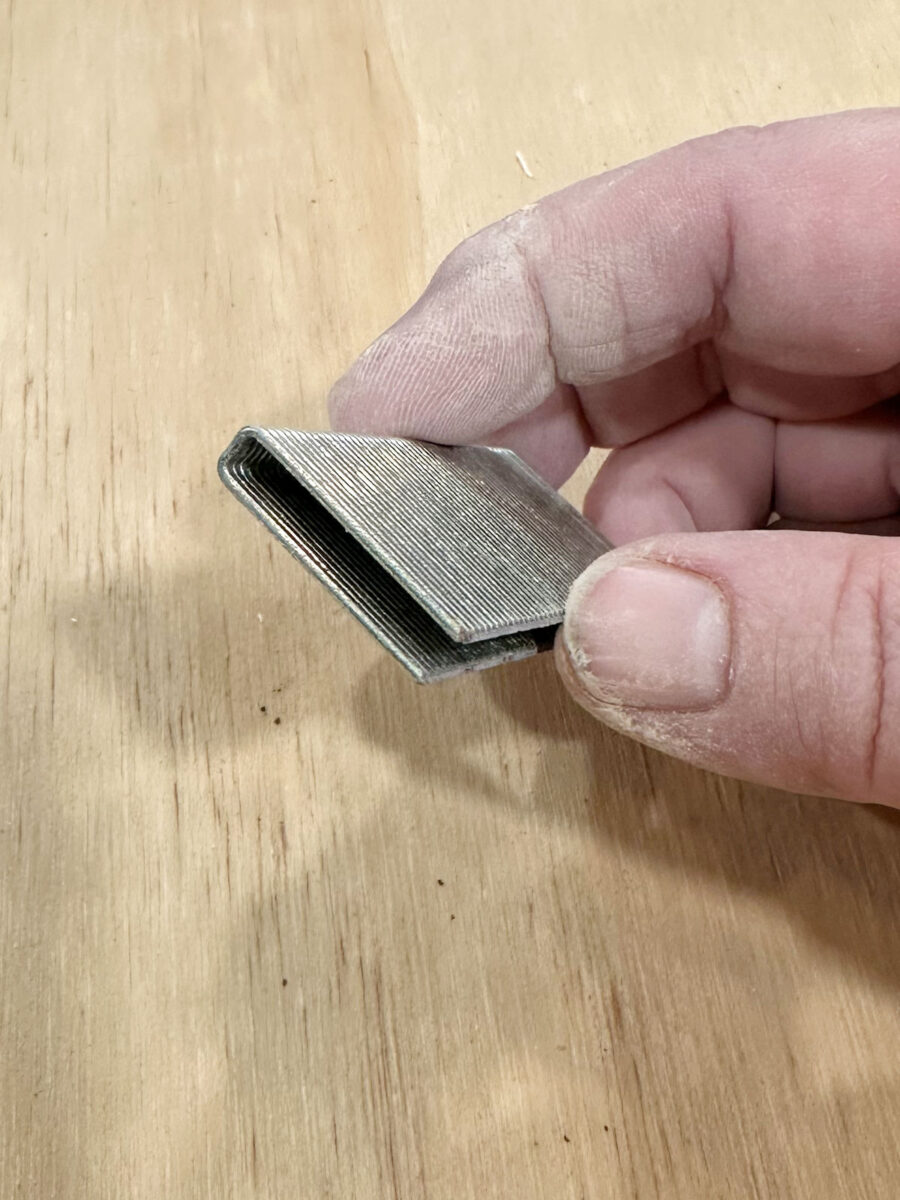
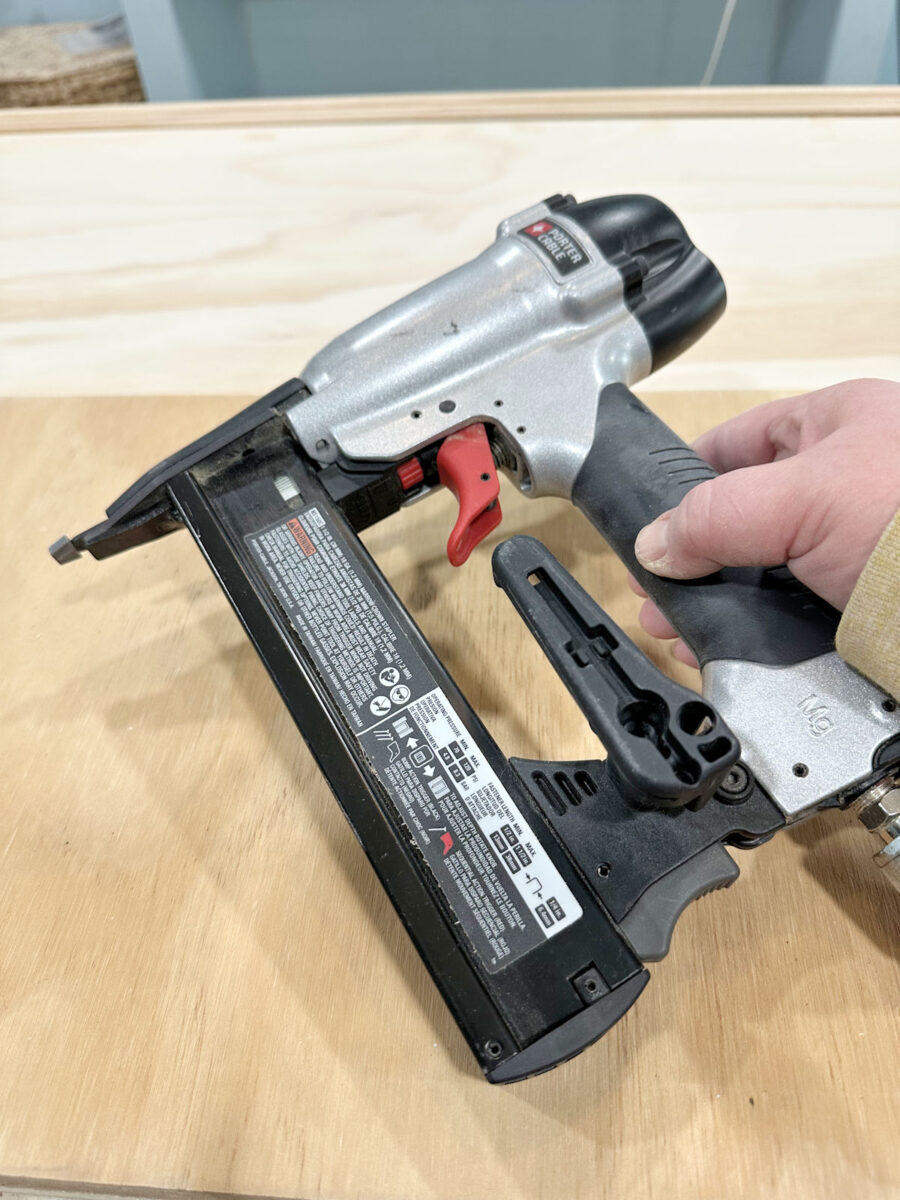
First, I extremely advocate utilizing staples as an alternative of nails to assemble a drawer field like this. My drawer containers are made out of 1/2-inch plywood, so I used these 1-inch slim crown staples. (Please forgive my messy wooden filler-covered fingers.)
For these, you want a slim crown stapler, which seems to be identical to a nail gun. I obtained this Porter Cable slim crown staple gun at Dwelling Depot. I usually use it for upholstery tasks, however it’s additionally nice for tasks like these simple drawer containers.
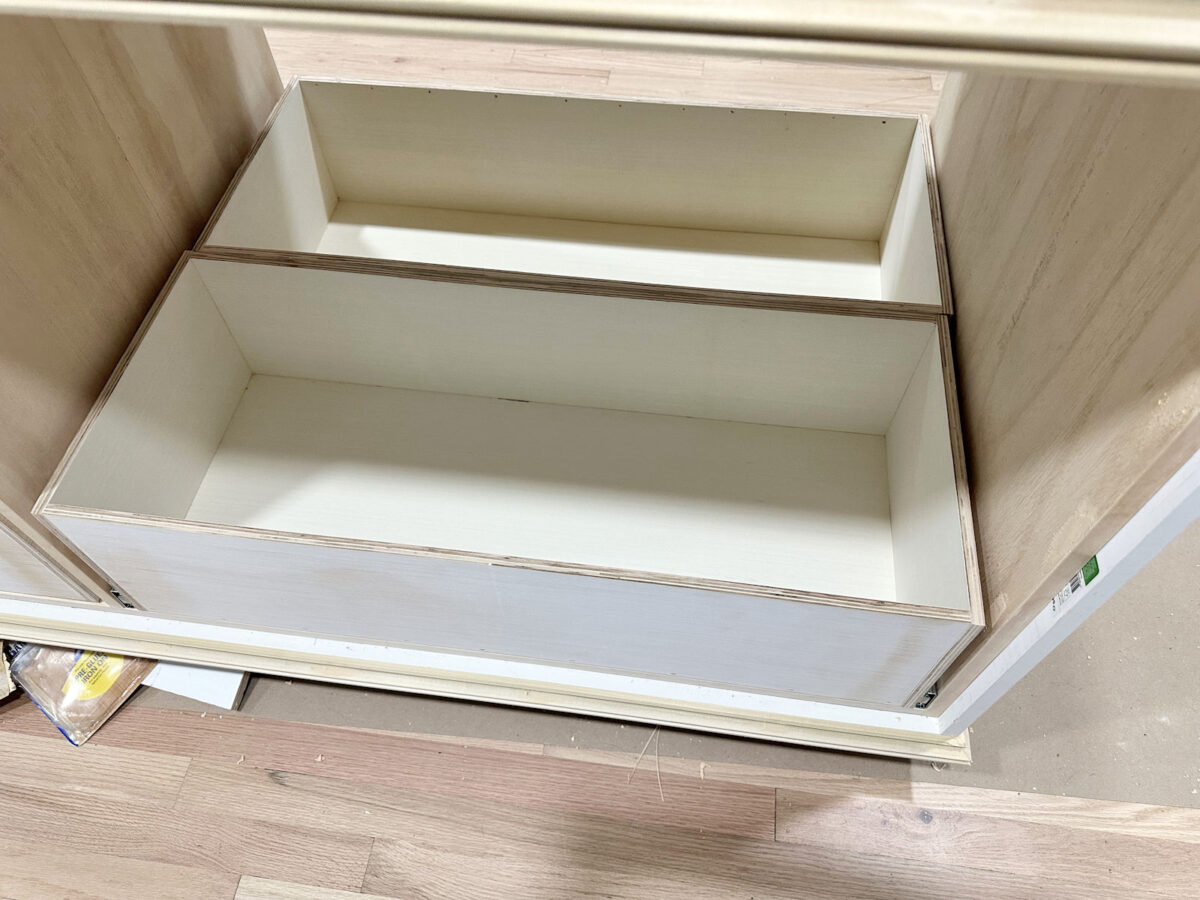
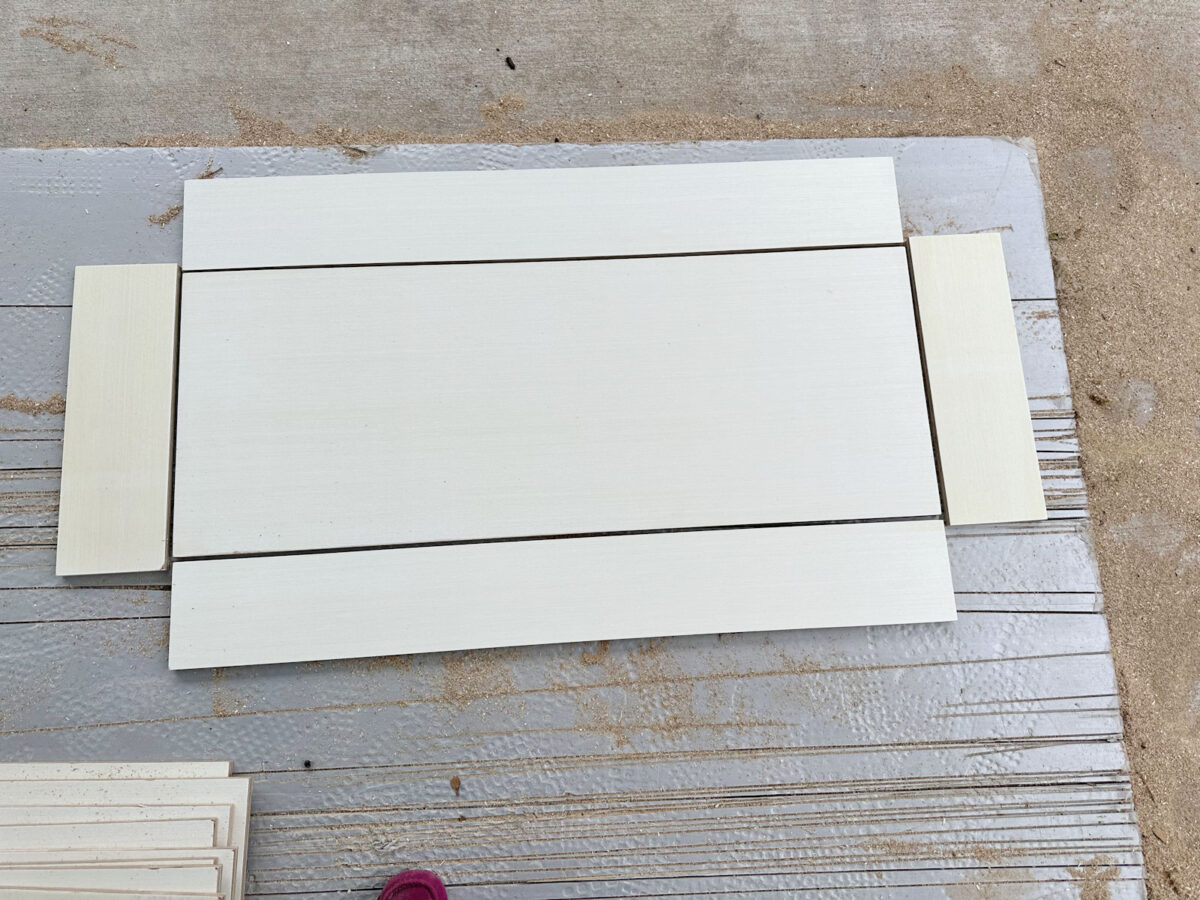
As I confirmed you yesterday, I minimize these 5 items for every drawer field. The underside piece is minimize to the completed size and width of the drawer field minus one inch in every path. So if I need my completed drawer field to be 35″ x 14″, the underside piece is minimize to 34″ x 13″. The back and front items are minimize to the identical width because the as the underside piece (34″) and the peak that I need this drawer field to be (this one is 4.5″). And the perimeters are minimize to the completed measurement of the drawer field (14″) and the peak of the drawer field (4.5″).
I used my desk noticed to tear the plywood to the right widths, after which used my miter noticed to chop them to the precise lengths I wanted.
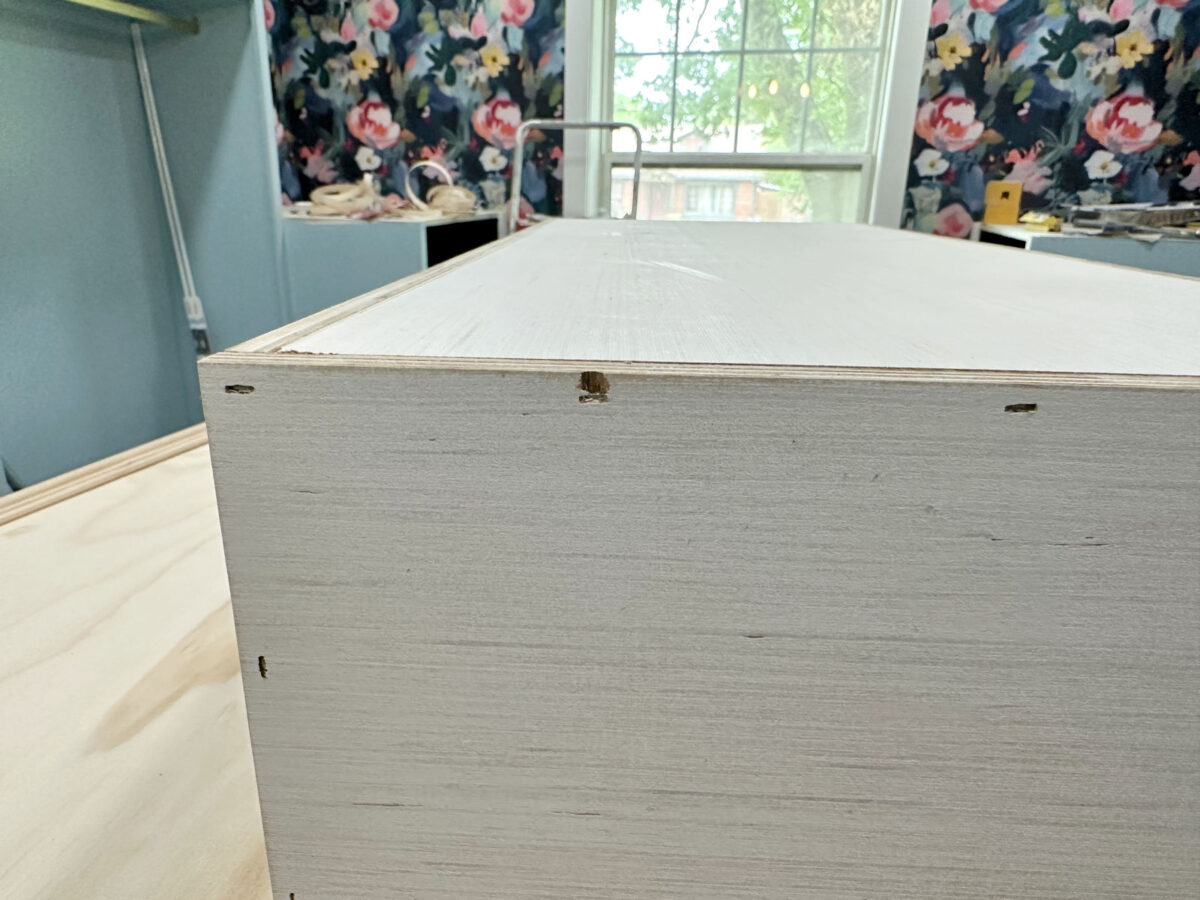
Assembling these is as simple as stapling the back and front items to the underside piece, after which stapling the ends on. It actually can’t get a lot simpler than that. You may see right here that I used 9 staples to staple the back and front items to the underside piece (the drawer field is clearly turned the other way up right here). So the benefit of utilizing staples is that these 9 staples are just about the equal of 18 nails. I put them roughly 4.5 inches aside.
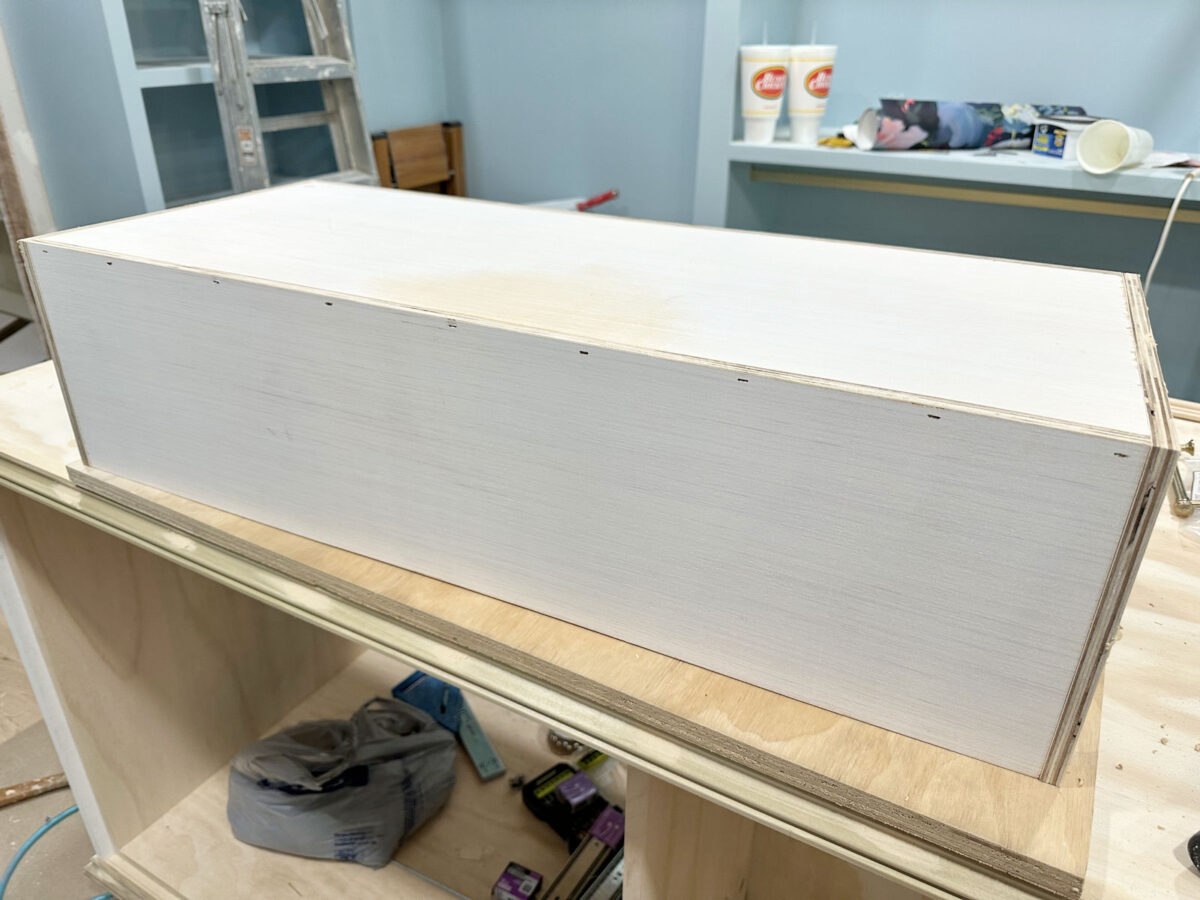
As soon as the back and front have been connected to the underside piece, I connected the ends, stapling that on all three sides.
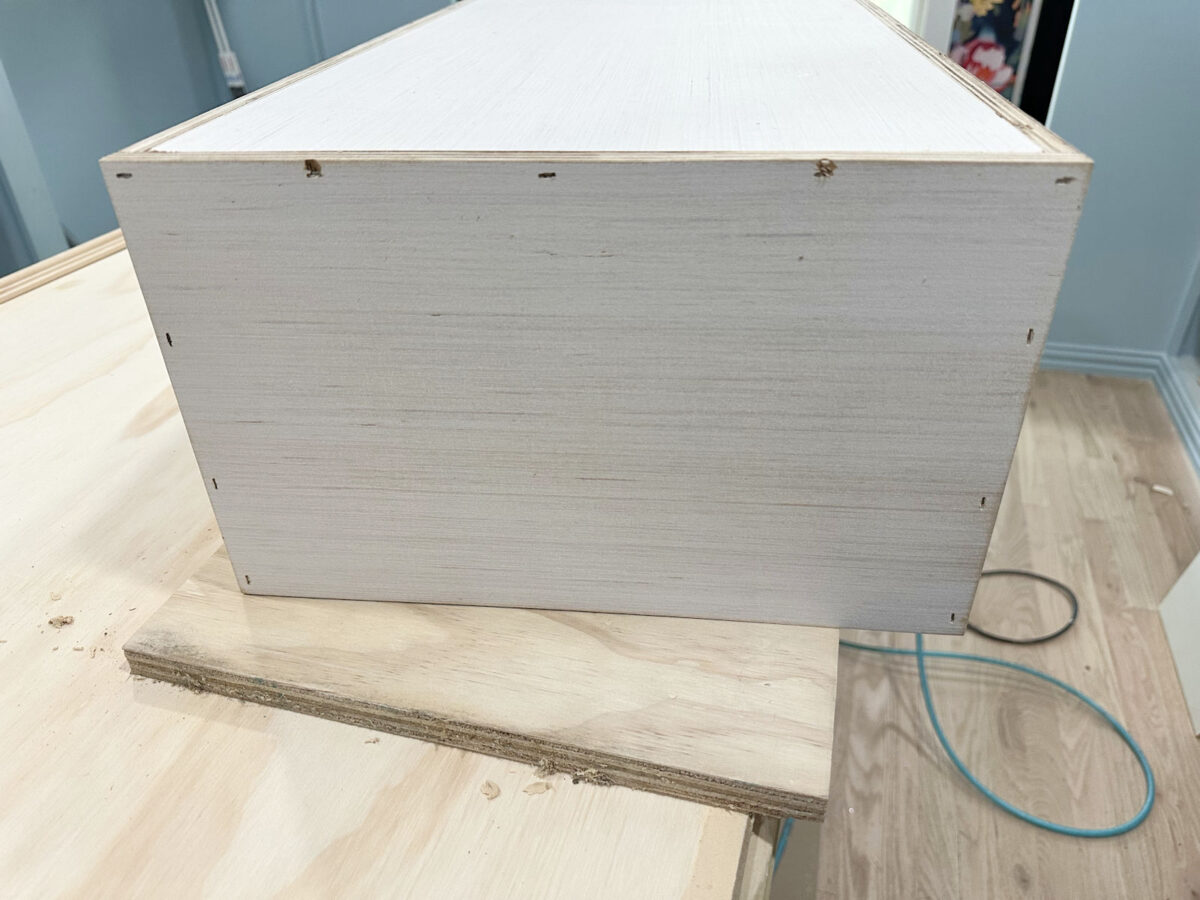
Right here’s a have a look at it from the underside. I obtained a bit aggressive with the sander on this piece. 😀
However you’ll be able to see that the aspect items prolong 1/2″ previous the underside piece on all sides to cowl the sides of the back and front items.
Staples usually go in cleaner than nails, and so they don’t generally tend to bend as they go in and are available out the aspect of the wooden like nails typically do. However they do typically take a chip out of the plywood, as you’ll be able to see right here. However that’s nothing {that a} little bit of wooden filler gained’t repair.
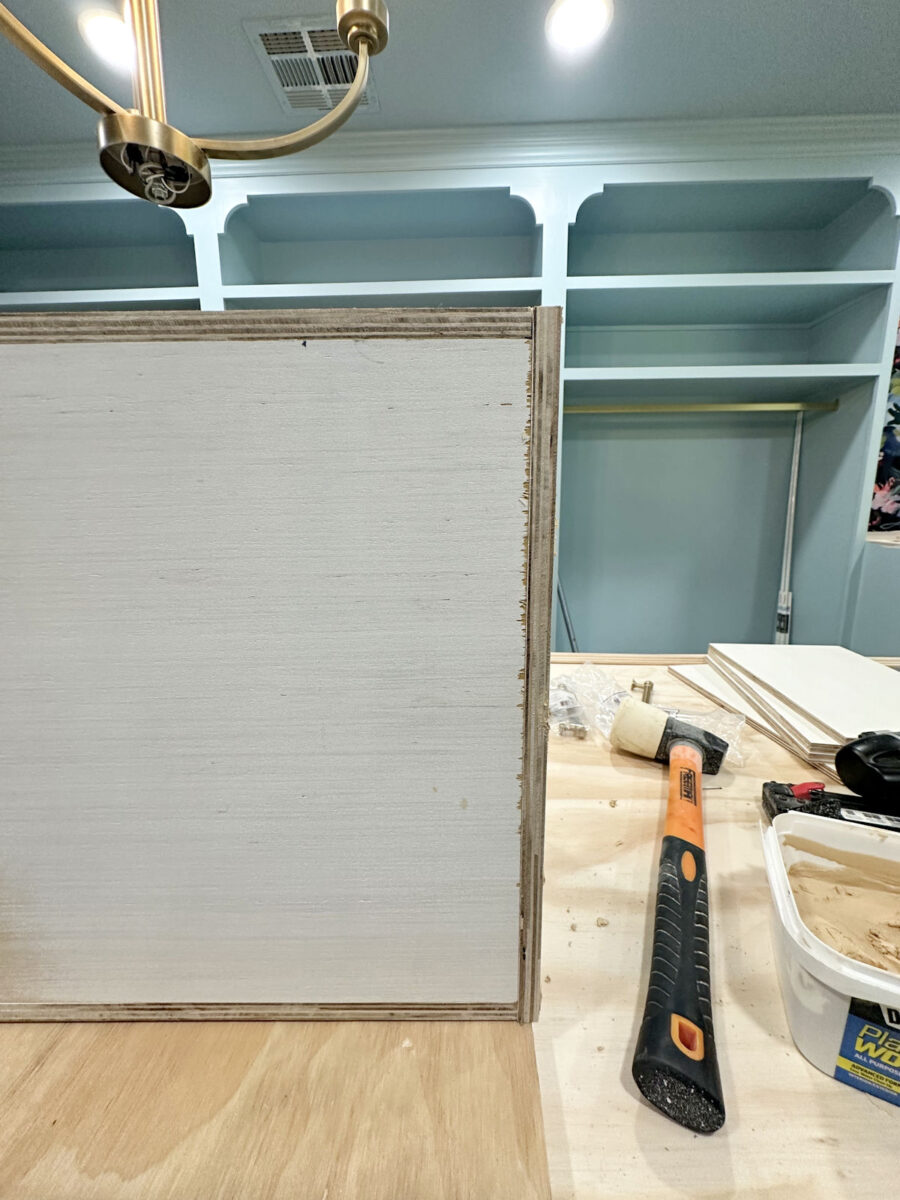
And that’s it. It truly is the best kind of drawer field to construct, and because it’s put along with staples, it very sturdy. I don’t know that I might advocate this very primary kind of drawer field for a kitchen or one other room that will get a ton of site visitors and use each day. For these, I might most likely advocate one other methodology of meeting. However for one thing like this dresser, I personally suppose they work completely.
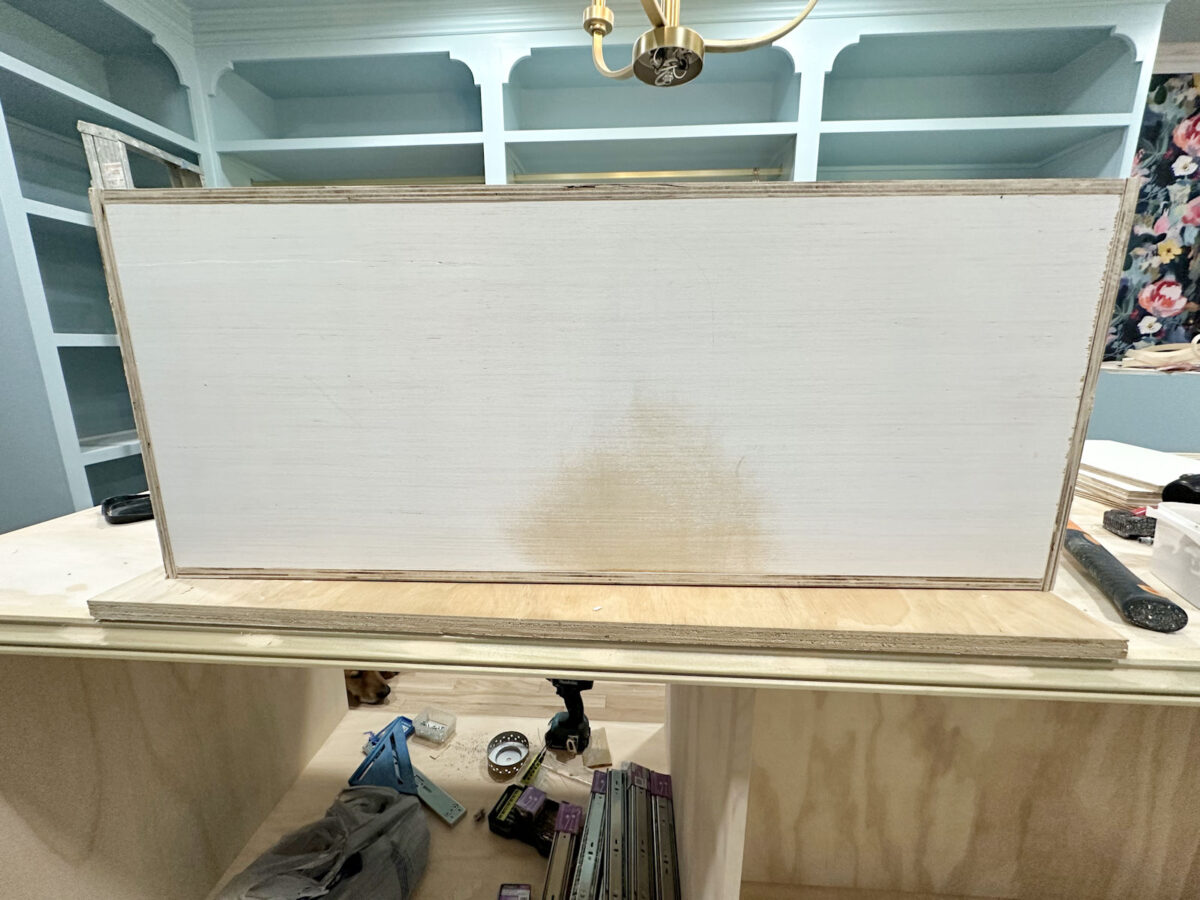
And as soon as it’s assembled, I fill the staple holes on the perimeters with wooden filler, after which sand the entire thing, particularly ensuring that the entire joints the place the items come collectively, in addition to the highest edges of the drawer field and the corners the place they meet, are all sanded easy.
You can too use iron-on edge banding to cowl the highest edges of the drawer field to offer it a very nice, clear, completed look, which I’ll most likely do on these.
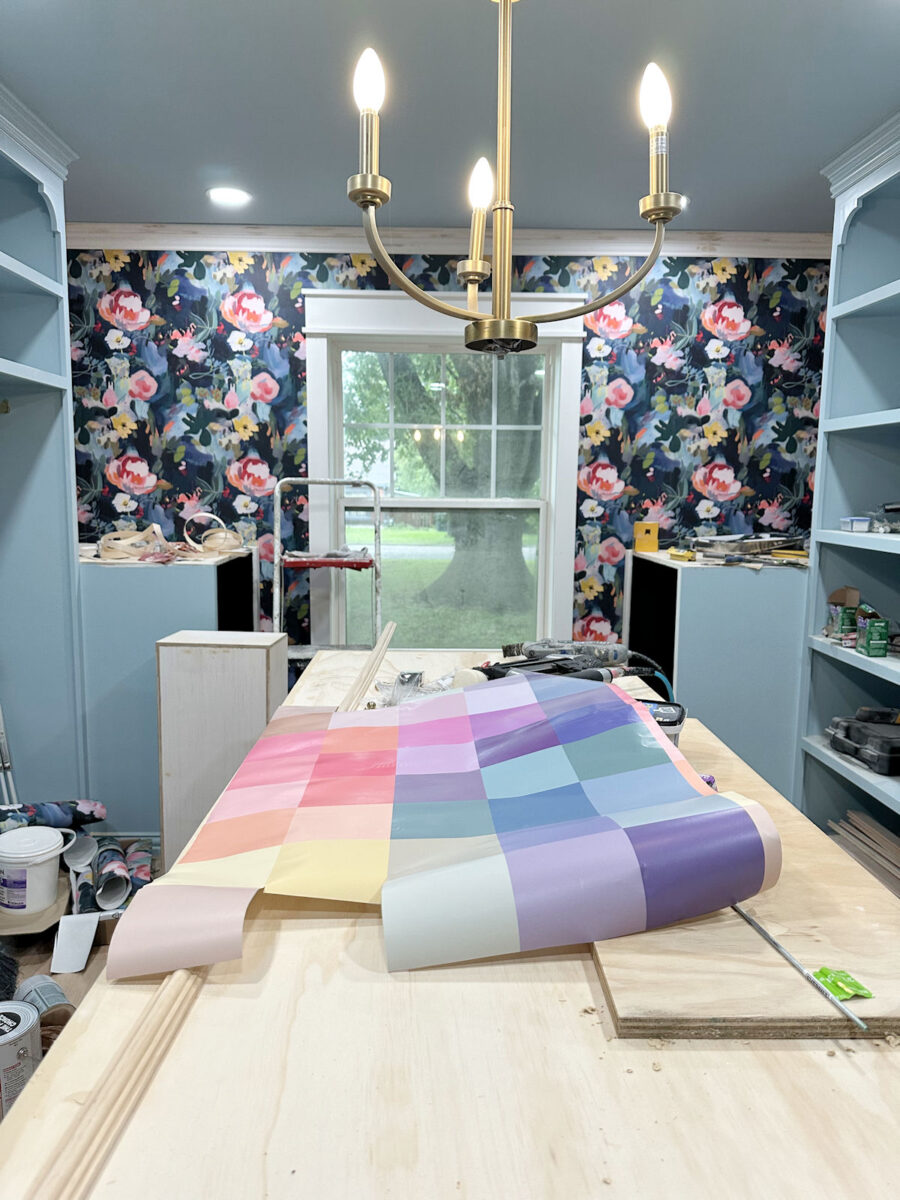
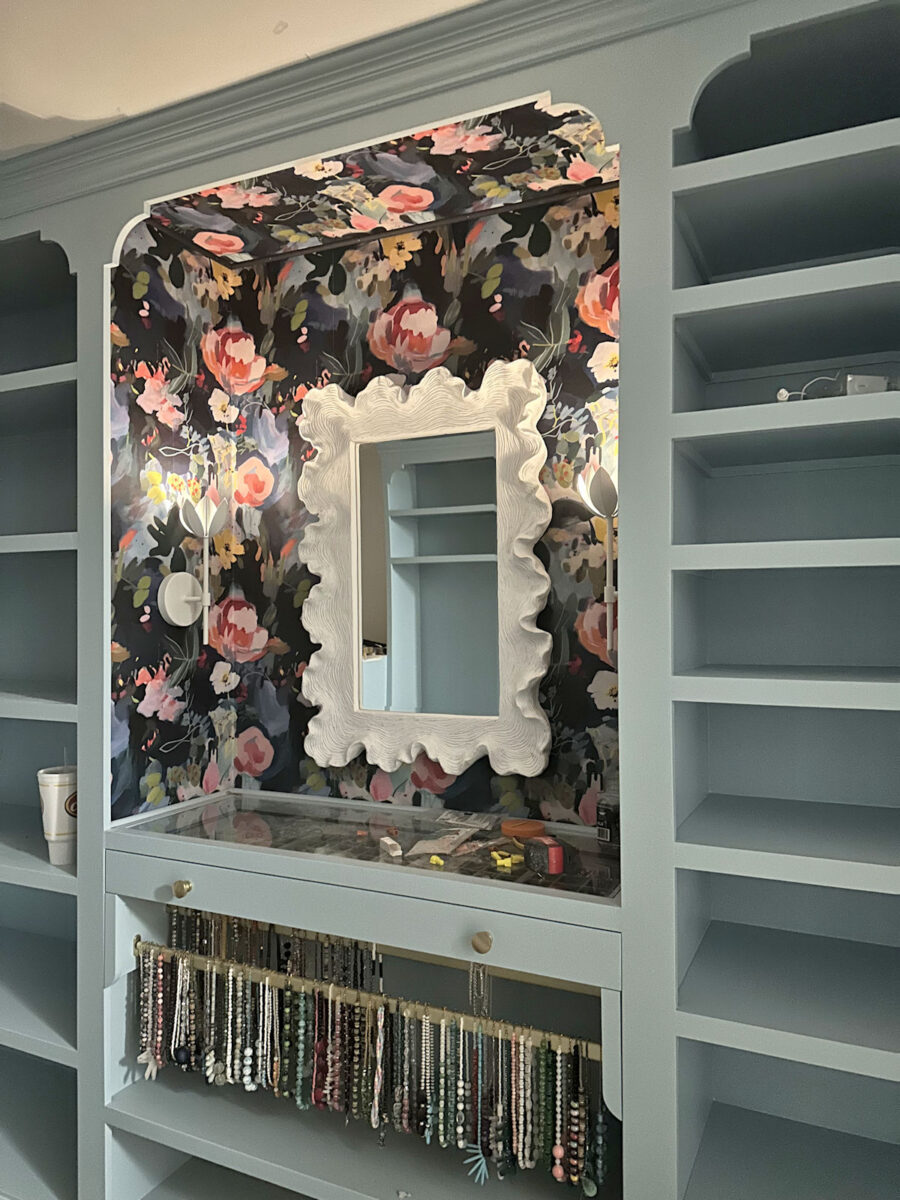
On a random notice, do y’all bear in mind this wallpaper I designed to go within the studio rest room? Clearly, I gained’t be utilizing it in there now because the plan is to show that loo right into a walk-through pantry, so I’m contemplating utilizing it to both line my drawers or possibly use on the perimeters of the drawers only for a enjoyable little bit of shade when the drawers are open.
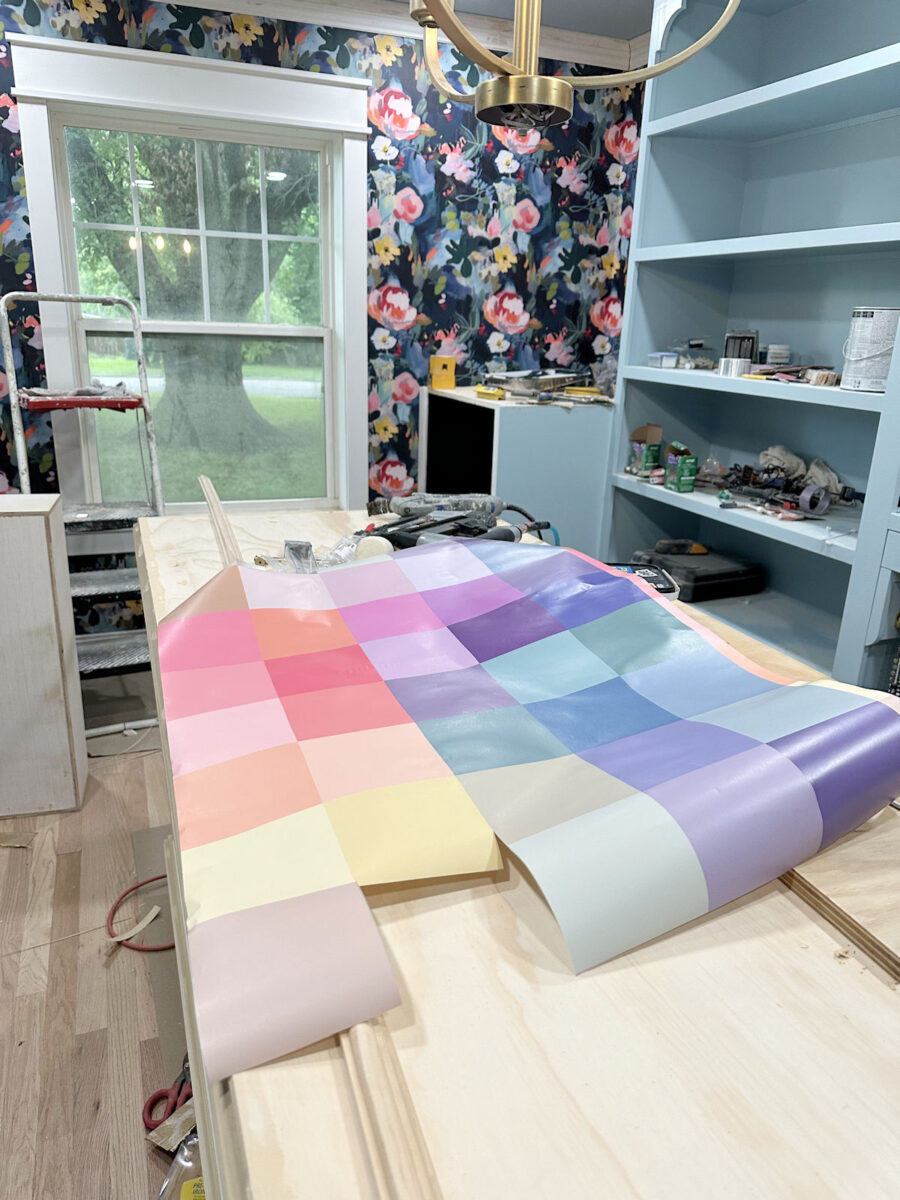
The colours aren’t good for this room. The wallpaper has numerous purple in it and no darkish blue. However does it actually matter? It gained’t present within the room except I open a drawer, so actually, the colour is only for enjoyable and just for my enjoyment once I open a drawer.
However now for the information you’ve all been ready for. I’ve mates who’re coming over TOMORROW to assist me transfer the washer and dryer into the closet!! WOOOHOOOO!! 🍾🎉🙌 I’ve been and not using a dryer because the center of December, so it is going to really feel like Christmas morning once I lastly have that connected and usable! However I’ve a variety of cleansing as much as do earlier than they get right here, so I higher get busy!
Extra About My Stroll-In Closet/Laundry Room
see all walk-in
closet diy tasks

learn all walk-in
closet weblog posts

Addicted 2 Adorning is the place I share my DIY and adorning journey as I rework and enhance the 1948 fixer higher that my husband, Matt, and I purchased in 2013. Matt has M.S. and is unable to do bodily work, so I do the vast majority of the work on the home on my own. You can learn more about me here.
Trending Merchandise