The skirting is totally put in on the workshop, and I can’t consider how a lot of a distinction it made! I knew it might make a distinction, however to my eye, this skirting has utterly modified the look of the constructing and turned it from a utilitarian shed right into a cute little constructing. It’s not fairly to “cottage” standing but, however this skirting went a great distance in the direction of that purpose.
I’ve already shared fairly a bit concerning the course of of putting in this skirting, together with merchandise used and why. Should you missed that submit, you’ll be able to learn it right here: Adding Skirting To The Workshop, Part 1
Whereas I did end the set up, the skirting isn’t utterly completed but. I nonetheless have to caulk, paint, and add vents. I can’t overlook about air flow! However I needed to order vents on-line, and I do have them, however I haven’t had an opportunity to put in them but. I didn’t purchase something fancy. They’re simply easy small vents with screens to maintain pests out. These are the ones I bought (affiliate hyperlink). They’re sort of small, so I’ll be placing a complete of 5 vents within the skirting across the constructing. Why 5? No motive besides that I purchased a package deal of 5. 😀
I present the entire course of, from begin to end, on this video. It’s an extended video, however I ended up with nearly 4 hours of video from this challenge that I needed to edit.
However for these of you who need the images, let’s get again to the method. I don’t have way more to share in the best way of “easy methods to” on this challenge. I just about shared all of that within the first submit. However I’ll share what I needed to take care of throughout this challenge. This challenge spanned a number of days, and that is Texas, so I used to be outdoors working in chilly climate, heat climate, dry climate, brilliant sunshine, rain, cloudy skies, and much and many mud. I really feel like I sort of skilled a full yr’s value of Texas seasons throughout this single challenge.
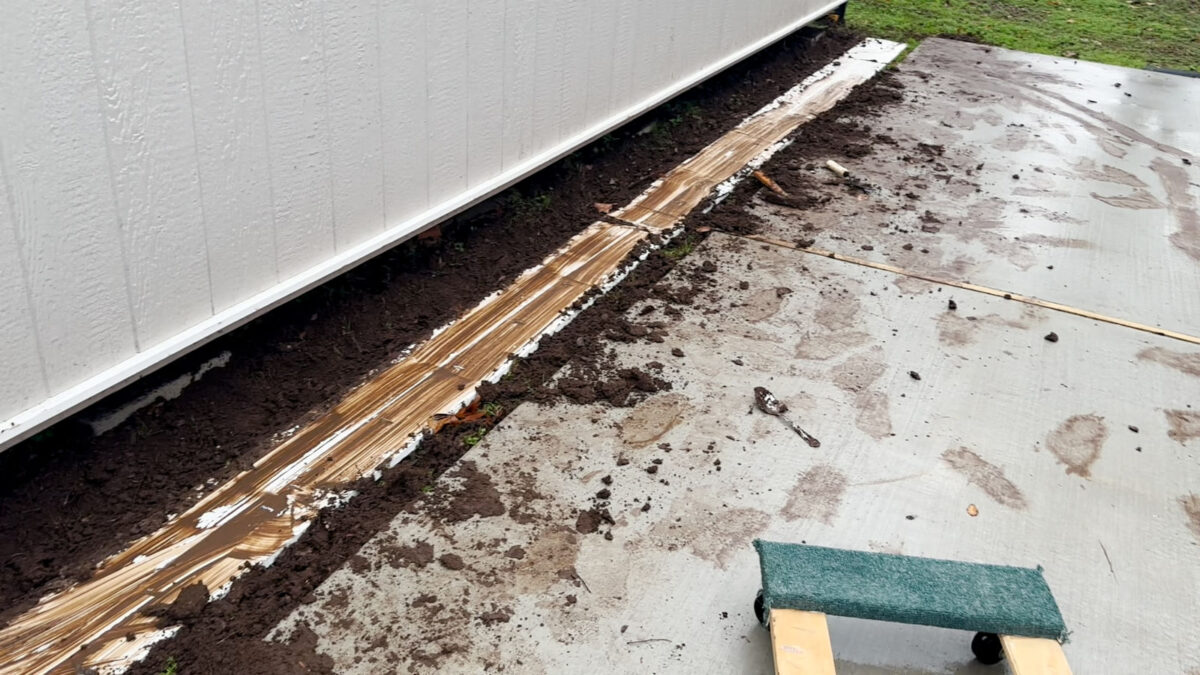
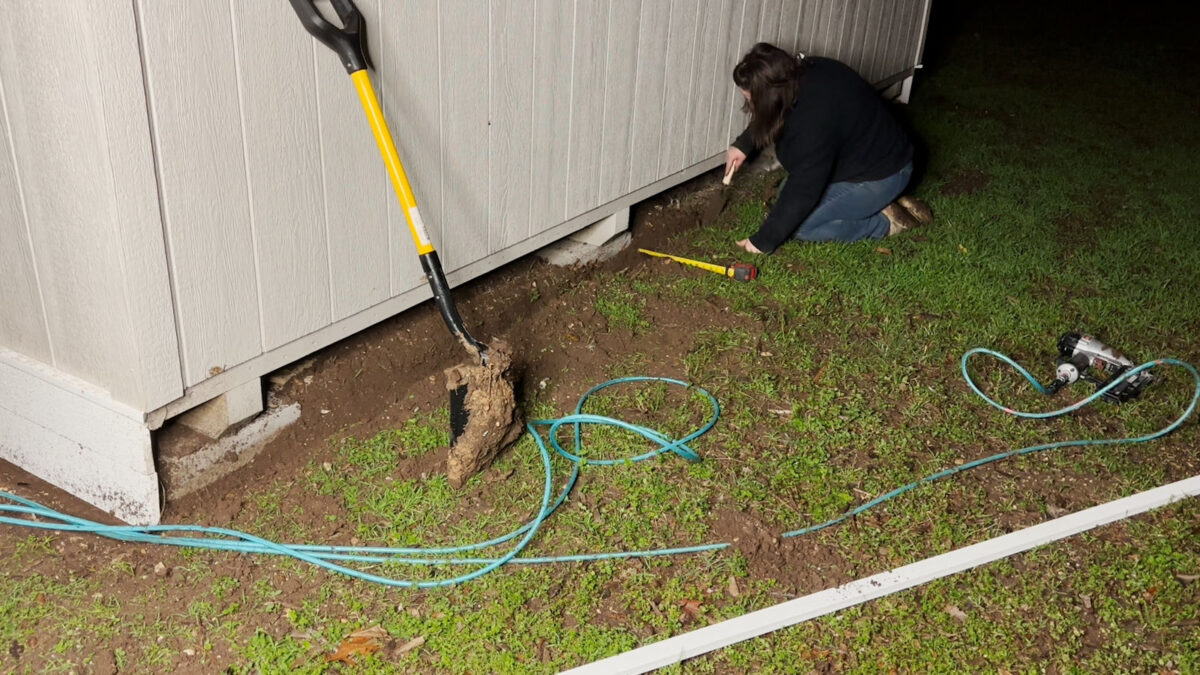
I left off on the primary submit with me wheeling that lengthy 27-foot piece of skirting over into place by placing one finish on the furnishings dolly, and choosing up the opposite finish and dragging it simply to get it over by the constructing. And that’s the place I left it that evening. So the following morning, I obtained as much as discover that it had rained, and the realm the place I wanted to work (which additionally wanted a trench dug your complete 27-foot size) was very muddy.
However I used to be decided, so I obtained down there and began digging the ditch for the skirting to suit into.

I’m not joking after I say it was muddy! I used to be lined in mud by the point I had the ditch dug, and my board was lined in mud additionally. I used to be so glad I used to be utilizing PVC boards. They’ll simply wash proper off with somewhat water. I’m undecided that wooden would have escaped this unscathed.
With my trench dug, I had one other concern. Working on my own is commonly a problem. An additional set of palms would make issues a lot simpler, however I nearly by no means have an additional set of palms to assist me. And getting the lengthy skirting board to face up all the best way throughout alone was seemingly unattainable. By the point I’d get one find yourself, the opposite finish was falling over. Then the entire thing would fall over. I struggled with this for a couple of minutes earlier than I noticed a straightforward resolution.
I grabbed a cinderblock and used it to prop the board up within the center, and that gave me the liberty I wanted to regulate the board and get the ends in place.
As soon as it was put in, it was a large number. However once more, it’s PVC, so mud will wash proper off.
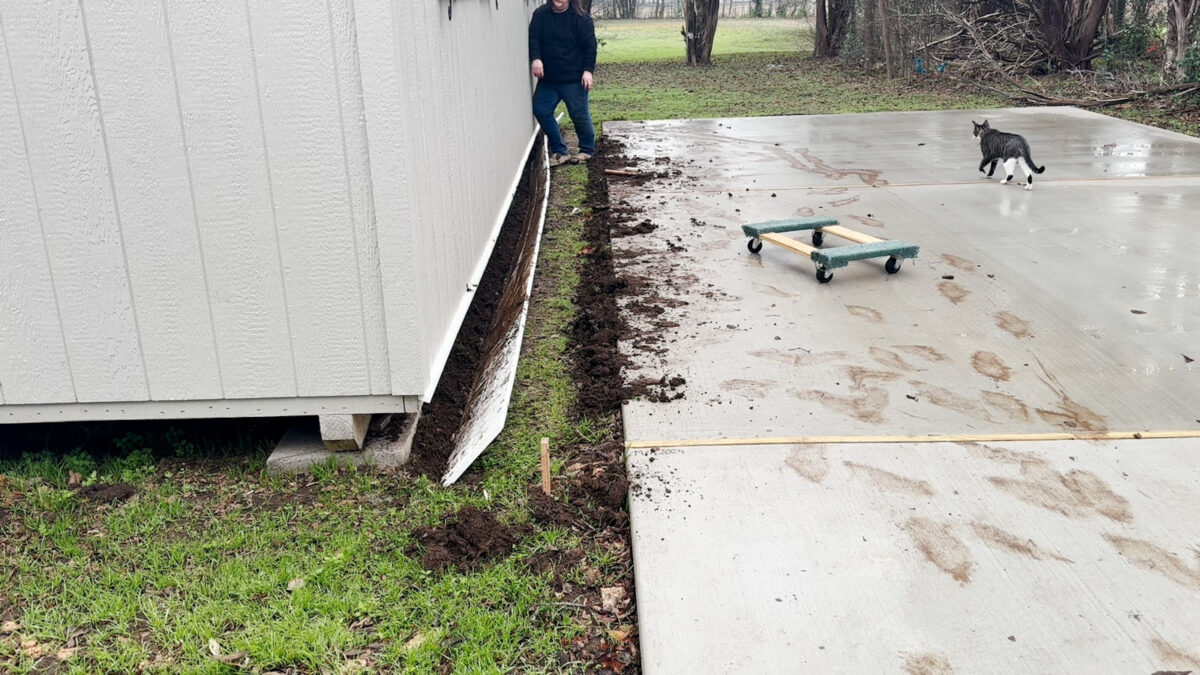
I needed to cease working for some time as a result of it poured down rain (oh good, extra mud!), however when it stopped, the solar got here out, and I obtained again to work. Subsequent up, I labored on the ramp finish of the constructing. Earlier than I may set up the skirting right here, I needed to shovel away a lot of grime and rocks that had been left from the concrete pour. I additionally needed to dig a shallow trench on this aspect.
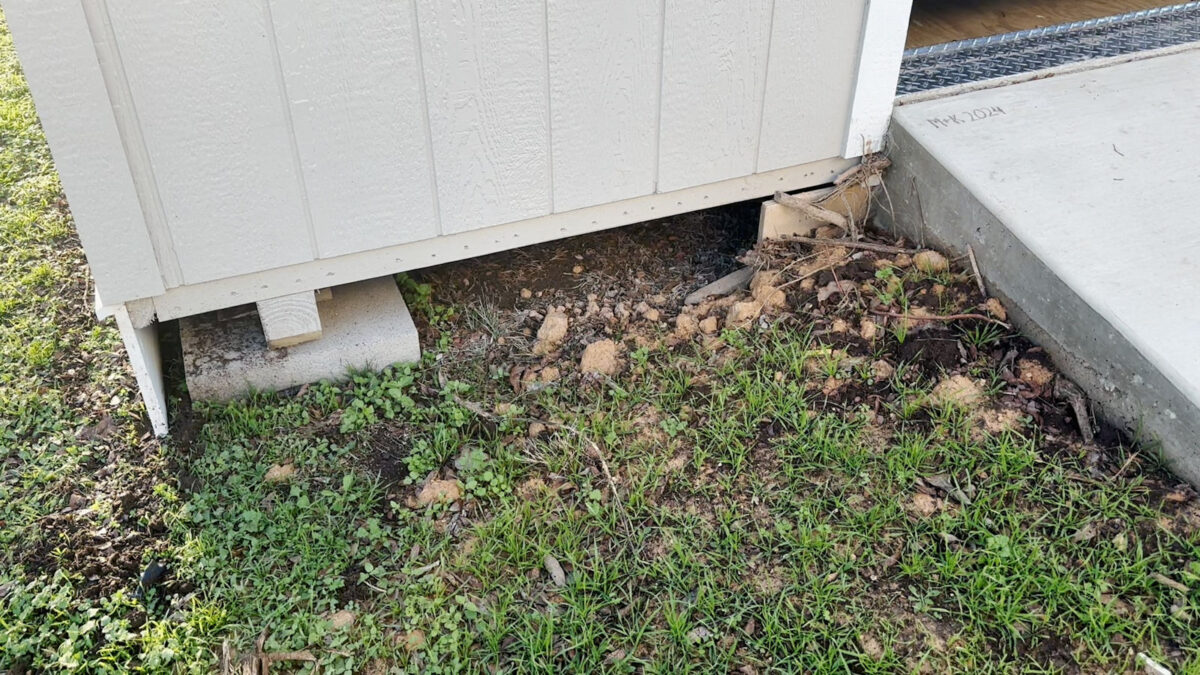
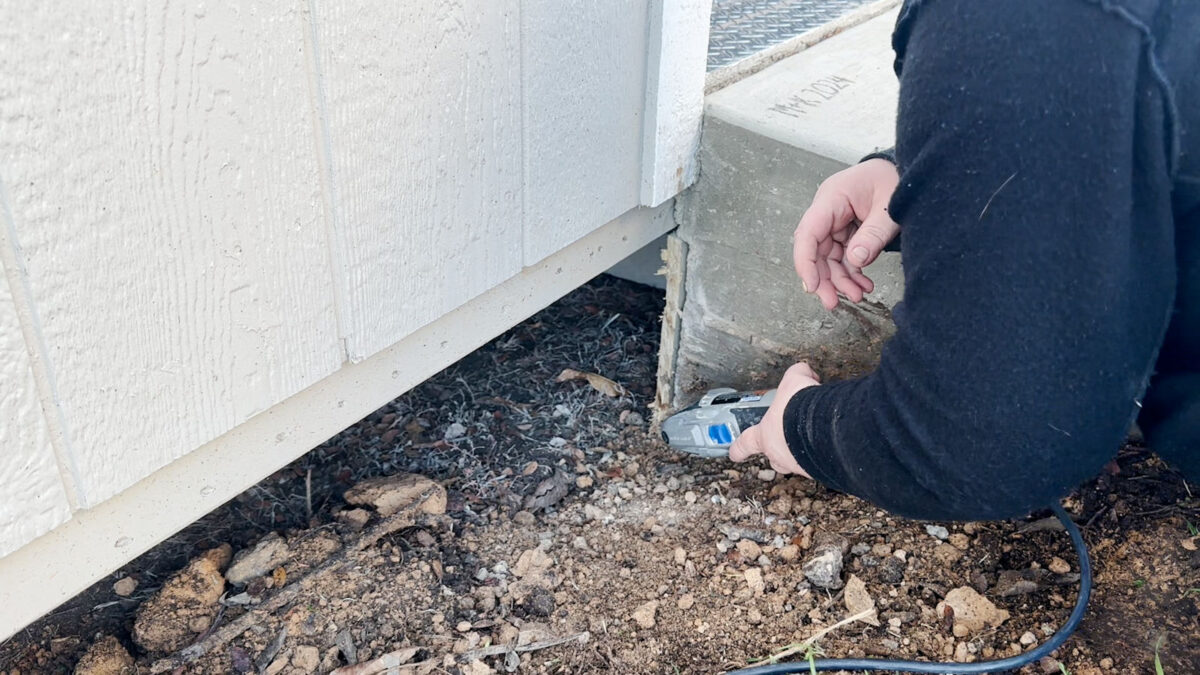
However I additionally had to make use of my Dremel Multi-Max to chop away this plywood backing that was put there when the concrete ramp was poured. That is one in every of my most helpful instruments. Should you don’t have one, you can find it here (affiliate hyperlink). I discover myself utilizing this software continuously. It’s a type of issues that I purchased, after which questioned how I went so lengthy with out it.

I additionally needed to chip away on the concrete as a result of it was fairly tough and jagged and my skirting boards didn’t match up towards it. Initially, I had a few 1/2-inch hole, which greater than I need to caulk, and many large for a mouse or most likely even a rat to get into. And sure, I used my Multi-Max for that, too. That poor blade. 😀 However it did the trick!
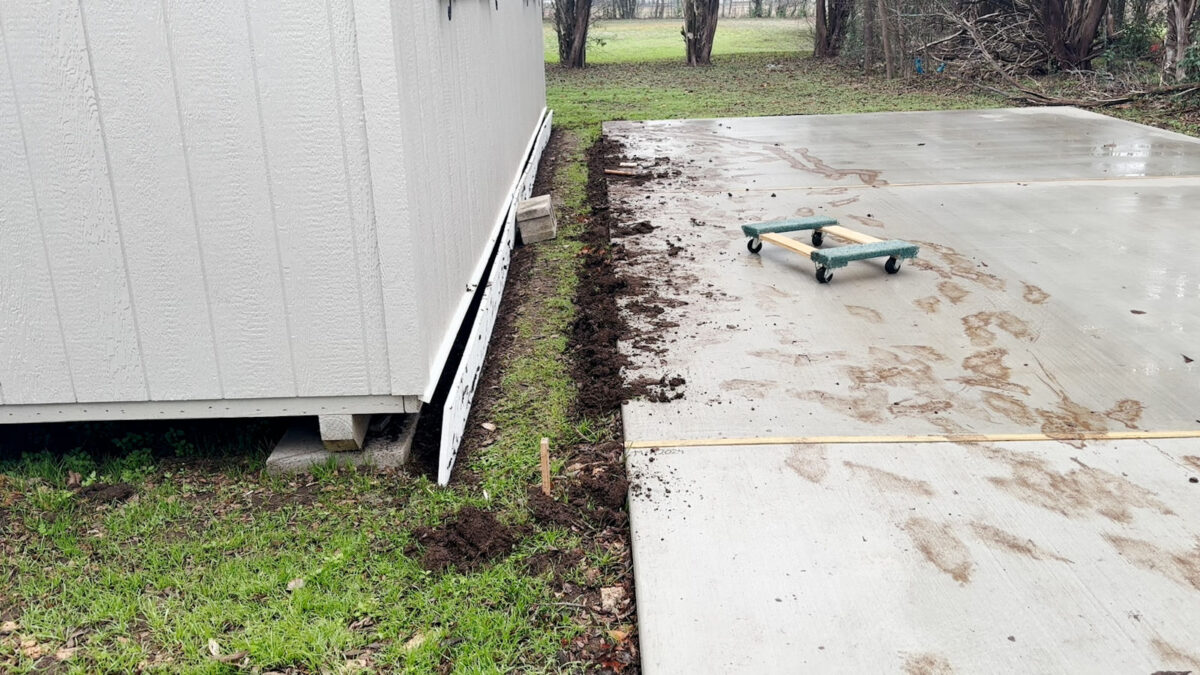
And right here’s what that aspect regarded like as soon as it was in place.
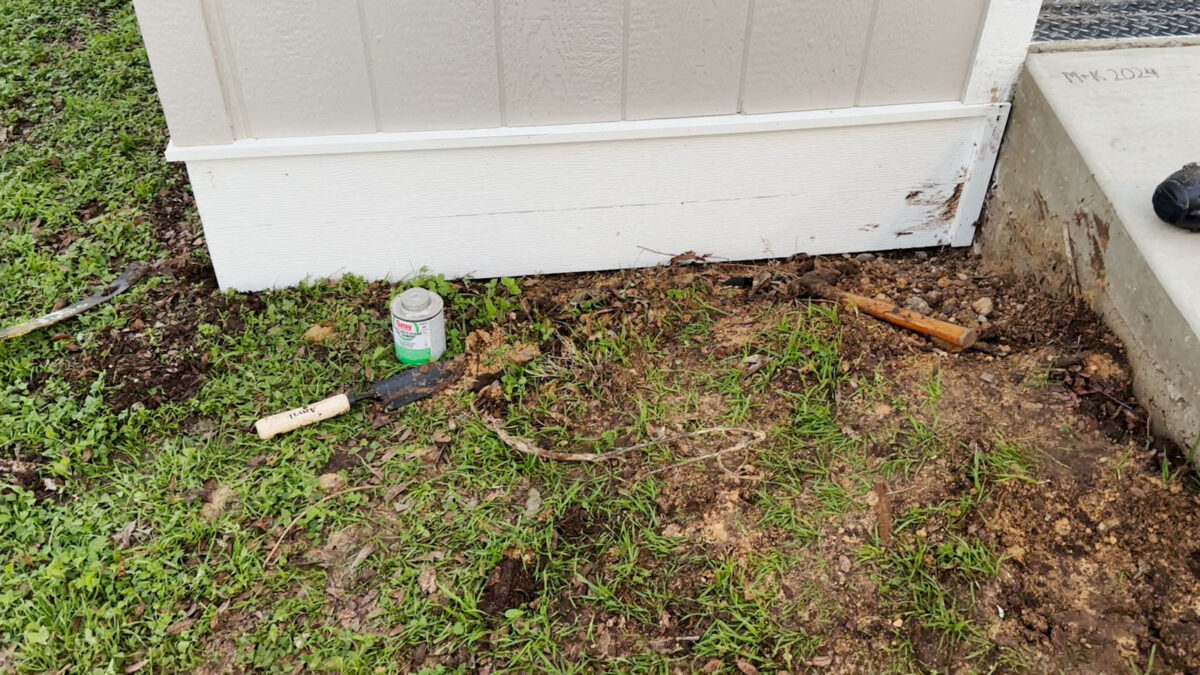
I put a vertical trim piece proper up towards the ramp, and whereas I used to be in a position to shut up most of that hole, that’s nonetheless sufficiently big for bugs to get by means of, and probably even a mouse. I’ve learn that they’ll get by means of an area as small because the diameter of a pencil, so I’ll nonetheless have to caulk this to shut up that hole utterly.
By the point I obtained the areas on both aspect of the ramp completed, I had misplaced daylight. Y’all, I’m so bored with the solar happening at 5:30! I’m prepared for summer time daytime when the solar goes down at 9:00pm! However we don’t have that now, and I used to be decided to get the skirting completed earlier than closing up for the day, so I arrange my Jackery and Ring mild and saved on working. This Jackery is one in every of my greatest current purchases. I drag this factor in every single place to plug issues in with out having to make use of extension cords. It’s so helpful!
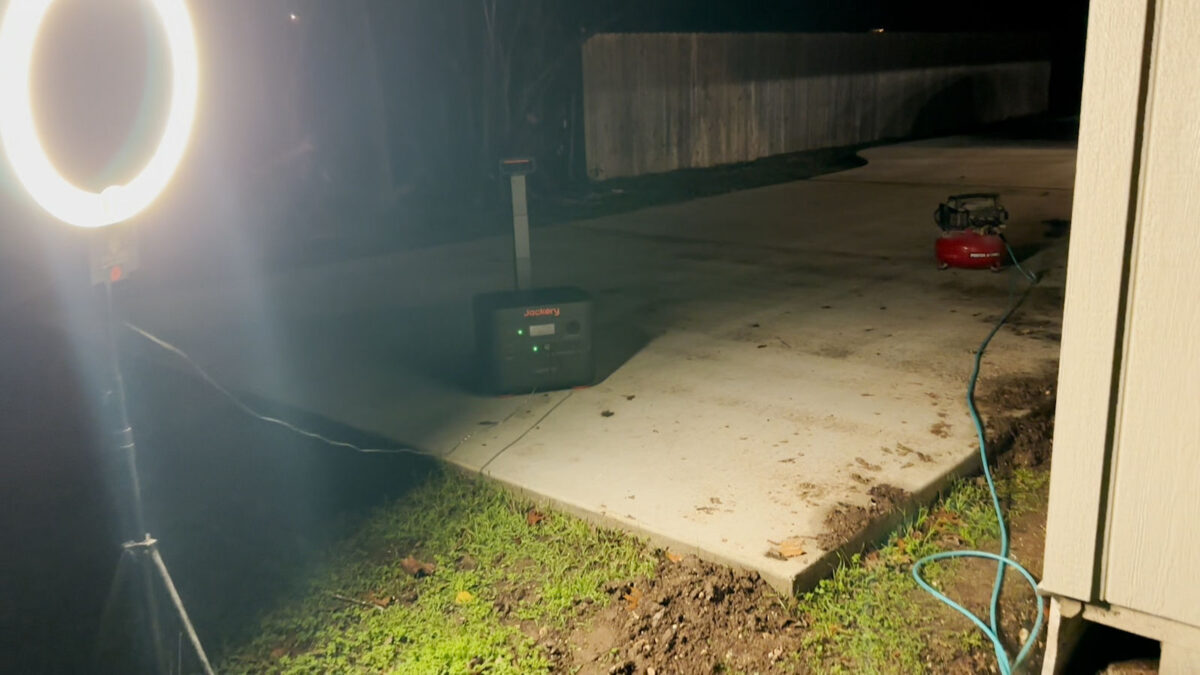
So I used to be on the market, properly after darkish, working by lamp mild powered by my Jackery. And naturally, this aspect was the toughest of all. I dug this trench about 4 occasions earlier than I lastly obtained that board to sit down in there correctly. I used to be so pissed off, so drained, and so chilly, however the extra issues this gave me, the extra hardheaded and decided I obtained. There was no manner I used to be going to pack it up with out ending.
And I did! I obtained all the pieces on that aspect completed proper at 9:00pm.
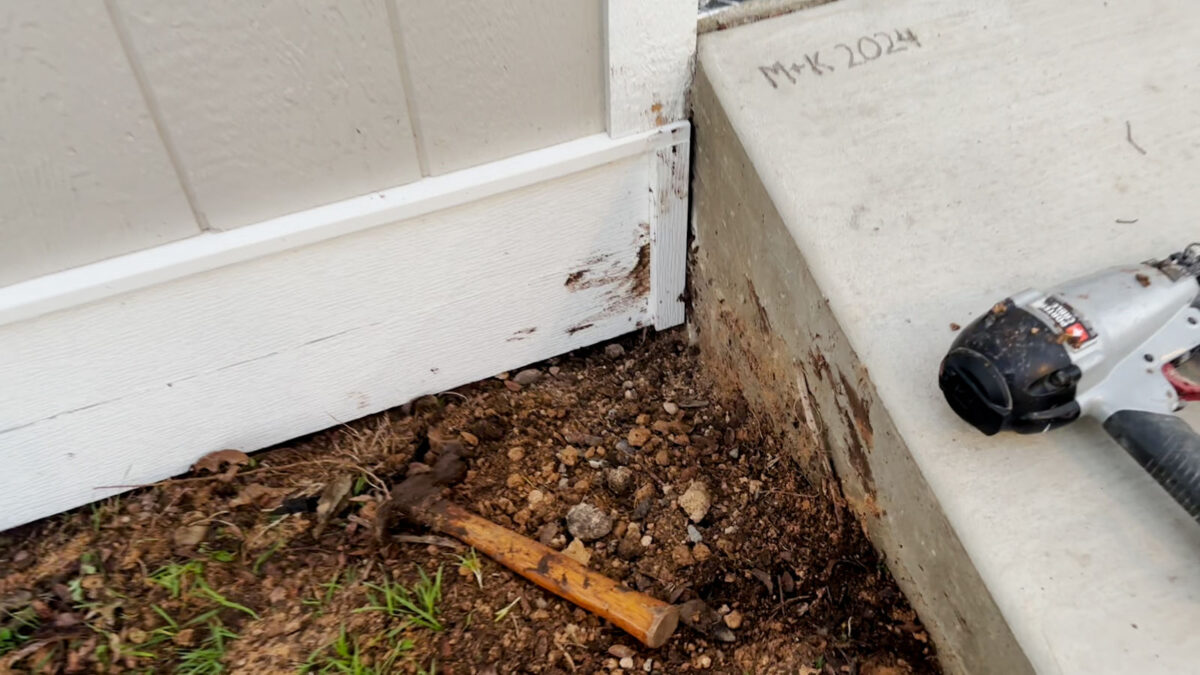
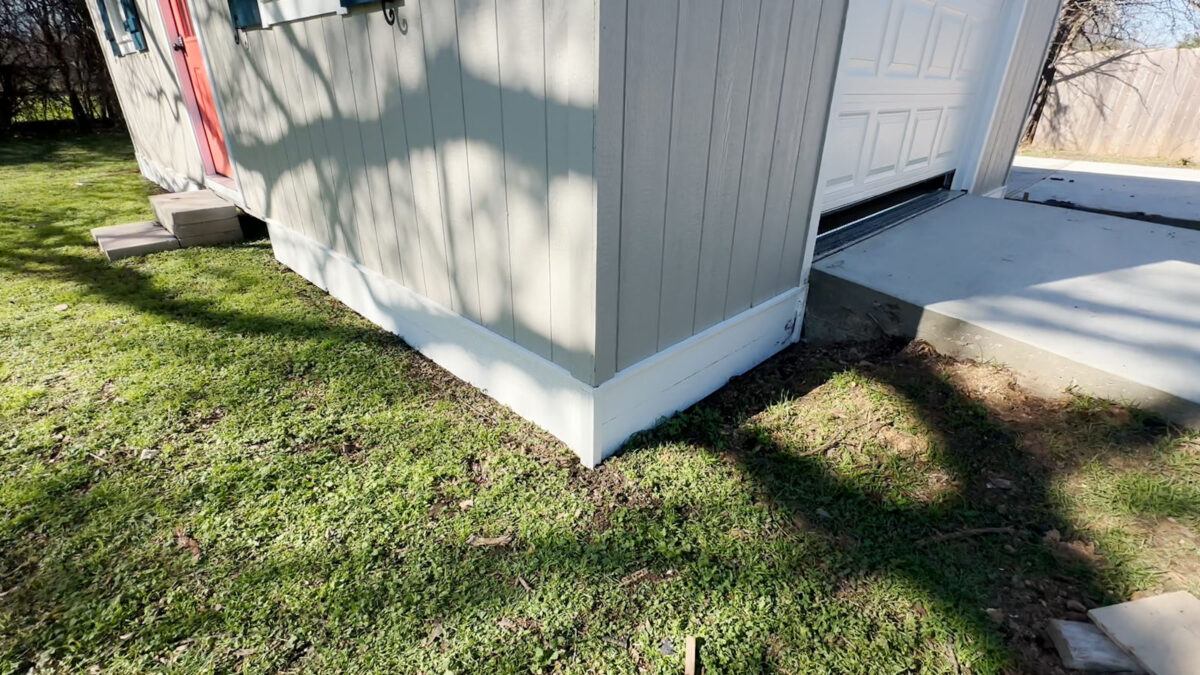
I had yet one more element I wished to deal with the following day. And I had a lovely, sun-filled day to complete. I wished so as to add these nook trim items to cowl over the minimize ends of the PVC boards. I used 1″ x 2″ PVC boars for these corners, and put in the items vertically.
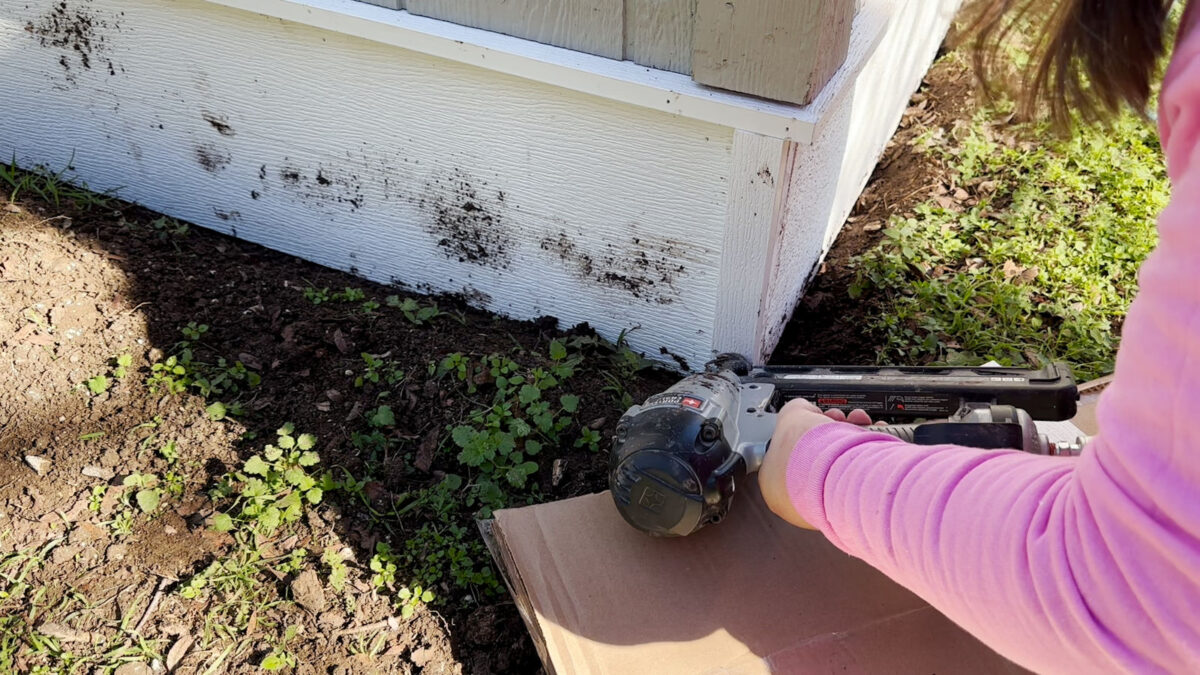
These will nonetheless want some caulk (as will your complete skirting), however I feel this trim offers it a cleaner and extra completed look.
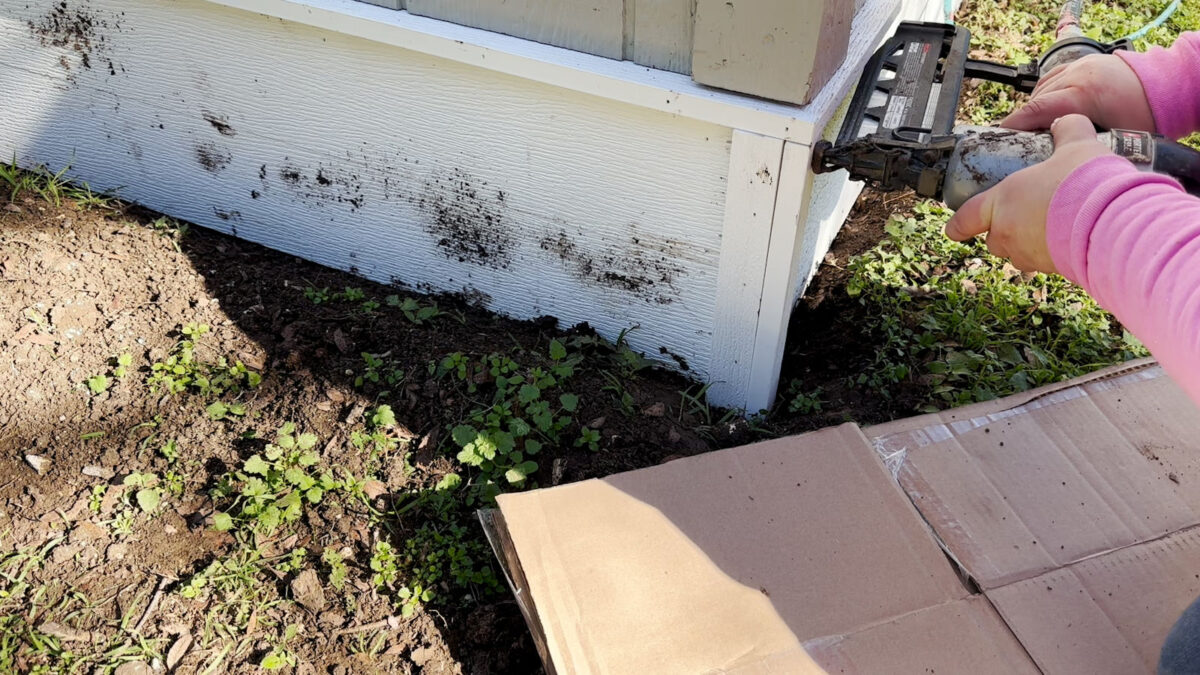
Right here’s a take a look at the nook with the trim connected…
And with that last element in place, the skirting was utterly put in! And naturally, I completed up once we had blinding solar with a lot of shadows, so the entrance is roofed in tree shadows making it a bit onerous to see. However I nonetheless suppose you’ll be able to see how a lot of an improve that skirting made to the constructing.

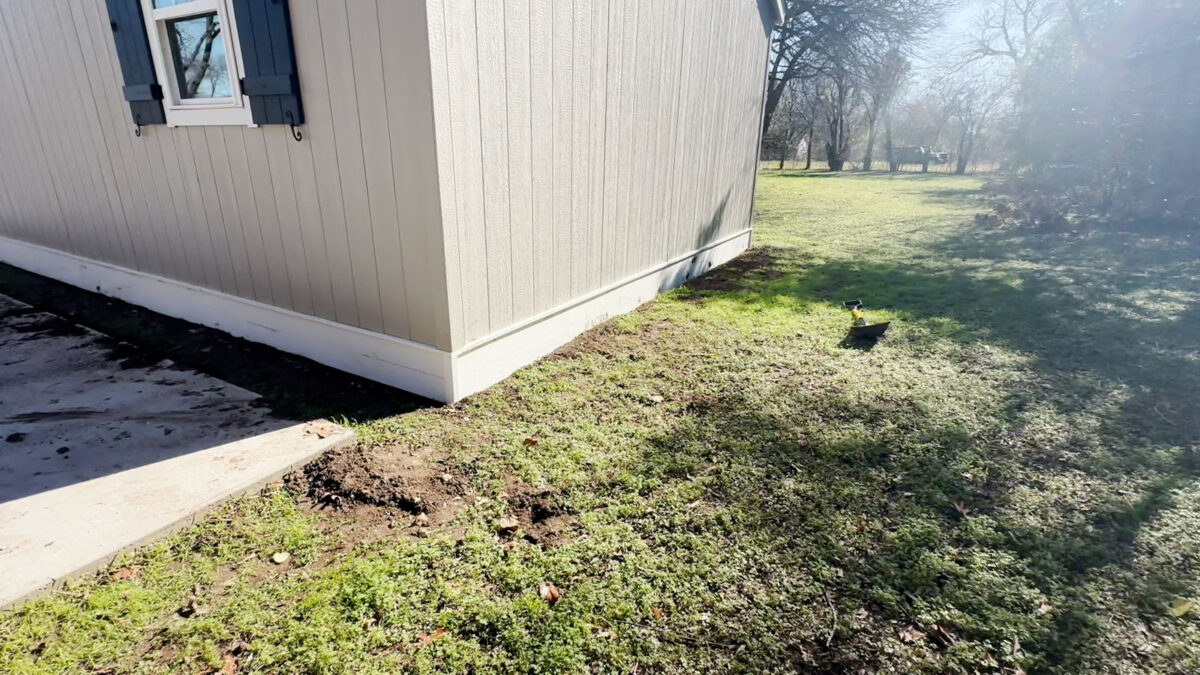
I simply love how this seems to be. I’m going to attend to caulk and paint in order that I can do the skirting and entrance steps suddenly.
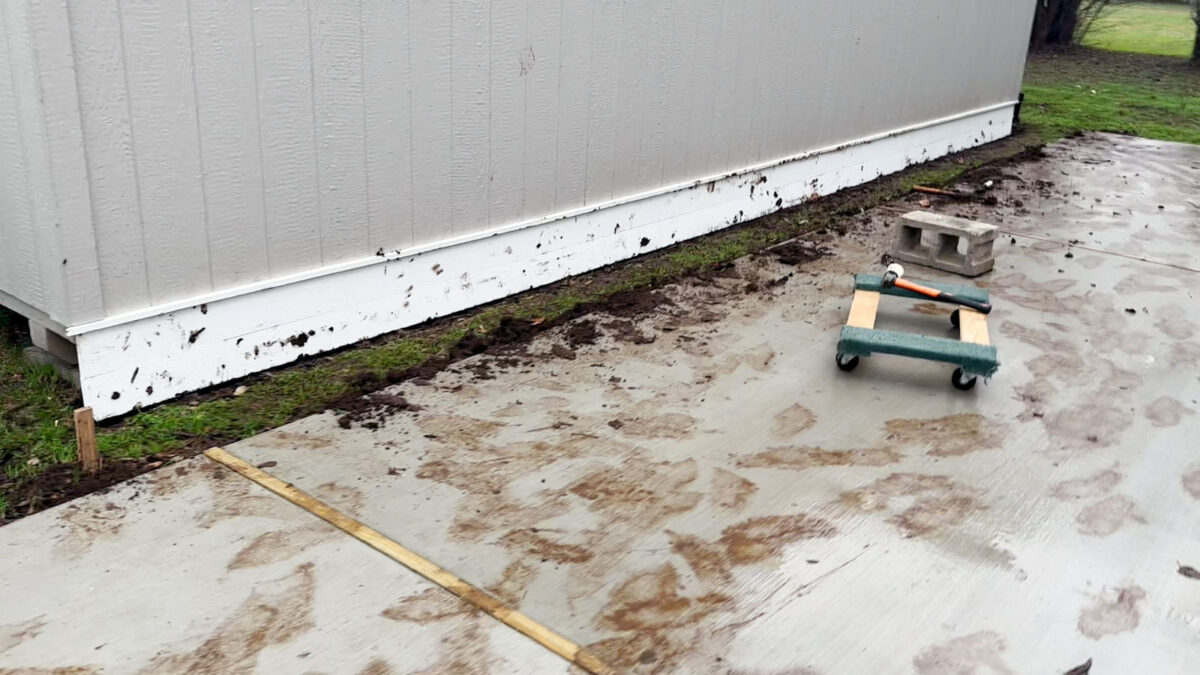
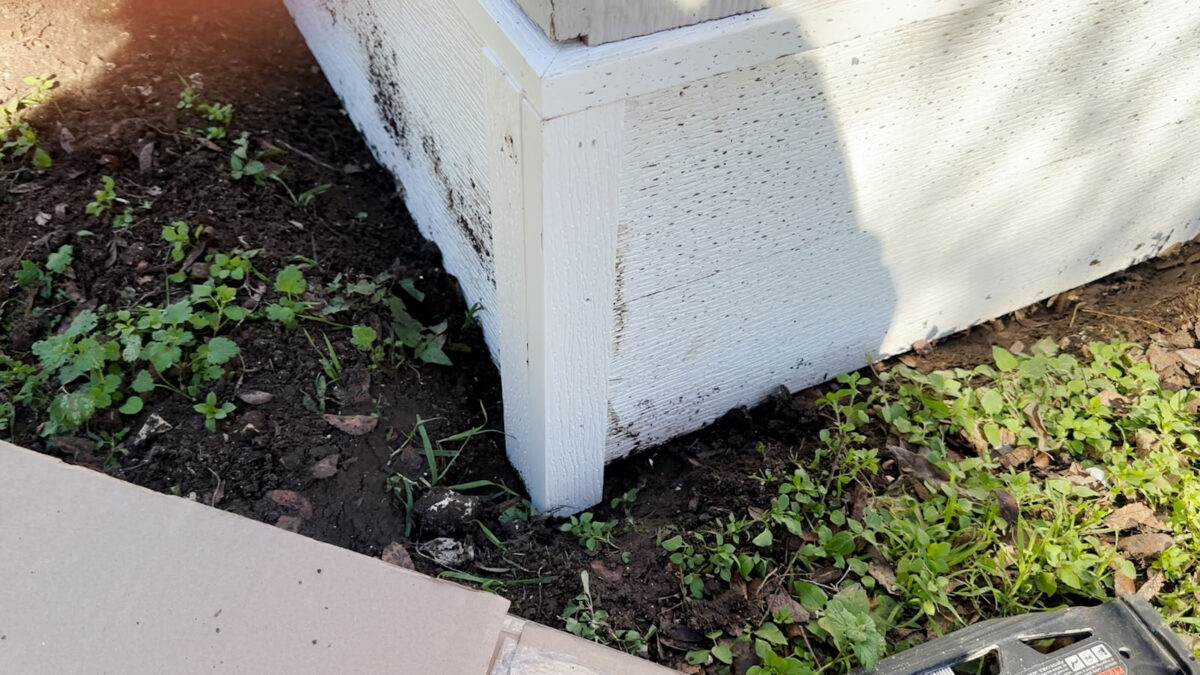
And right here’s a take a look at the again. I used to be in a position to sweep off many of the dried mud, but it surely’s nonetheless fairly soiled. It’s going to take a whole lot of cleansing for me to have the ability to paint this skirting.

And right here’s a take a look at the opposite finish — the top I did by lamp mild. 😀
This was an enormous job, for certain, and I’m so glad it’s completed! It wasn’t a troublesome job by any means, and I feel it might have been a lot simpler had I not needed to take care of all of that mud. However it’s completed now, and I can’t cease my little constructing. I’m so enthusiastic about the way it’s turning out!

Addicted 2 Adorning is the place I share my DIY and adorning journey as I rework and adorn the 1948 fixer higher that my husband, Matt, and I purchased in 2013. Matt has M.S. and is unable to do bodily work, so I do nearly all of the work on the home on my own. You can learn more about me here.
Trending Merchandise